36
Models PH71/PH84Operating Procedures
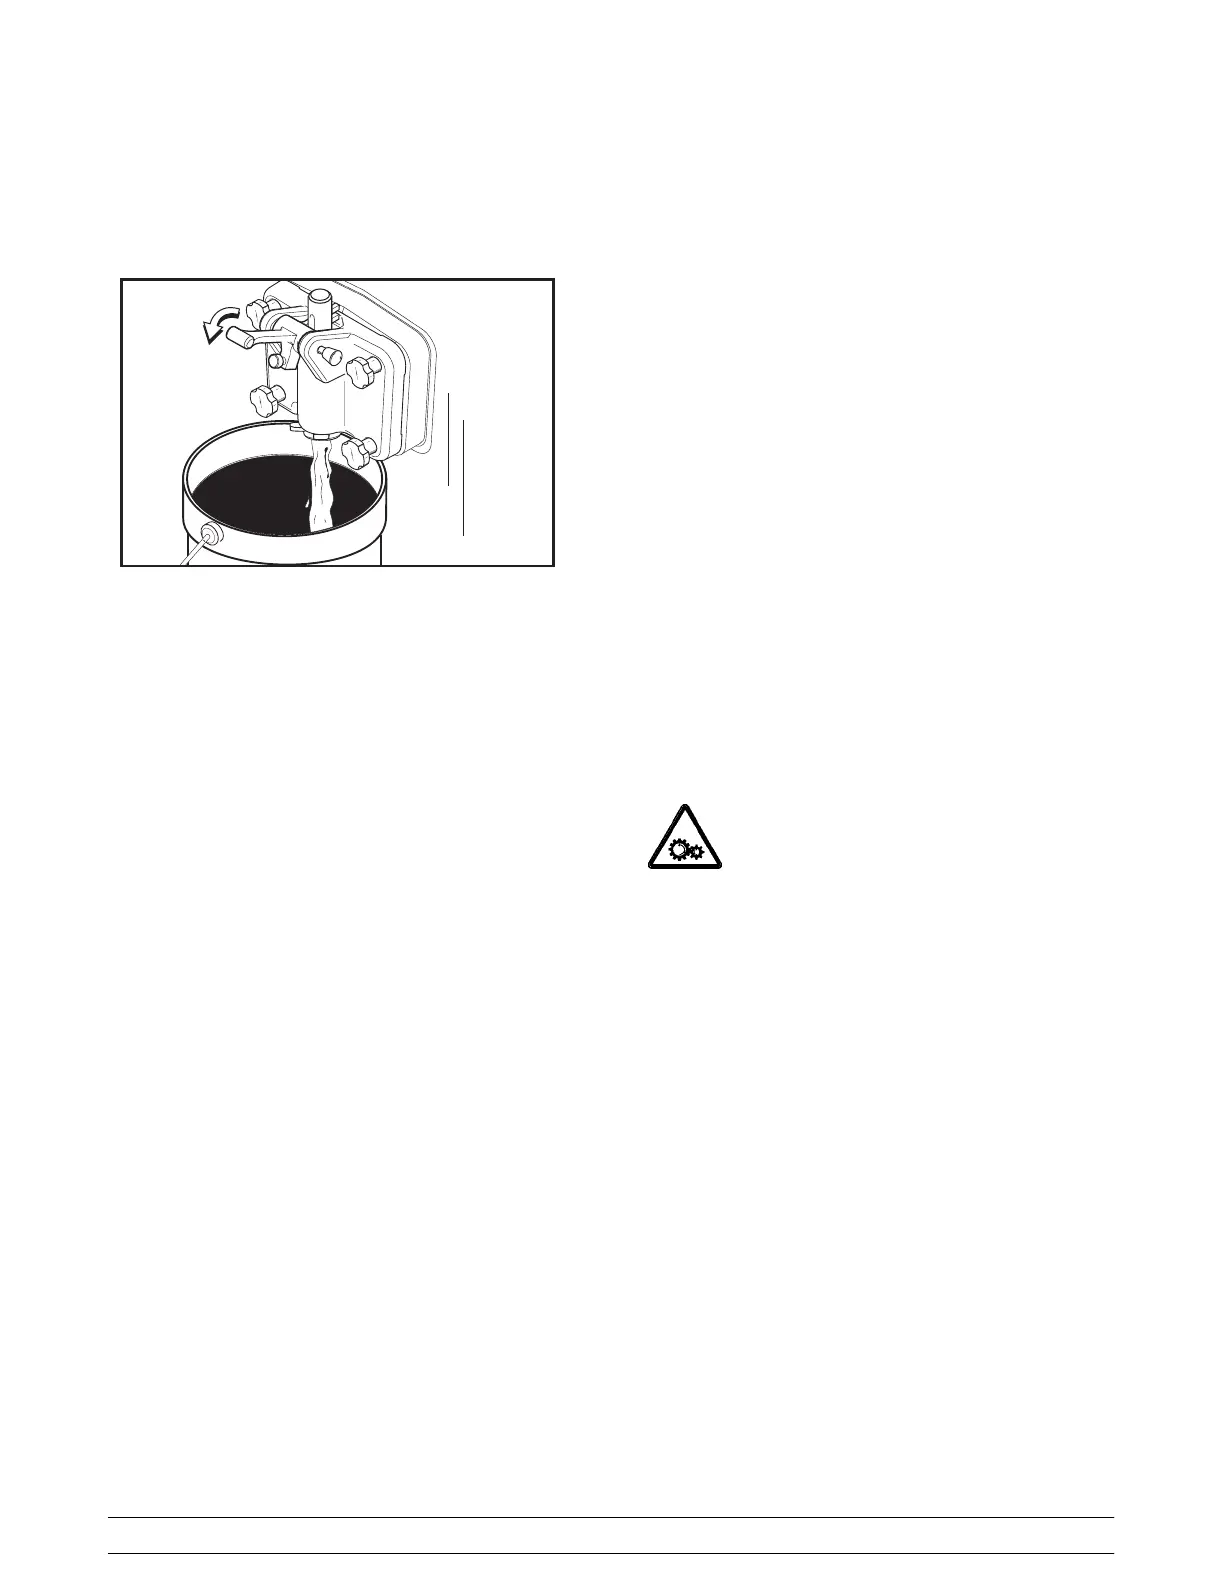
Step 3
Open the draw valve on the freezer door. Drain all the
rinse water from the door spout, close the draw valve,
and press the WASH key cancelling the WASH mode.
10296
Figure 54
Repeat this procedure until the rinse water being
drawn from the freezing cylinder is clear.
Repeat Steps 1 through 3 for the other side of the
freezer on the Model PH84.
Hopper Cleaning and Sanitizing
Step 1
Prepare two gallons (7.6 liters) of an approved 100
PPM cleaning solution (example: Kay-5r). USE
W ARM WATER AND FOLLOW THE MANUFACTUR-
ER’S SPECIFICATIONS.
Step 2
Pour the two gallons (7.6 liters) of cleaning solution
into the hopper and allow it to flow into the freezing
cylinder.
Step 3
Using the white hopper brush, clean the mix hopper,
mix level sensing probes and the outside of the
agitator drive shaft housing. Using the double ended
brush, clean the mix inlet hole.
Note: Do not brush clean the mix inlet hole while the
machine is in the WASH mode.
Step 4
Press the WASH key. This will cause the cleaning
solution in the freezing cylinder to come in contact with
all areas of the freezing cylinder .
Step 5
Place an empty pail beneath the door spout.
Step 6
Open the draw valve on the freezer door and draw off
all of the solution.
Step 7
Once the cleaning solution stops flowing from the door
spout, close the draw valve and press the WASH key,
cancelling the W ASH mode.
Step 8
Prepare two gallons (7.6 liters) of an approved 100
PPM sanitizing solution (example: Kay-5r). USE
W ARM WATER AND FOLLOW THE MANUFACTUR-
ER’S SPECIFICATIONS.
Step 9
Repeat Steps 2 through 7 with the sanitizing solution.
Repeat Steps 1 through 8 for the other side of the
freezer on the Model PH84.
Disassembly
Note: Failure to remove the parts specified below for
brush cleaning and lubrication will result in damage to
the machine. These parts must be removed and
cleaned every 14 days or the machine will lock-out and
will not operate.
MAKE SURE POWER SWITCH IS IN THE
“OFF ” POSITION! Failure to follow this instruction
may result in severe personal injury from hazardous
moving parts.
Remove the following parts and take them to the sink
for cleaning.
Step 1
Remove the design cap(s) from the door spout(s).
Step 2
Remove the handscrews, freezer door, beater(s),
scraper blades, and drive shaft(s) from the freezing
cylinder(s).
Step 3
Remove the scraper blade clips from the scraper
blades.
Step 4
Remove the drive shaft seal(s) from the drive shaft(s).
Step 5
From the pump cylinder(s), remove the retaining
pin(s), valve body(ies), piston(s), spring(s) and
poppet(s). Remove the mix inlet tube(s). Remove all
o-rings and check rings.