Getting to know VL3X
VL3X – Reference manual (updated 2015-07-16) 78
► Press the STEP footswitch to select the cur-
rently highlighted Backing Track.
► Press the LAYER footswitch to cancel Back-
ing Track selection.
► Skip Back
► Skip Forward
► Stop: Stop playback of the Backing Track.
► Play: Start Backing Track playback.
Backing Track player controls –
top row, left to right:
► Function Menu: Opens a menu with Backing
Track related functions with the following con-
trols (from left to right):
Backing Tracks Function menu
► Door icon: Back to the Backing Track player
transport control screen
► Trash icon: Delete Sequence. You need to
hold this button to perform this action.
► Disk icon: Save Sequence.
► USB icon: Export Sequence to USB.
► Home icon: Exit the Backing Track player.
► Disk icon: Save Sequence Recording
► Undo icon: This is an (unlimited) Multi-layer
Undo feature.
► Circle/R icon: Use this to initiate Sequence
recording. Press and hold to change to “Se-
quence Overdub” mode. More on this under
“Overdubbing”.
Playing Backing Tracks using a
footswitch Buttonmap assignment
Once you have associated a Backing Track
with a Preset, you can map any of the six effect
footswitches in this Preset to play, pause and
stop the Backing Track.
Here is how to assign footswitches to Backing
Track control functions:
► Press the Vocal or Guitar button (depending
on which Layer you’d like to assign the track
playback button to). If you want to, you can
put a track playback button on both layers.
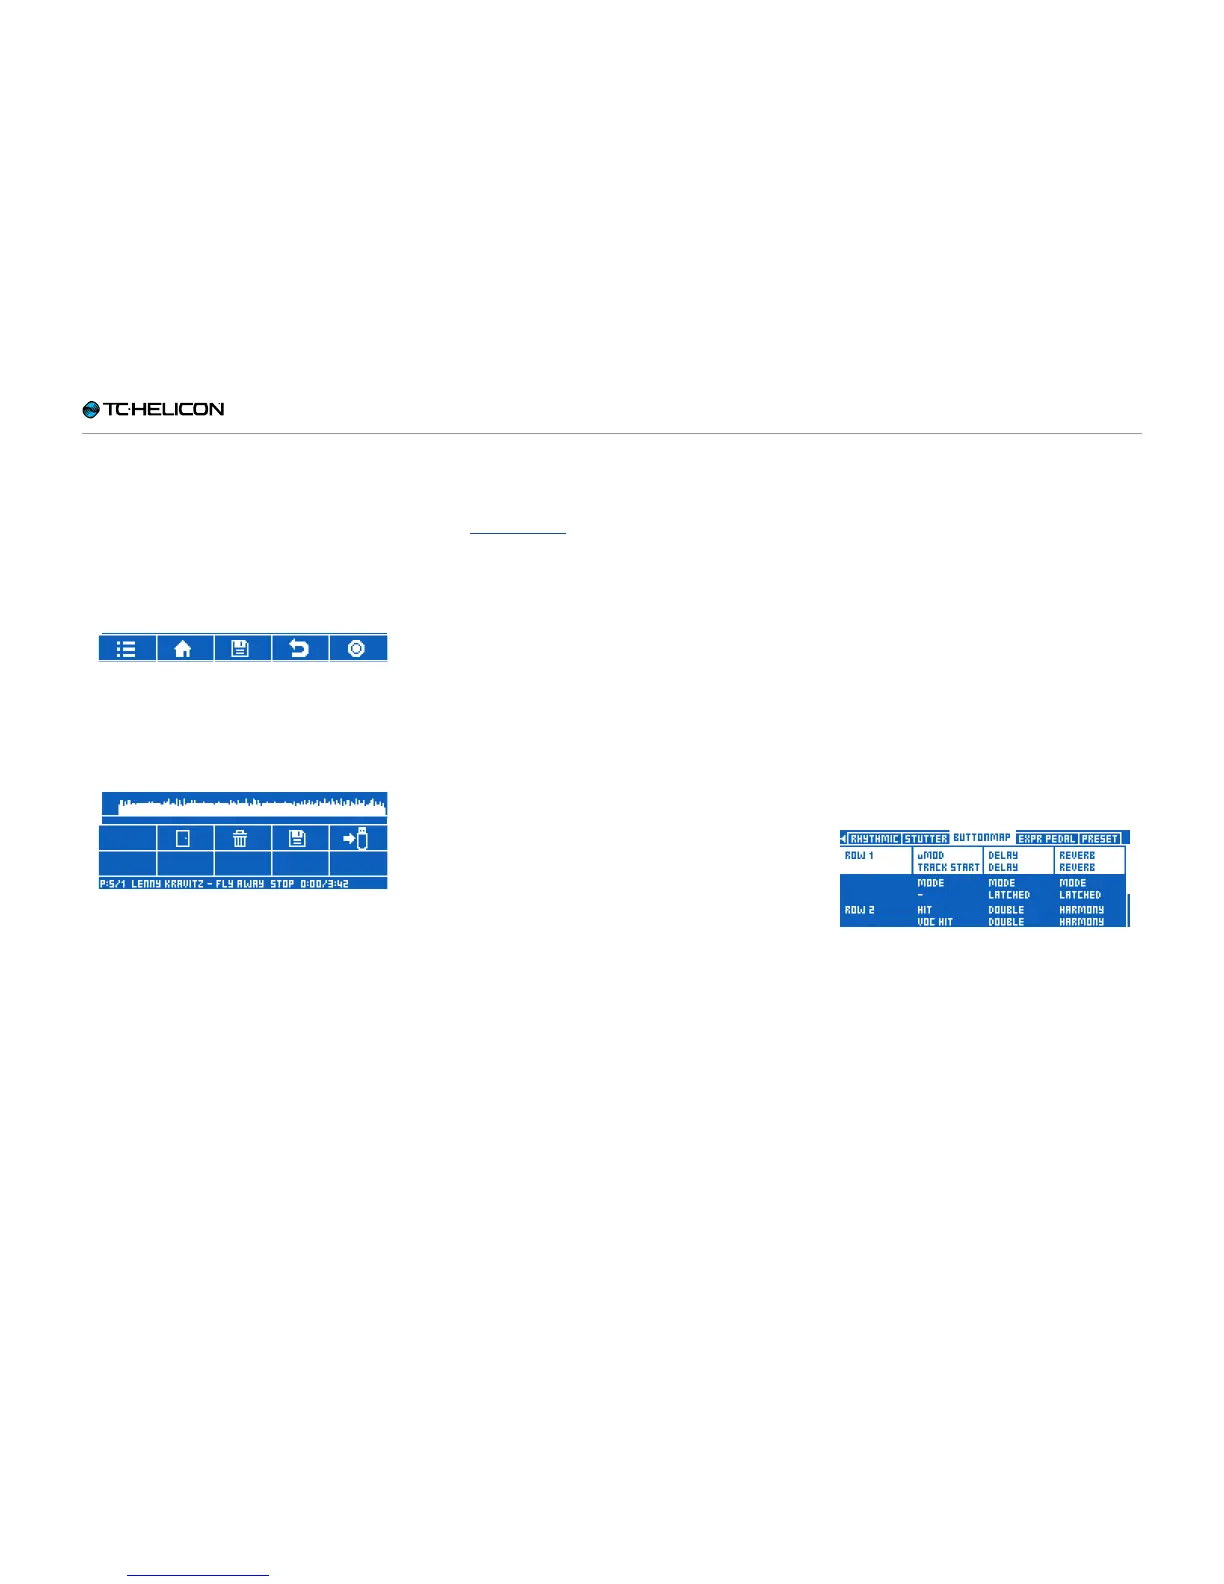
► Use the left or right Arrow buttons to navigate
to the BUTTONMAP tab.
► On the BUTTONMAP tab, you can assign the
“TRACK START” function to any button.
Assigning Backing Track control to an effect
footswitch using the Buttonmap
Use the assigned button to control Backing
Track playback as follows:
► Press: Play
► Press again: Pause
► Press again: Play
► Press & Hold: Stop and return to the begin-
ning.
 Loading...