26 MA365 • Rev. A2
Tellabs
®
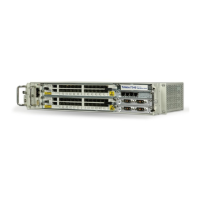
6325 Edge Node 2 Installation Information
To install the traffic
modules
Follow this procedure to install the traffic modules.
Warning: If you are going to remove a module from a working Tellabs 6325
node then remember to follow the instructions in ‘2.8 Removing a
Module from the Subrack’ on page 37.
Note: To avoid damage on components sensitive to static electricity, use an
antistatic bracelet connected to the chassis of the Tellabs 6325 node.
Note: When installing the modules, care should be taken in order not to
bend/destroy the EMC gaskets on the front mechanics.
4 Install another PS-DC module in slot 8 if your configuration requires
redundant power supply. Otherwise install a cover plate (NS-0295)
in slot 8.
5 Fasten the CMCC module, PS-DC modules and cover plate to the
subrack with the screws (two on each module).
Step Action
Step Action
1
Install the traffic module (SIMX or SPIMX) performing the cross-con-
nect function in slot 3.
2 Install other traffic modules, extending the number of interfaces, in
position 2, 4 and 5.
Note: When you install SIMX and SPIMX modules it is recommended
to start with slot 2, then slot 4 and then slot 5. When you install PIM1
modules it is recommended to start with slot 5, then slot 4 and then
slot 2.
3 Install cover plates (NS-0292) in empty slots.
4 Fasten all modules and cover plates to the subrack with the screws
(two on each module).