IBUC Operation Manual
Terrasat Communications, Inc.
Rev. A
7-11
Antenna Mounting
Mounting Brackets are available to facilitate attachment to antennas. Generic mounting
instructions for the Tx Redundancy, Rx Redundancy and the Redundant PSUI’s are
given below.
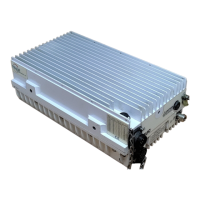
After the antenna has been installed the Terrasat ODU may then be mounted on the
antenna. Mount the equipment as follows;
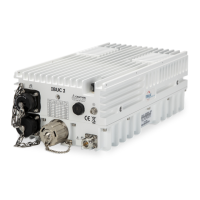
The Tx Redundancy can be mounted on the antenna back structure or in the hub
depending on the antenna type. The Tx Redundancy plate has mounting holes on both
sides of the unit that can be used to attach the system to the antenna. Refer to chapter
9 for the mounting hole dimensions.
The Redundant PSUI’s will typically mount on the antenna back structure or the hub of
an antenna. The PSUI plate has mounting holes can be used to attach the PSUI to the
antenna. Refer to chapter 9 for mounting hole dimensions.
The LNB’s are mounted directly to the Waveguide switch at the focal point of the
antenna. Ensure that proper gasketing is used when mounting the waveguide switch
and the LNB, and the LNB to the OMT.
Installing the Indoor PSUI
Tools and Test Equipment
Have on hand a standard electrician's tool kit.
Mounting Location
The Terrasat Dual Power Supply dimensions are 19-inch rack width, 1RU-rack high
(1.75 inches), and 11.1 inches deep. Refer to chapter 9 for detailed dimensions. Allow a
minimum of 6 inches (15 cm) between the back of the chassis and the end of the rack
for cable clearance.
The PSUI may be rack-mounted or placed on a flat surface. If the PSUI is to be rack-
mounted, a rack shelf or tray is recommended.
Access/Airflow
Adequate space must be reserved for air movement, cable connections, and equipment
access. Do not block the airflow on the sides of the chassis. Without sufficient air
cooling, the unit may overheat.
AC Power Connection
The PSUI is designed to work at 100 - 240 VAC, 47 - 63 Hz. The PSUI must be
grounded through the AC power cable (standard 3-prong equipment connection).