9
6 Display settings
Before your start measuring with your electro-
nic inclinometer, be sure your settings are made
according to your inspection job. There are
three types of initial settings and one further
temporary setting of display. With respect to
this, continue reading the next pages.
It is advisable to check your settings at regular
intervals, but in any case after the instrument
was not used for a long period of time or ex-
posed to a severe impact. Should any correction
be needed, proceed as described thereafter.
So as to get the best results – i.e. to achieve the
lowest deviation from the theoretical zero – the
following precautions should be taken:
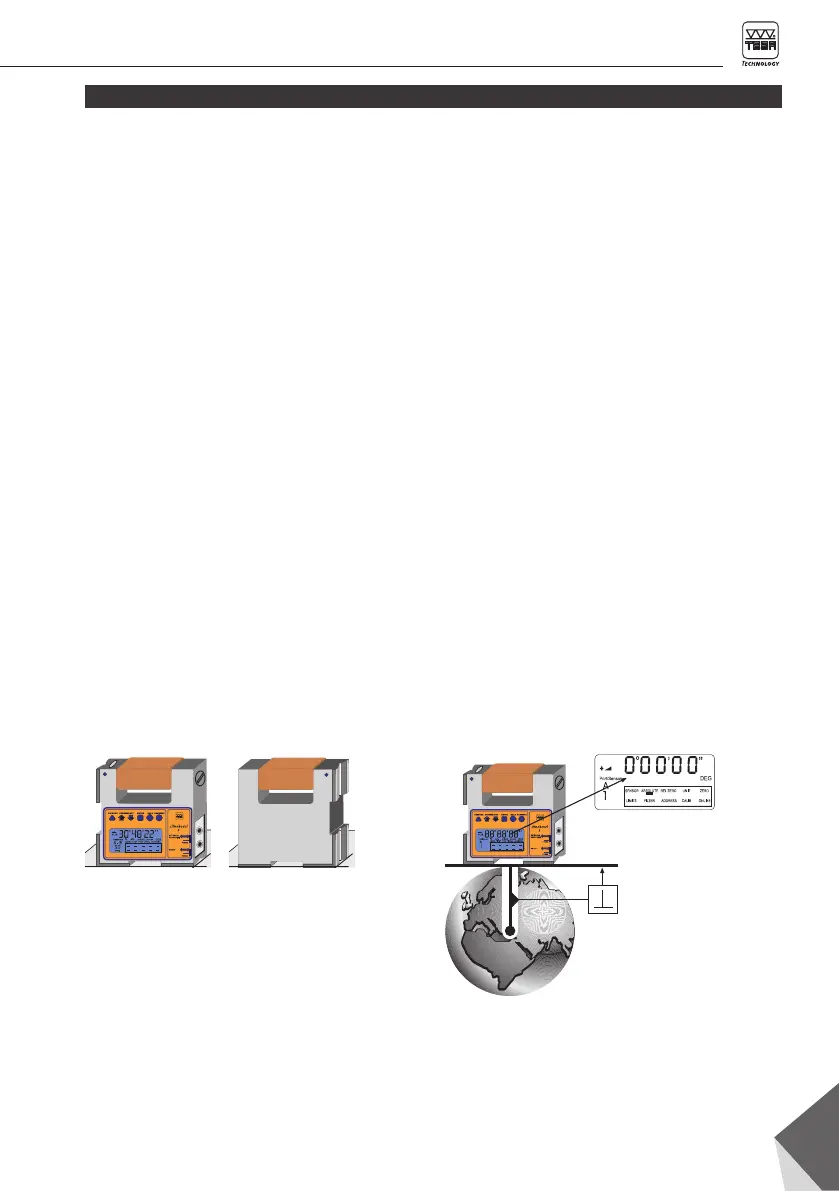
Initial display setting on the centre of gravity through a reverse measurement (See chapter 6.2)
– Function mode « ABSOLUTE »
1. Reverse measurement 2. Zero-setting
6.1 Summary of the possible display settings
– Carefully clean the two measuring faces and
the surface plate as well.
– If your display settings are based on the
centre of gravity, align the reference face as
much as possible.
– If necessary, wait until the temperature
between the inclinometer and the reference
surface has stabilised. This is a relevant
condition for reliable measurements.
– Switch the instrument on preferably before
beginning your dsplay settings and leave it at
rest on the surface plate for a few minutes.
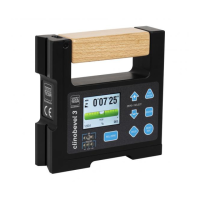
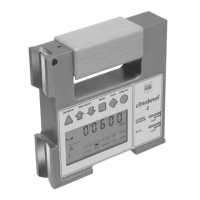
Absolute zero-point: CLINOBEVEL 2 displays
the value « 0 » if the ground measurement of the
inclinometer is connected and precisely poin-
ting the geocenter. (Procedure 6.2)
Virtual zero-point:
CLINOBEVEL 2 displays the
value « 0 » for each defined position.
(Procedure 6.3 et 6.4))
 Loading...