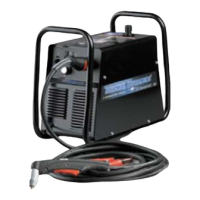
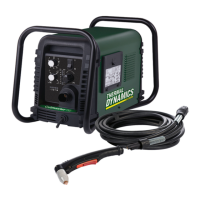
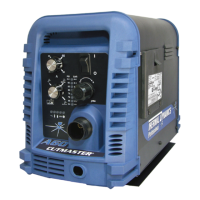
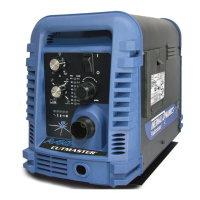
cutmaster 39
SERVICE 5-6 Manual 0-4976
5.02 Common Faults
Problem - Symptom Common Cause
Insufficient
Penetration
1. Cutting speed too fast.
2. Torch tilted too much.
3. Metal too thick.
4. Worn torch parts
5. Cutting current too low.
6. Non - Genuine Thermal Dynamics
parts used
7. Incorrect gas pressure
Main Arc
Extinguishes
1. Cutting speed too slow.
2. Torch standoff too high from
workpiece.
3. Cutting current too high.
4. Work cable disconnected.
5. Worn torch parts.
6. Non - Genuine Thermal Dynamics
parts used
Excessive Dross
Formation
1. Cutting speed too slow.
2. Torch standoff too high from
workpiece.
3. Worn torch parts.
4. Improper cutting current.
5. Non - Genuine Thermal Dynamics
parts used
6. Incorrect gas pressure
Short Torch Parts Life1. Oil or moisture in air source.
Exceeding system capability (material
too thick).
3. Excessive pilot arc time
4. Gas pressure too low.
5. Improperly assembled torch.
6. Non - Genuine Thermal Dynamics
parts used
Difficult Starting 1. Worn torch parts.
2. Non - Genuine Thermal Dynamics
parts used.
3. Incorrect gas pressure.
5.03 Circuit Fault Isolation
This section is to help isolate the defective cir-
cuit before troubleshooting, identify symptoms,
and test the unit for proper operation. Follow
the instructions as given to identify the possible
symptom(s) and the defective circuit. After re-
pairs are complete, run the following tests again
to verify that the unit is fully operational.
A. Initial Setup Conditions
1. Connect gas supply to rear of Power Sup-
ply.
2. Turn on gas supply and adjust Power Sup-
ply Gas Regulator to 65 psi / 4.5 bar.
3. Set the Power Supply controls as follows:
• ON/OFF / switch to OFF .
• CURRENT (A) control knob to maxi-
mum
• RUN / SET switch to SET
B. Main Input and Internal Power Tests
1. Connect main AC power to the unit.
2. Set the Power Supply ON/OFF switch to
ON (up position) and check the following:
• AC indicator steady ON
• TEMP Indicator OFF
• GAS Indicator ON
• Gas ows from torch
• Fan operates
• DC lndicator is OFF
3. Turn RUN / SET switch to RUN
• Gas should stop owing
4. Turn ON / OFF switch to OFF, then back
to ON. Check the following:
• AC indicator ON
• Temp indicator OFF
• Gas indicator ON (gas does not ow)
• Fan Operates
• DC indicator OFF
This completes the Main Input and Internal
Power Tests. If the unit functions as described
then proceed to paragraph ‘C’. If the unit does
not function as described then note the symptom
and proceed to Subsection 5.04, Main Input and
Internal Power Problems.

 Loading...

