Manual 0-2962 3-5 INSTALLATION
10. Connect the remote pendant adapter to the Remote
Control Cable Connector.
A-03582
1
2
Control Cable
Connector (Machine
Torches Only)
ATC Male
Connector
ATC Adapter
Female Receptacle
Torch Leads
To
Power Supply
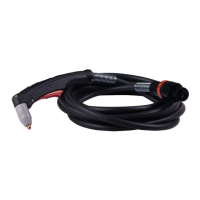
Torch Connection - Torch Leads with ATC Male
Connector, Power Supply with ATC Adapter
1
2
Control Cable
Connector (Machine
Torches Only)
ATC Male
Connector
ATC Female Receptacle
(Panel Mounted)
A-03602
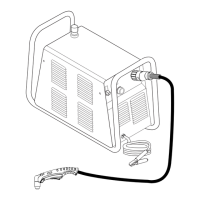
Torch Connection - Torch Leads with ATC Male
Connector, Power Supply with Panel-Mounted ATC
Receptacle
11. Check the torch for proper consumable parts.
CAUTION
The torch parts must correspond with the type of
operation. Refer to Section 4.04, Torch Parts Se-
lection.
C. Mechanized Machine Torch Systems -
Torches with O2B Connectors
Torches with O2B connectors connect directly to the
power supply bulkhead. Mechanized torch leads with
O2B connectors require a remote pendant adapter to ac-
cept a remote pendant.
WARNING
Disconnect primary power at the source before dis-
assembling the torch or torch leads.
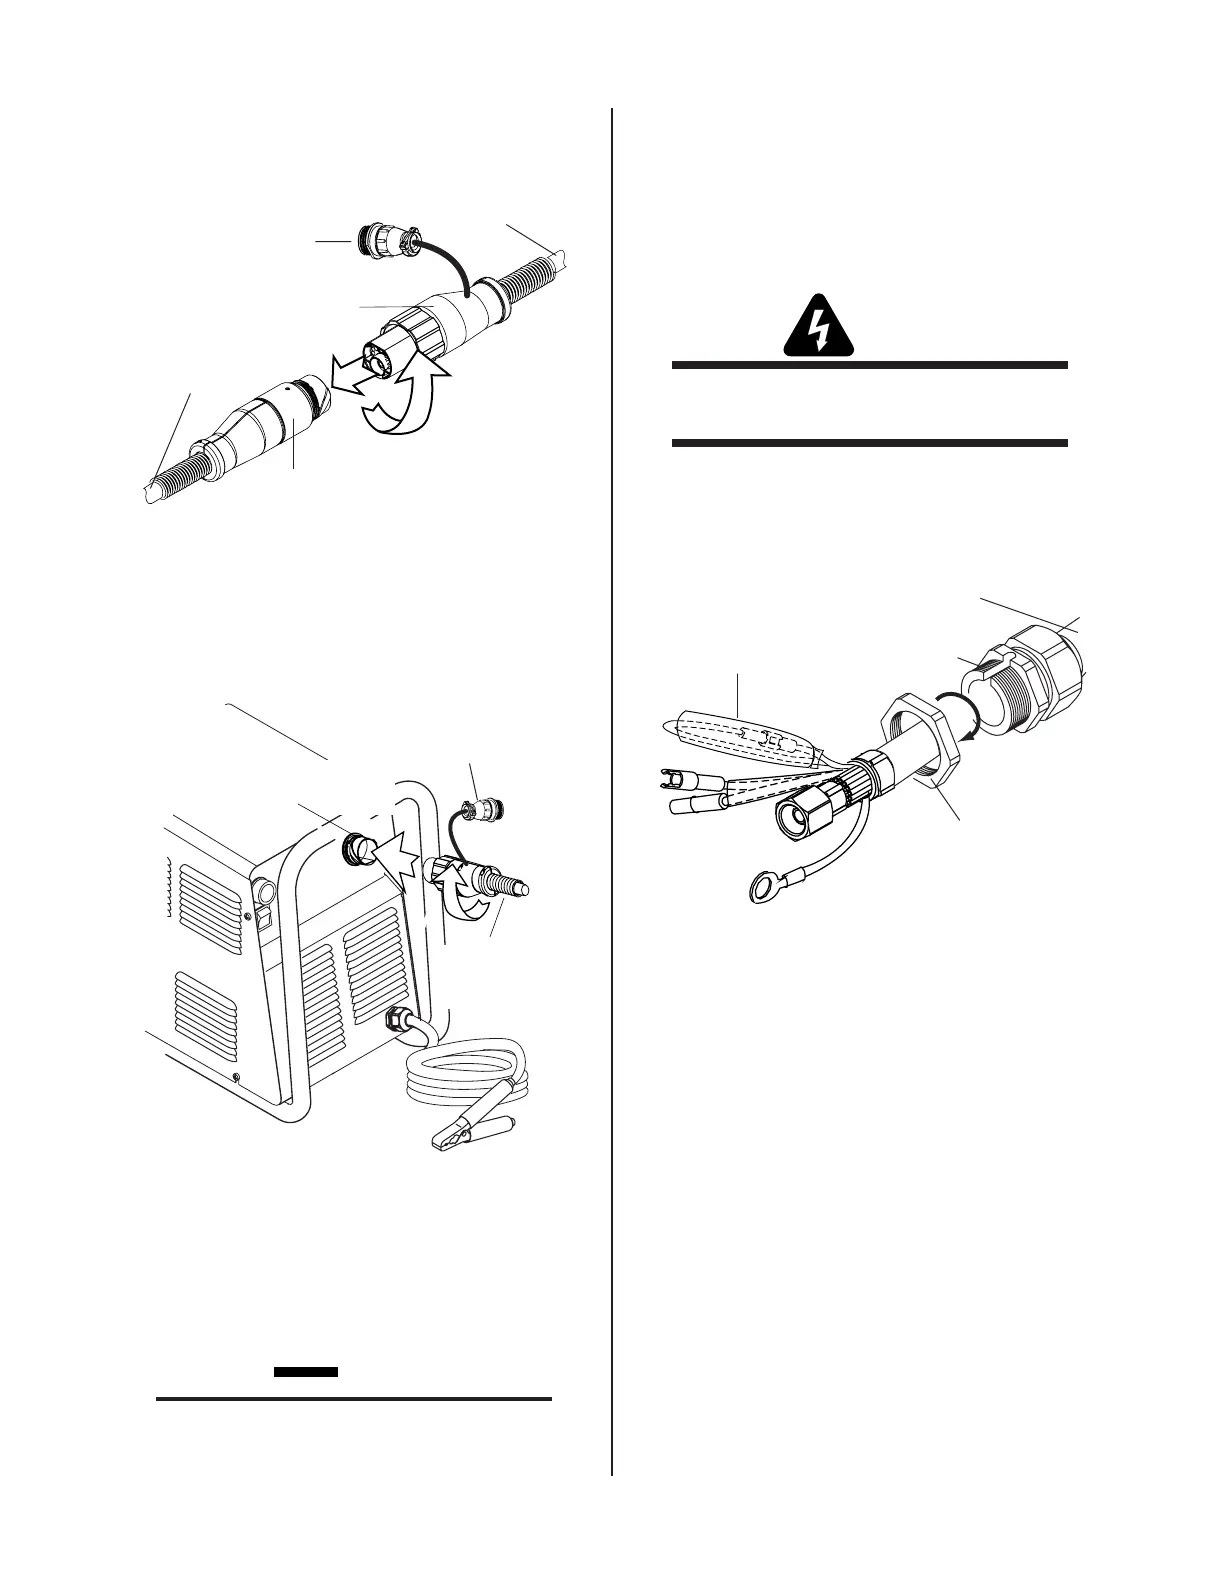
1. Remove the Through - Hole protector Nut from the
Through - Hole protector.
Through - Hole
Protector Nut
Through - Hole
Protector
Torch Leads
Assembly or ATC Adapter
Art # A-03877
Remove Tie Wrap,
Remove Insulator,
Disconnect Wires
Pilot Lead
Through - Hole Protector Nut Removal
2. The leads Assembly includes two wires joined with
mating connectors and covered with an insulat-
ing sleeve. Remove the tie wrap and insulating
sleeve. Disconnect the two joined wires.
3. Feed the end of the torch leads and the Through -
Hole protector into the hole in the unit.
4. Route the wire harness on the Remote Pendant
Adapter through the Through - Hole protector
and Through - Hole protector Nut. Tighten the
Through - Hole protector Nut to secure the
Through - Hole protector to the Power Supply.
5. Connect the Negative / Plasma lead to the bulk-
head connection inside the power supply.
 Loading...