Page 3
20442_D02
DC4100 2 Getting Started
2 Getting Started
2.1 Parts List
Please inspect the shipping container for damage. Please do not cut through the cardboard, as
the box might be needed for storage or returns.
If the shipping container appears to be damaged, keep it until you have inspected the contents
for completeness and tested the DC4100 mechanically and electrically.
Verify that you have received the following items within the package:
1. DC4100 LED Driver
2. Power Supply (12V / 5.5A)
3. Power Cord, Connector According to Ordering Country
4. USB 2.0 Cable
5. Quick Reference
2.2 Preparation
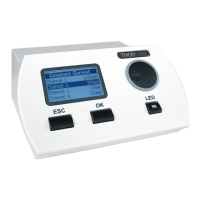
1. Connect the cable from the LED4Dxxx four-color light source to the socket labeled 'LED' at
the back of the main control unit.
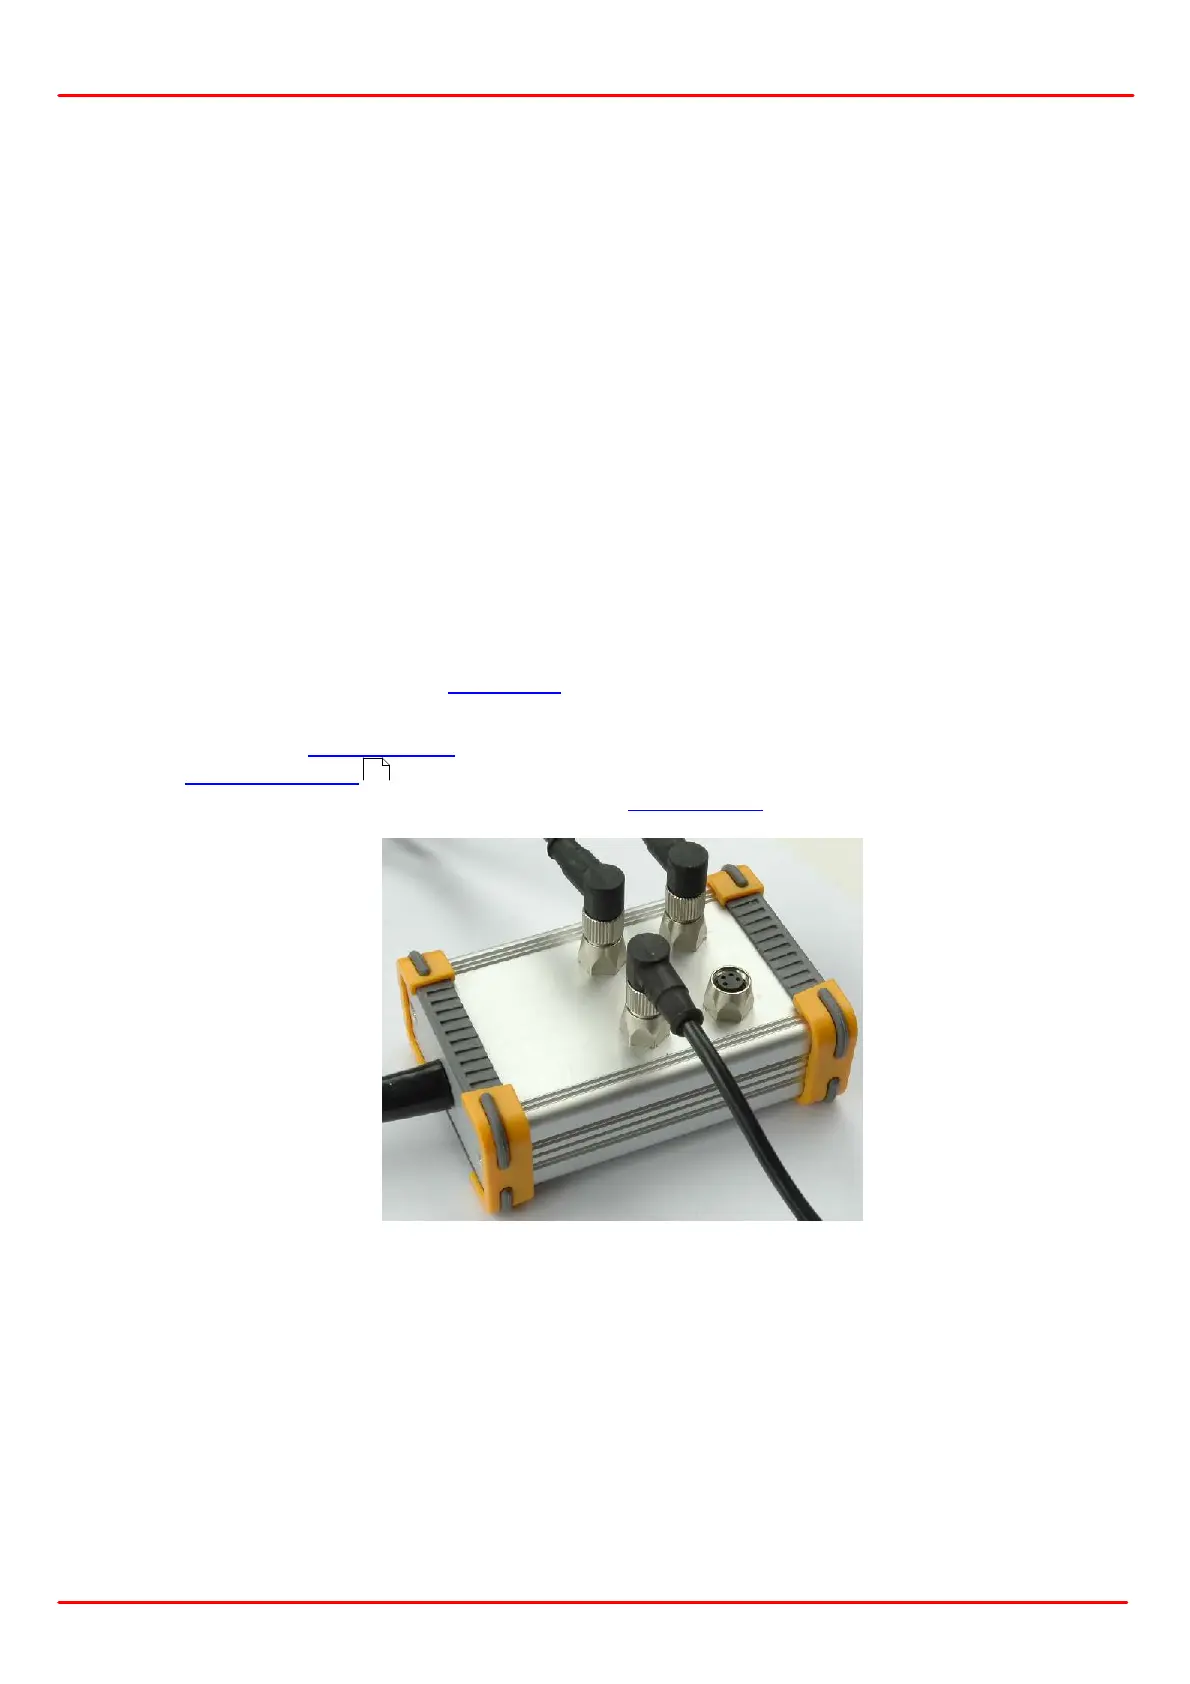
2. Alternatively, a DC4100-HUB can be connected to this socket. This allows to drive up to 4 of
the supported LEDs via the standard Thorlabs LED connector. Please see the figure be-
low. For PCB mounted LEDs, please use the CAB-LEDD1 adapter cable.
3. Connect the power supply cable to the main control unit. Please use only the power supply
which is included in the shipment of the DC4100 unit.
4. Plug in power supply.
5. Turn the unit on by pressing the power switch on the rear side of the unit.
6. After the device is powered up, the graphics display will show a 'Welcome' screen for a few
seconds.
7. The rated accuracy of the DC4100 is reached after a warm-up period of approximately 10
minutes.
2