42
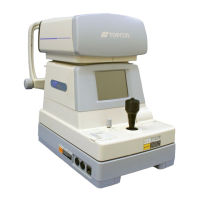
PREPARATIONS
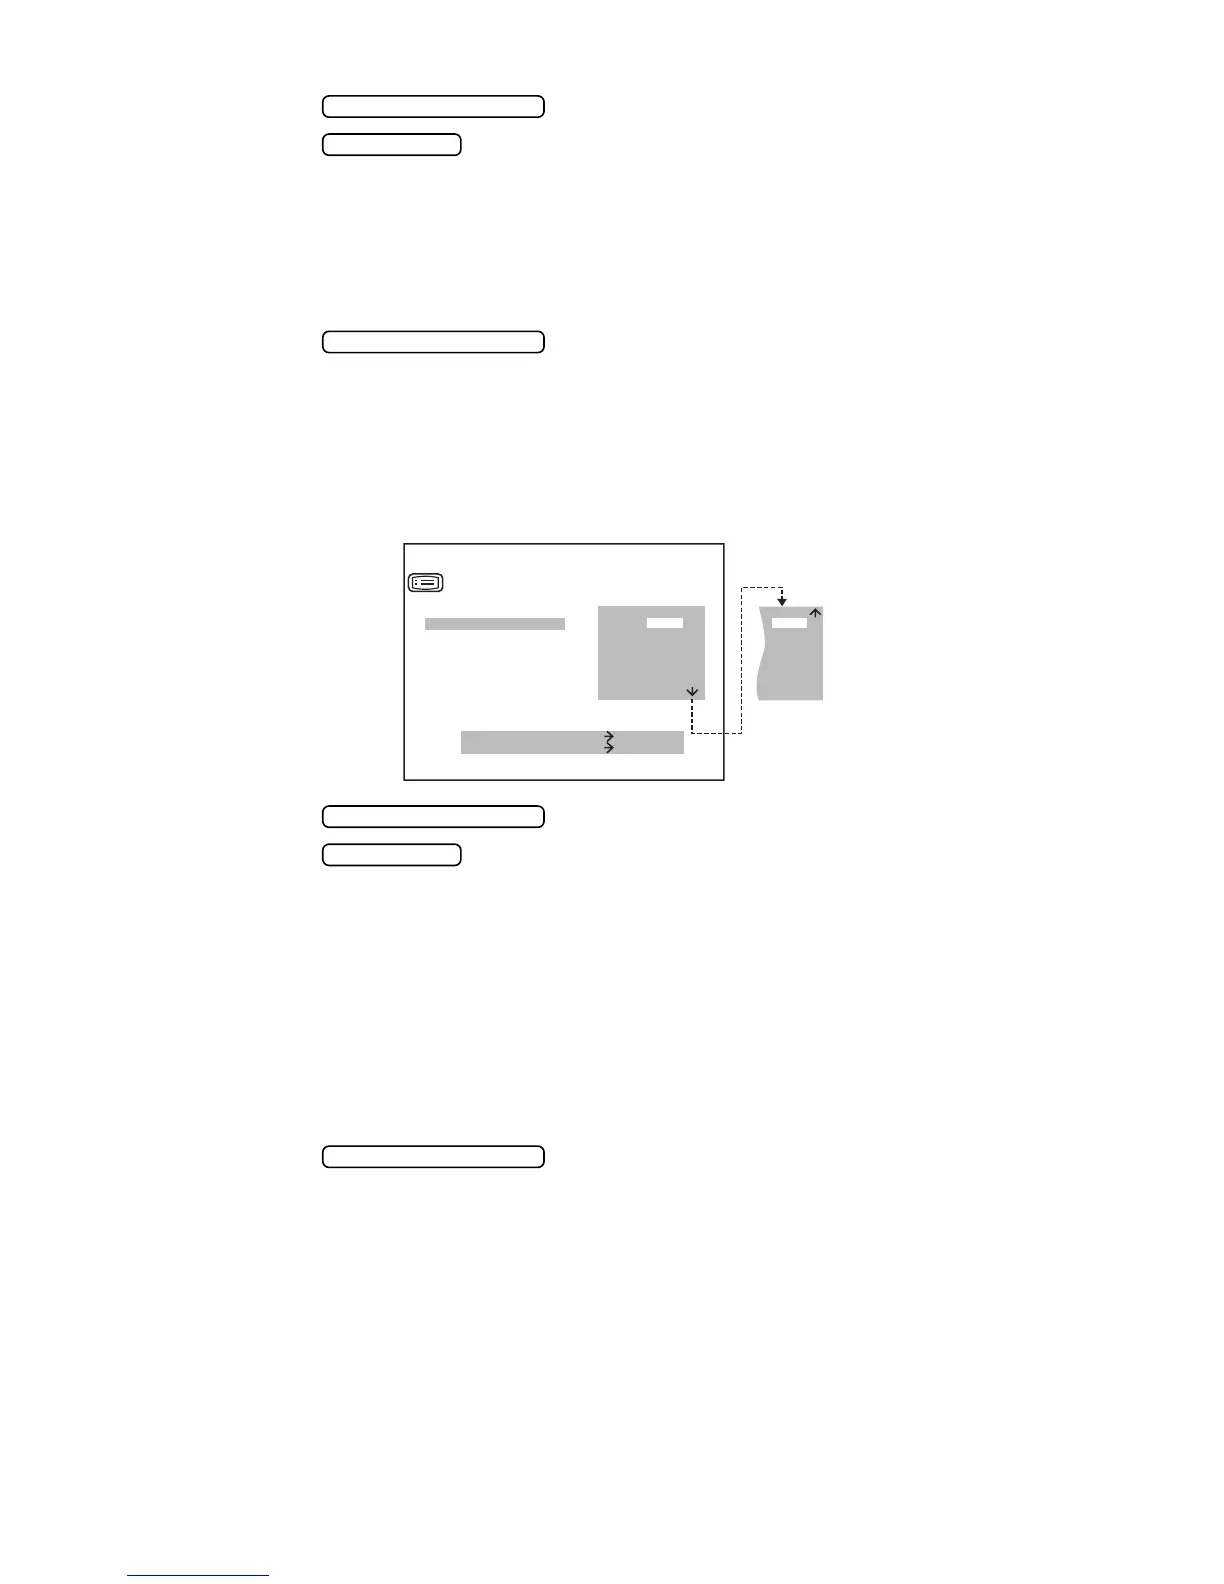
2 Press the and move the cursor to “CL INPUT”.
3 Press the and choose:
NO (no receiving),
OLD (OLD RS232C format),
NEW (NEW RS232C format),
STD1 (STD1 RS232C format),
R-ID (receives patient No. via RS232C input port for processing as real ID), or
W-ID (receives patient No. via RS232C input port for processing as work ID).
4 Press the , and the cursor moves to the next item.
SETTING COMMUNICATION FORMAT
The communication format can be set. Before shipment, it is set to “OLD” (old TOPCON
format).
1 In the “INITIAL MENU SCREEN”, choose “ON-LINE” and get the “ON-LINE SCREEN”.
2 Press the and move the cursor to “DATA FORMAT”.
3 Press the and choose:
OLD (OLD Topcon format),
NEW (NEW Topcon format),
STD1 (TOPCON STD1 format),
STD2 (TOPCON STD2 format),
ALL (tool mode),
CM1 (custom specification),
CM2 (custom specification),
CM3 (custom specification),
CM4 (custom specification), or
CM5 (custom specification).
4 Press the , and the cursor moves to the next item.
MEASUREMENT SWITCH
PRINT SWITCH
MEASUREMENT SWITCH
MEASURE SWITCH ITEM
PRINT SWITCH SELECT
CL INPUT
DATA FORMAT
BAUD-RATE
OUTPUT DATA TYPE
EXIT
ON-LINE
OLD
NEW
STD1
STD2
ALL
CM1
CM2
CM3
CM4
CM5
USB
MEASUREMENT SWITCH
PRINT SWITCH
MEASUREMENT SWITCH