Cleaning the Battery
Note: Keep the terminals and the entire battery case
clean, because a dirty battery discharges slowly .
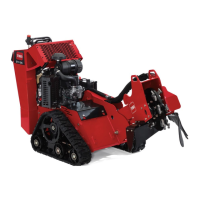
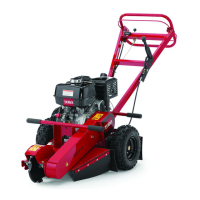
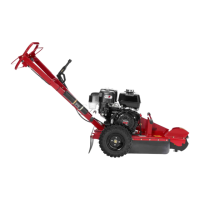
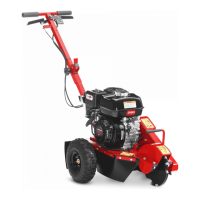
1. Park the machine on a level surface, engage
the parking brake (if applicable), and lower the
grinder .
2. Shut of f the engine and remove the key .
3. Remove the battery from the machine;
Removing the Battery ( page 29 ) .
4. W ash the entire case with a solution of baking
soda and water .
5. Rinse the battery with clear water .
6. Coat the battery posts and cable connectors with
Grafo 1 12X (skin-over) grease (T oro Part No.
505-47) or petroleum jelly to prevent corrosion.
7. Install the battery; refer to Installing the Battery
( page 30 ) .
Installing the Battery
1. Using the fasteners previously removed, install
the positive (red) battery cable to the positive (+)
battery terminal ( Figure 38 ).
2. Slide the red terminal boot onto the positive
battery post.
3. Using the fasteners previously removed, install
the negative (black) battery cable to the negative
(-) battery terminal ( Figure 38 ).
4. Secure the battery using the bar and wing nuts
( Figure 38 ).
Important: Ensure that the battery cables do not
contact any sharp edges or each other .
Servicing a Replacement Battery
The original battery is maintenance-free and does not
require service. For servicing a replacement battery ,
refer to the battery manufacturer ’ s instructions.
Replacing the Fuses
There are 4 fuses in the electrical system. They are
under the control panel on the left side ( Figure 40 ).
Start circuit
30 A
Charge circuit
25 A
Cooler fan circuit
20 A
Headlight (optional)
15 A
g013185
Figure 40
1. Fuse block
30