g007839
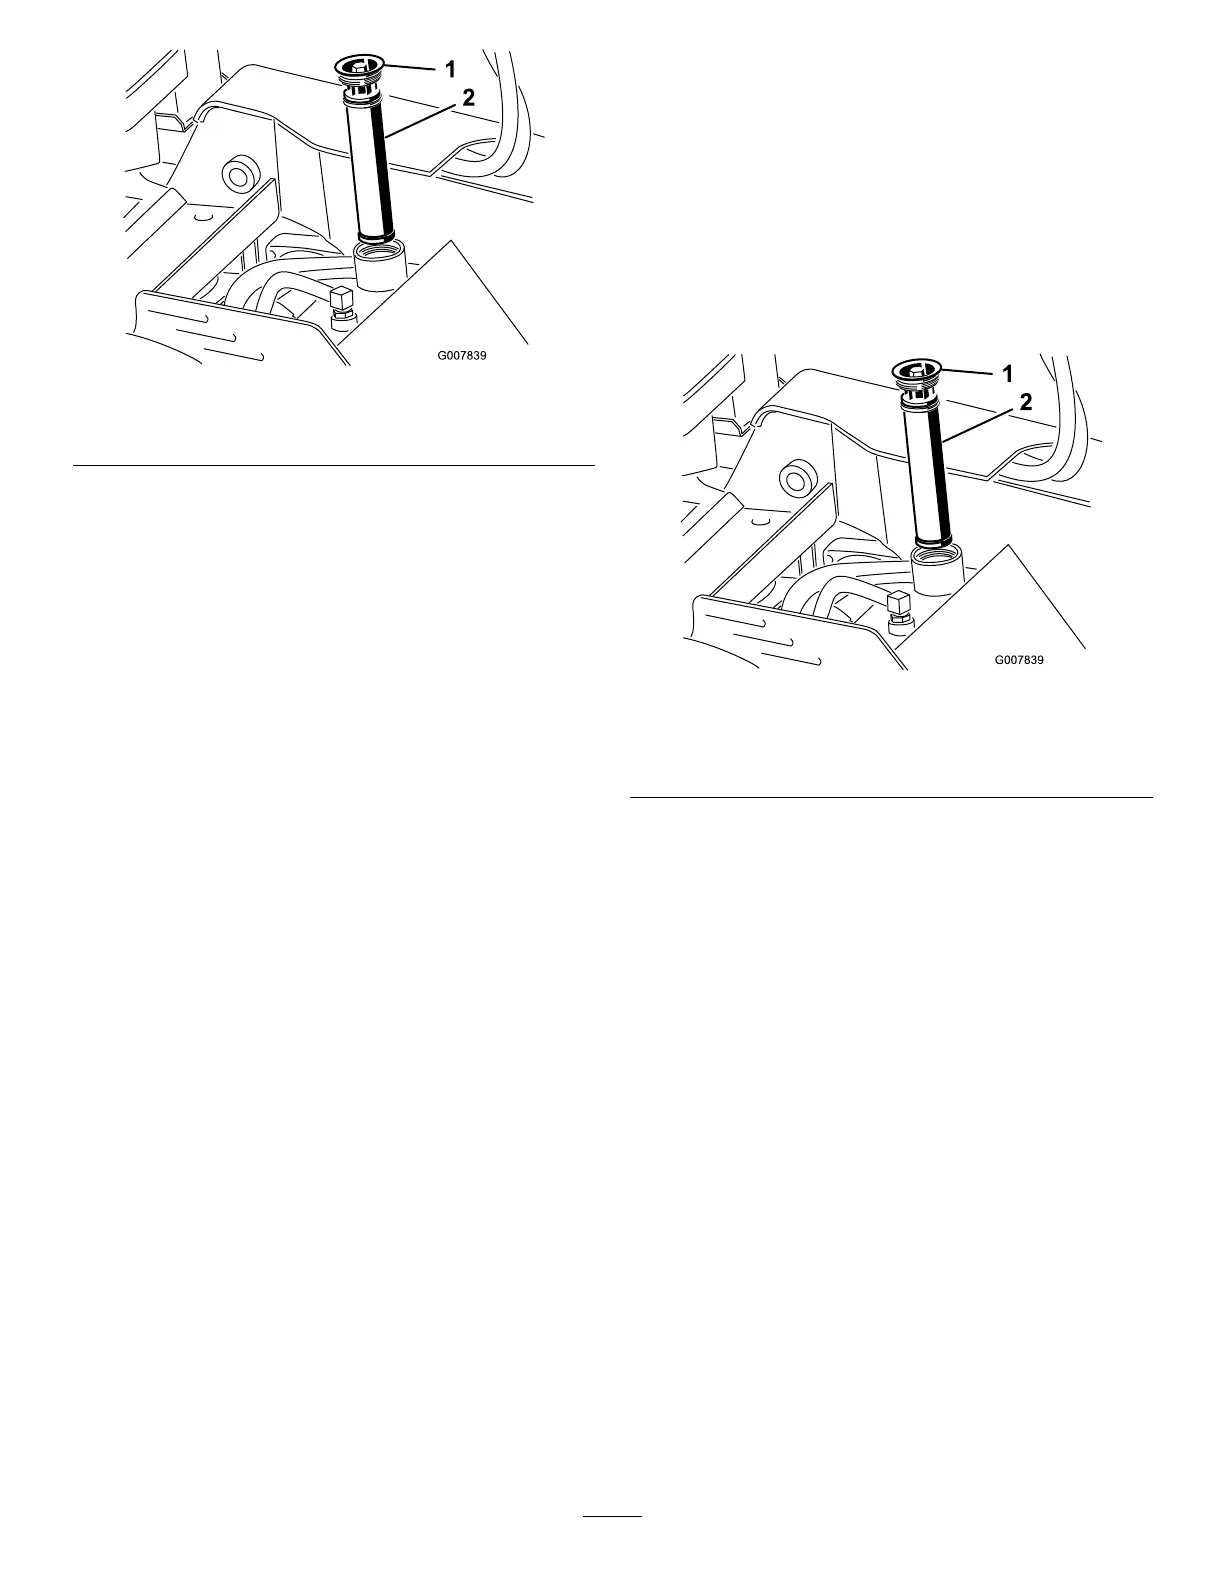
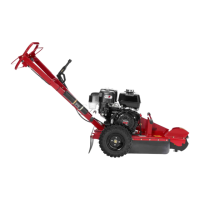
Figure 54
1. Filler-neck cap
2. Hydraulic-uid lter
6. If the level is low , add uid until it is visible in the
glass bubble.
7. Install the cap and lter on the ller neck and
torque bolt on top to 13 to 15.5 N∙m (1 10 to 140
in-lb).
8. Install the cover plate; refer to Removing the
Cover Plate ( page 21 ) .
Replacing the Hydraulic
Filter
Service Interval : Every 200 hours
1. Park the machine on a level surface, engage
the parking brake (if applicable), and lower the
grinder .
2. Shut of f the engine and remove the key .
3. Remove the top cover .
4. Remove and discard the old lter ( Figure 55 ).
g007839
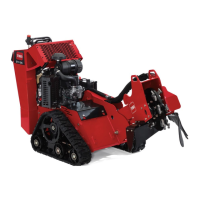
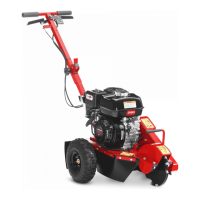
Figure 55
1. Filler cap
2. Hydraulic lter
5. Install the replacement hydraulic lter and ller
cap ( Figure 55 ) and torque the bolt on top to 13
to 15.5 N∙m (1 10 to 140 in-lb).
6. Clean up any spilled uid.
7. Install the top cover .
Changing the Hydraulic
Fluid
Service Interval : Every 400 hours/Y early (whichever
comes rst)
1. Park the machine on a level surface, engage
the parking brake (if applicable), and lower the
grinder .
2. Shut of f the engine and remove the key .
3. Allow the machine to cool completely .
4. Remove the top cover .
5. Remove the hydraulic-tank ller cap and lter
( Figure 54 ).
6. Place a drain pan capable of holding 37.8 L (10
US gallons) under the hydraulic tank.
7. Pinch the hose clamp and slide the clamp and
hose of f the tting on the hydraulic tank, allowing
38