5. Sit on the seat, disengage the parking brake,
move the blade-control switch (PT O) to the O FF
position, and move the motion-control levers
to the N EUTRAL - LOCK position. T ry starting the
engine; the engine should not start.
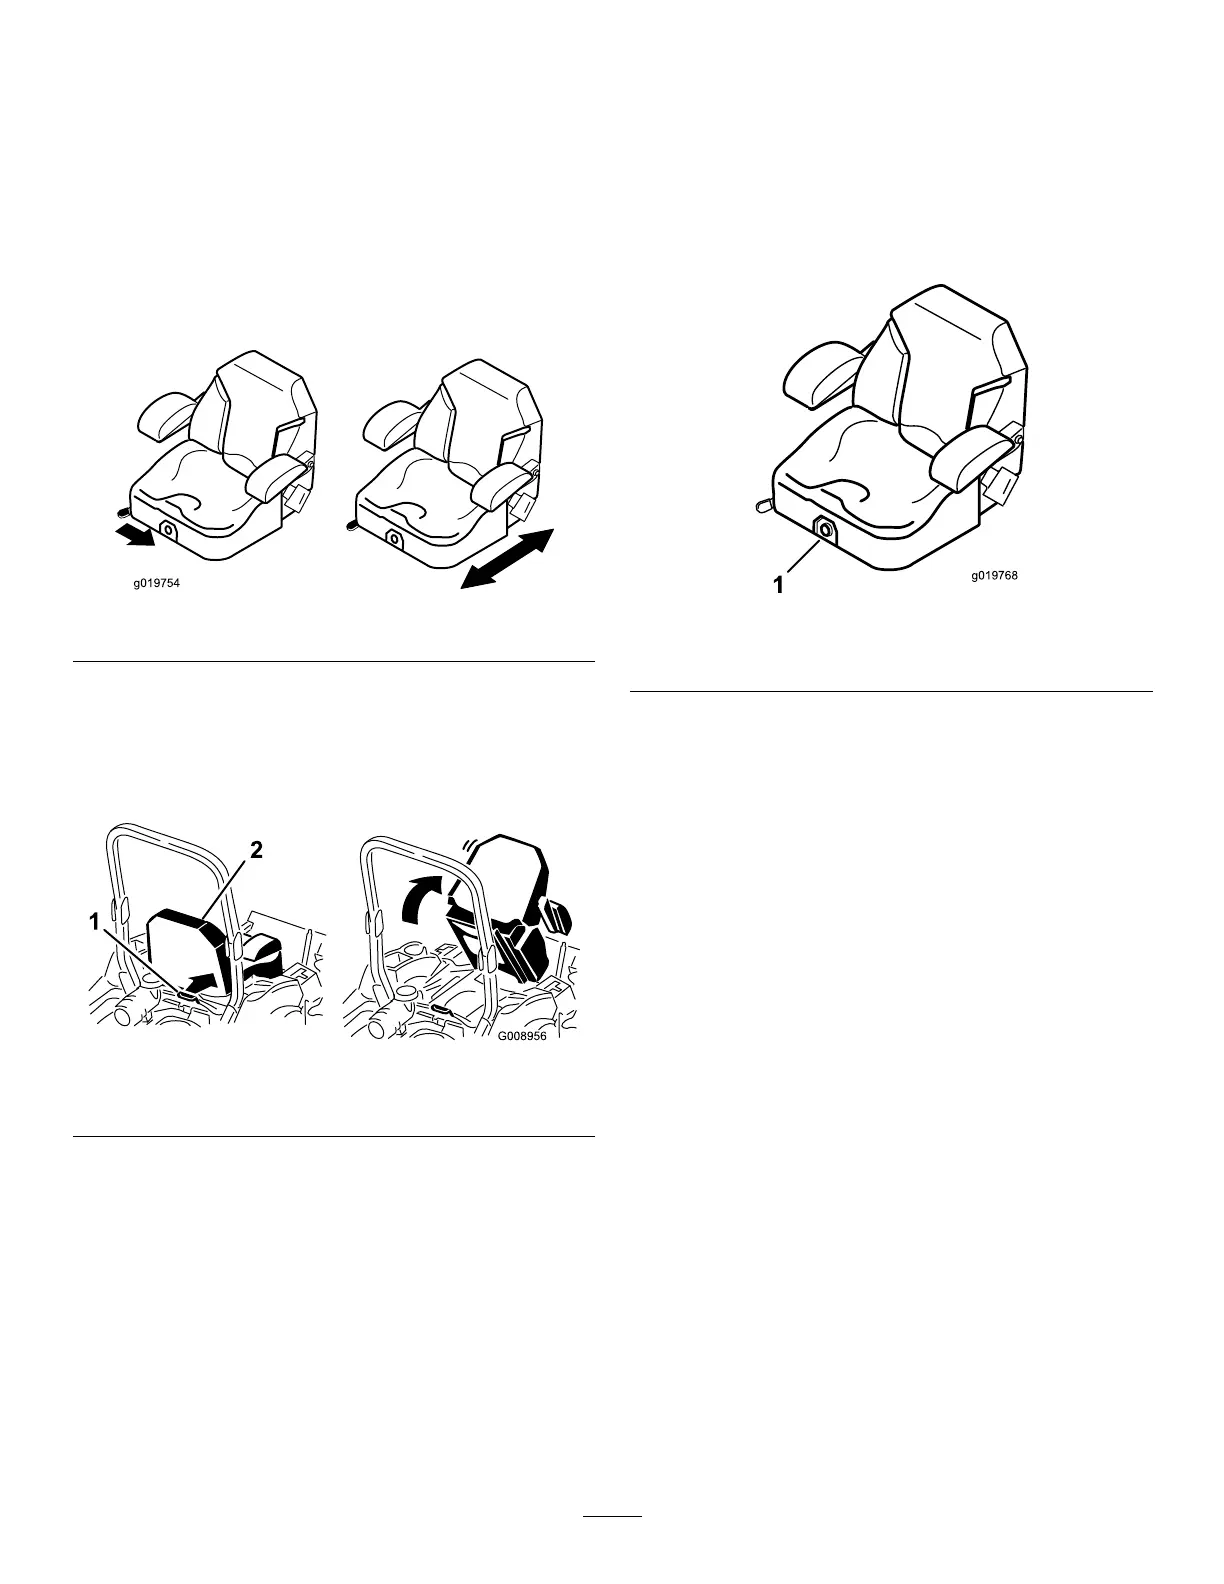
Positioning the Seat
The seat can move forward and backward. Position
the seat where you have the best control of the
machine and are most comfortable ( Figure 12 ).
g019754
Figure 12
Unlatching the Seat
T o unlatch the seat, push the seat latch forward
( Figure 13 ).
g008956
Figure 13
1. Seat latch 2. Seat
Changing the Seat
Suspension
The seat is adjustable to provide a smooth and
comfortable ride. Position the seat where you are
most comfortable.
T o adjust it, turn the knob in front either direction to
provide the best comfort ( Figure 14 ).
g019768
Figure 14
1. Seat-suspension knob
During Operation
During Operation Safety
General Safety
• The owner/operator can prevent and is responsible
for accidents that may cause personal injury or
property damage.
• Use your full attention while operating the
machine. Do not engage in any activity that
causes distractions; otherwise, injury or property
damage may occur .
• Do not operate the machine while ill, tired, or
under the inuence of alcohol or drugs.
• Contacting the blade can result in serious personal
injury . Shut of f the engine, remove the key , and
wait for all moving parts to stop before leaving the
operating position. When you turn the key to the
OFF position, the engine should shut of f and the
blade should stop. If not, stop using your machine
immediately and contact an Authorized Service
Dealer .
• Operate the machine only in good visibility and
appropriate weather conditions. Do not operate
the machine when there is the risk of lightning.
• Keep your hands and feet away from the cutting
units. Keep clear of the discharge opening.
24