Servicing a Kawasaki
®
Engine
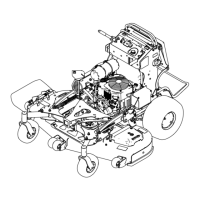
This section is only for machines with Kawasaki
engines. If your engine looks like the one shown in
Figure 52 , you have a Kawasaki engine.
Important: Refer to your engine owner ’ s manual
for additional maintenance procedures.
g036714
Figure 52
Servicing the Air Cleaner
Service Interval : Every 250 hours —For Kawasaki
engines—replace the primary air
lter (more often in dirty or dusty
conditions).
Every 250 hours —For Kawasaki
engines—check the safety air lter (more often
in dirty or dusty conditions).
Every 500 hours —For Kawasaki
engines—replace the safety air lter
(more often in dirty or dusty conditions).
Note: Service the air cleaner more frequently if
operating conditions are extremely dusty or sandy .
Removing the Filters
1. Park the machine on a level surface, disengage
the blade-control switch (PT O), and engage the
parking brake.
2. Shut of f the engine, remove the key , and wait
for all moving parts to stop before leaving the
operating position.
3. Release the latches on the air cleaner and pull
the air-cleaner cover of f the air-cleaner body
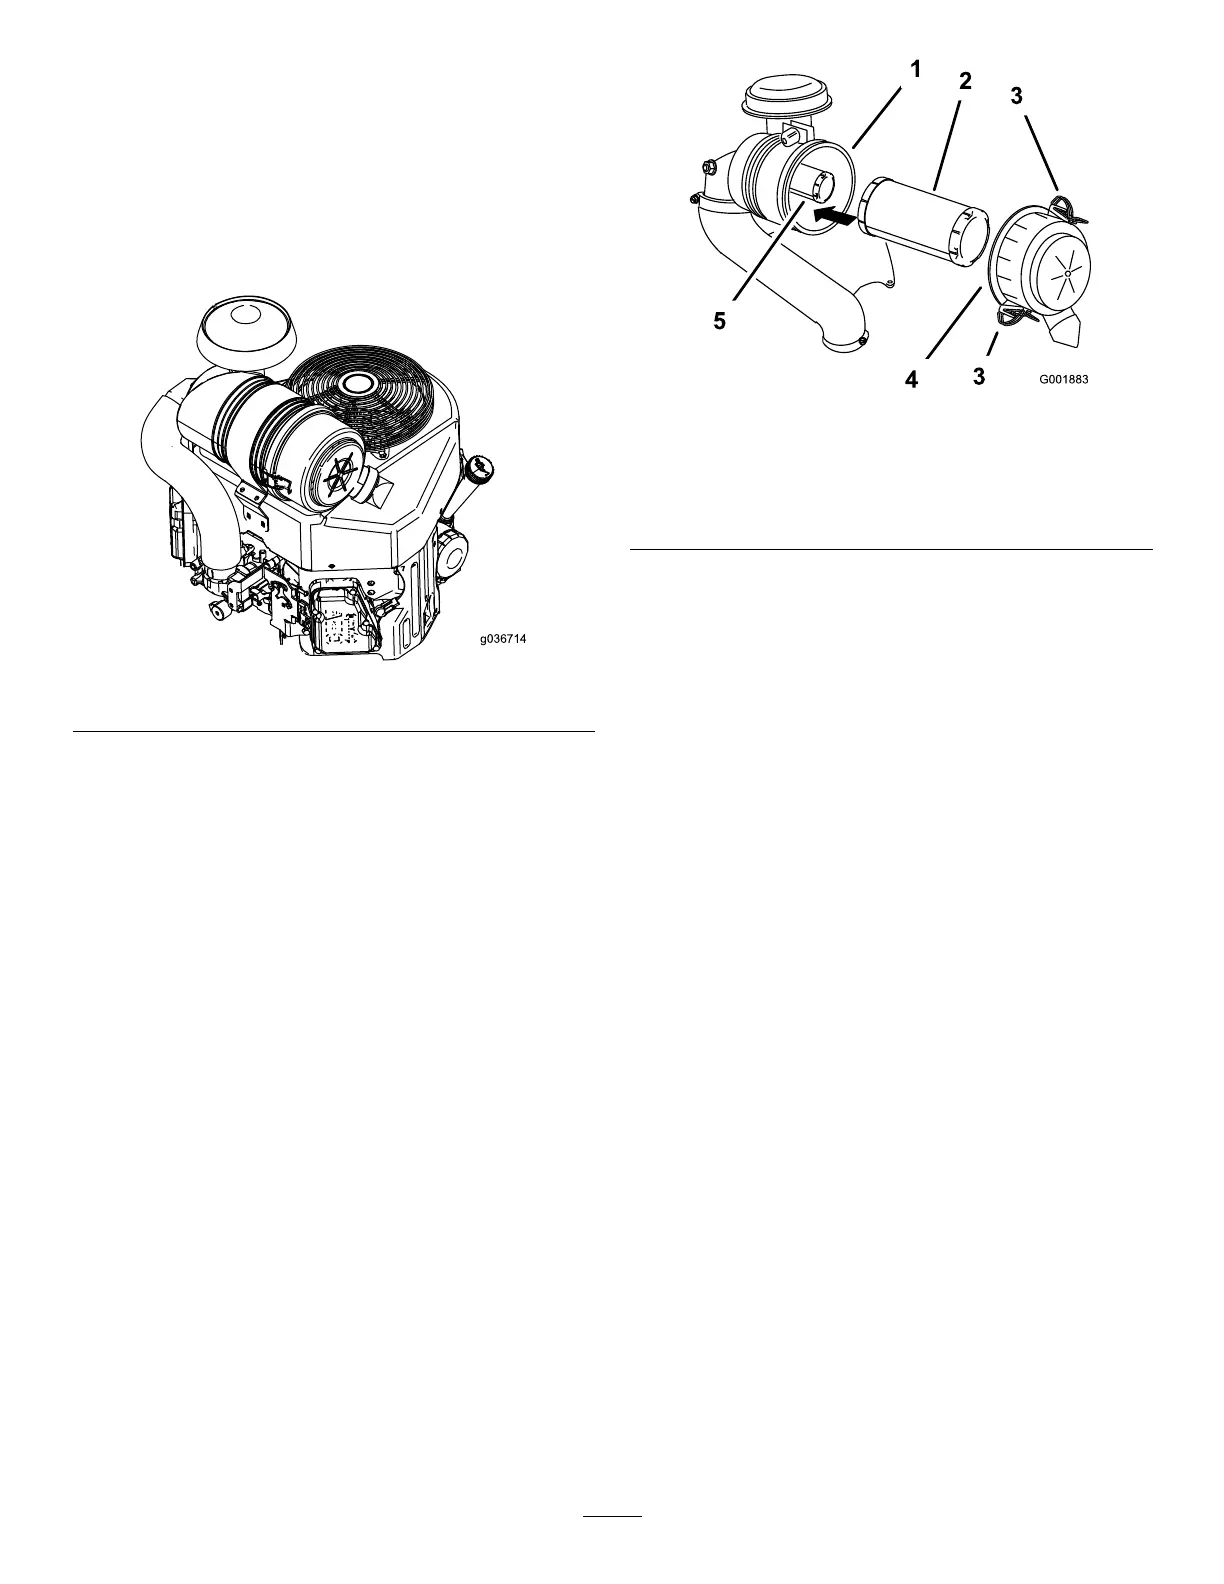
( Figure 53 ).
g001883
Figure 53
1. Air-cleaner body 4. Air-cleaner cover
2. Primary lter 5. Safety lter
3. Latch
4. Clean the inside of the air-cleaner cover with
compressed air .
5. Gently slide the primary lter out of the
air-cleaner body ( Figure 53 ).
Note: A void knocking the lter into the side of
the body .
6. Remove the safety lter only to replace it.
Inspecting the Filters
1. Inspect the safety lter . If it is dirty , replace both
the safety and primary lters.
Important: Do not attempt to clean the
safety lter . If the safety lter is dirty , then
the primary lter is damaged.
2. Inspect the primary lter for damage by looking
into the lter while shining a bright light on the
outside of the lter . If the primary lter is dirty ,
bent, or damaged, replace it.
Note: Holes in the lter appear as bright spots.
Do not clean the primary lter .
Installing the Filters
Important: T o prevent engine damage, always
operate the engine with both air lters and the
cover installed.
1. If you are installing new lters, check each lter
for shipping damage.
Note: Do not use a damaged lter .
2. If you are replacing the inner lter , carefully slide
it into the lter body ( Figure 53 ).
45