TractionDriveSystemInstallation(WheelClutchModels)(continued)
6.Beforeinstallingtheaxlewiththe44–toothsprockets,applyalightcoatof
anti-seizetotheouter5inchesofbothendsoftheaxleshaft.Applyalight
coattotheinsidediameteratbothendsofthetube(about4inches).
Figure65
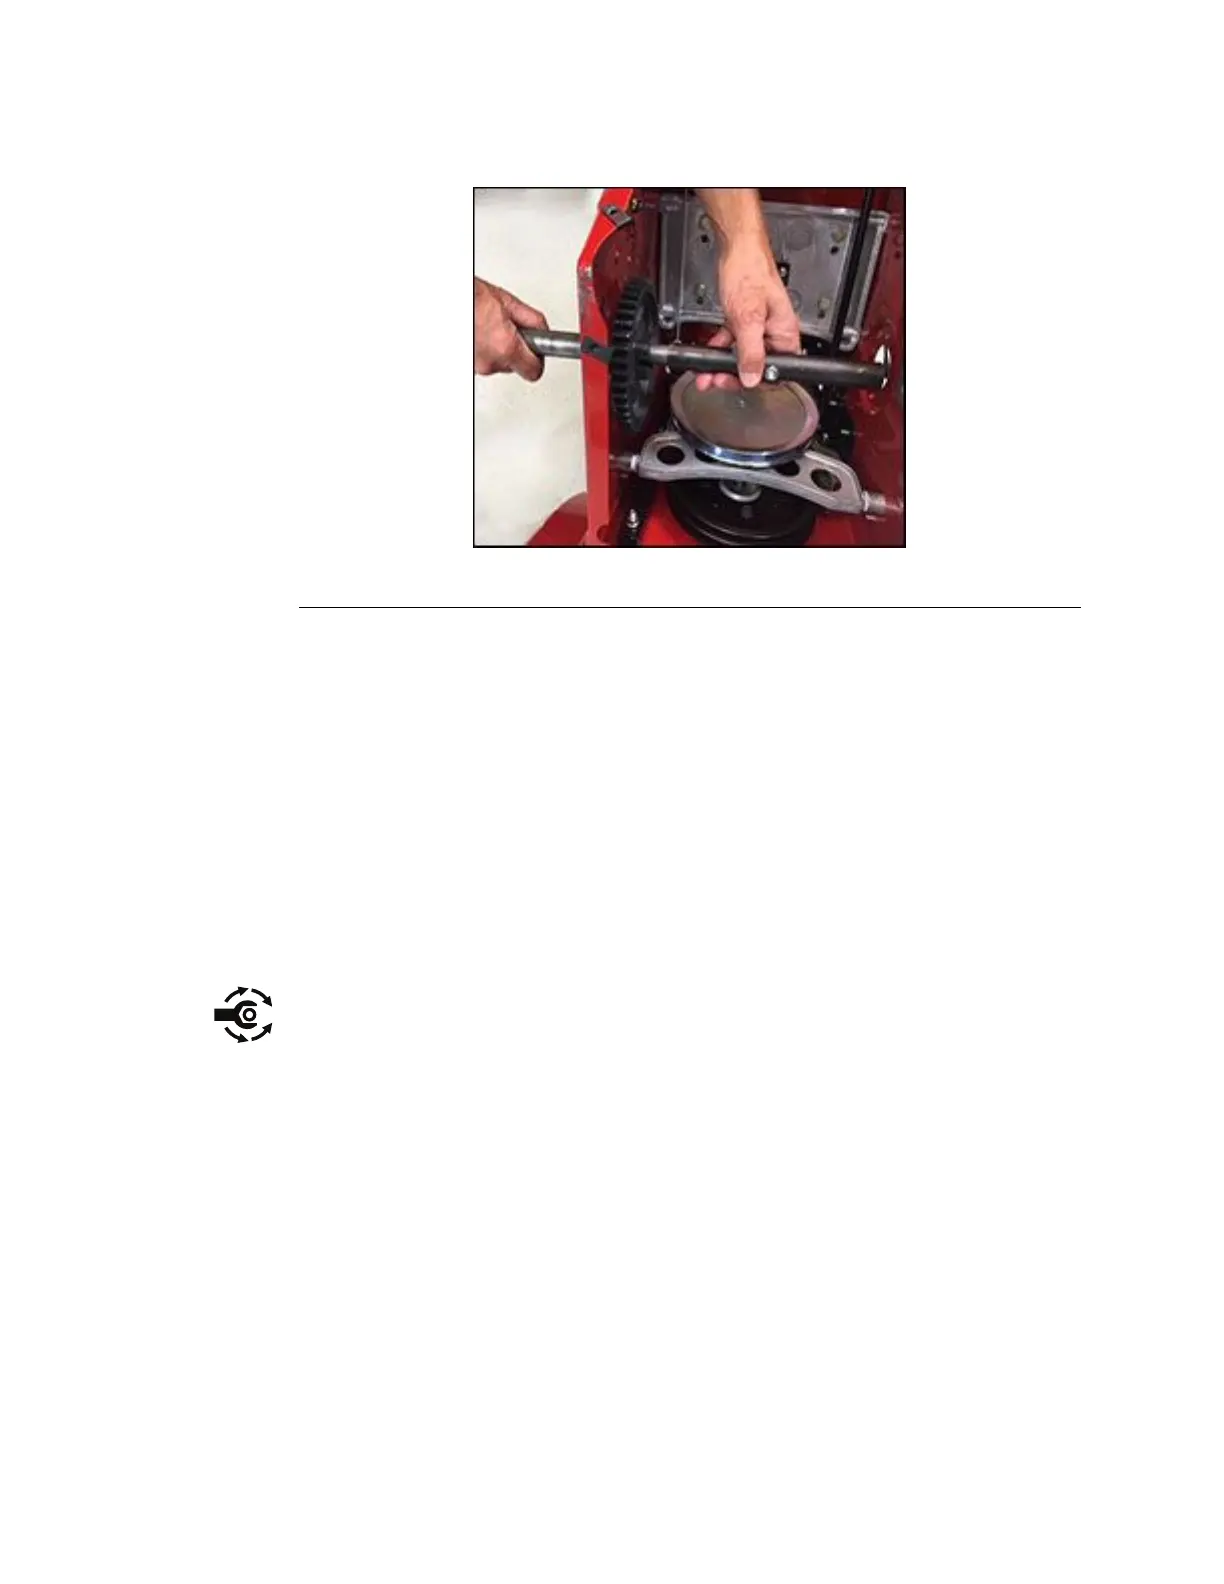
7.Installtheaxleshaftwiththe44–toothgear.
8.Insertthetubeoftheaxleshaftthroughthehousing.
9.Installtheotheraxle.
10.Lightlycoatthe44–toothsprocketwithgrease.
11.Beforeinstallingthewheelclutchassembly,lightlycoatthe11–toothgearof
thewheelclutchwithgrease.
12.Installthewheelclutchassemblywiththebraceshiftplatefacingawayand
uptowardsthehousing.Thecollarsareinstalledwiththe“RIGHT”and
“LEFT”facinginward.
13.Routethechainsaroundthe32–toothsprocketoftheclutchassembly.
14.Attachtheshiftbraceplatetothehousing.
15.T orquethe2intermediateshaftscrewsto170–225in-lbs.(19.2–33.9Nm).
16.Installthe2extensionspringsfromthelowerpartoftheshiftcollarangeto
thehousing.
17.InstalltheZ-bendoftheclutchcablefromtheoutsidetotheinsideofthe
shiftcollar.
18.Installtheshiftrodontothehousing,makingsurethebearingtsintothe
trunnion.
19.Installtheupperandlowercovers,withtheuppercoverover-lappingthe
lowercover.
20.Connecttheshiftlinkagetotheshiftrod.
21.Installthewheels.Thewheelsareinstalledwiththe“V”treadrotatingforward.
22.Installthebeltcover.
23.Checktheclutchcableadjustmentandadjustifnecessary.SeeAdjustments.
WheelClutchTractionDriveSystem:ServiceandRepairs
Page9–12
POWERMAX®HDServiceManual
3424-820RevA
 Loading...