EasyManuals Logo

Toshiba E-STUDIO6506AC Scanning Guide

Toshiba E-STUDIO6506AC
66 pages
To Next Page IconTo Next Page
To Previous Page IconTo Previous Page
Page #28 background imageLoading...
Page #28 background image
2.SCANNING (BASIC OPERATION)
28 Sending Data to an E-mail Address
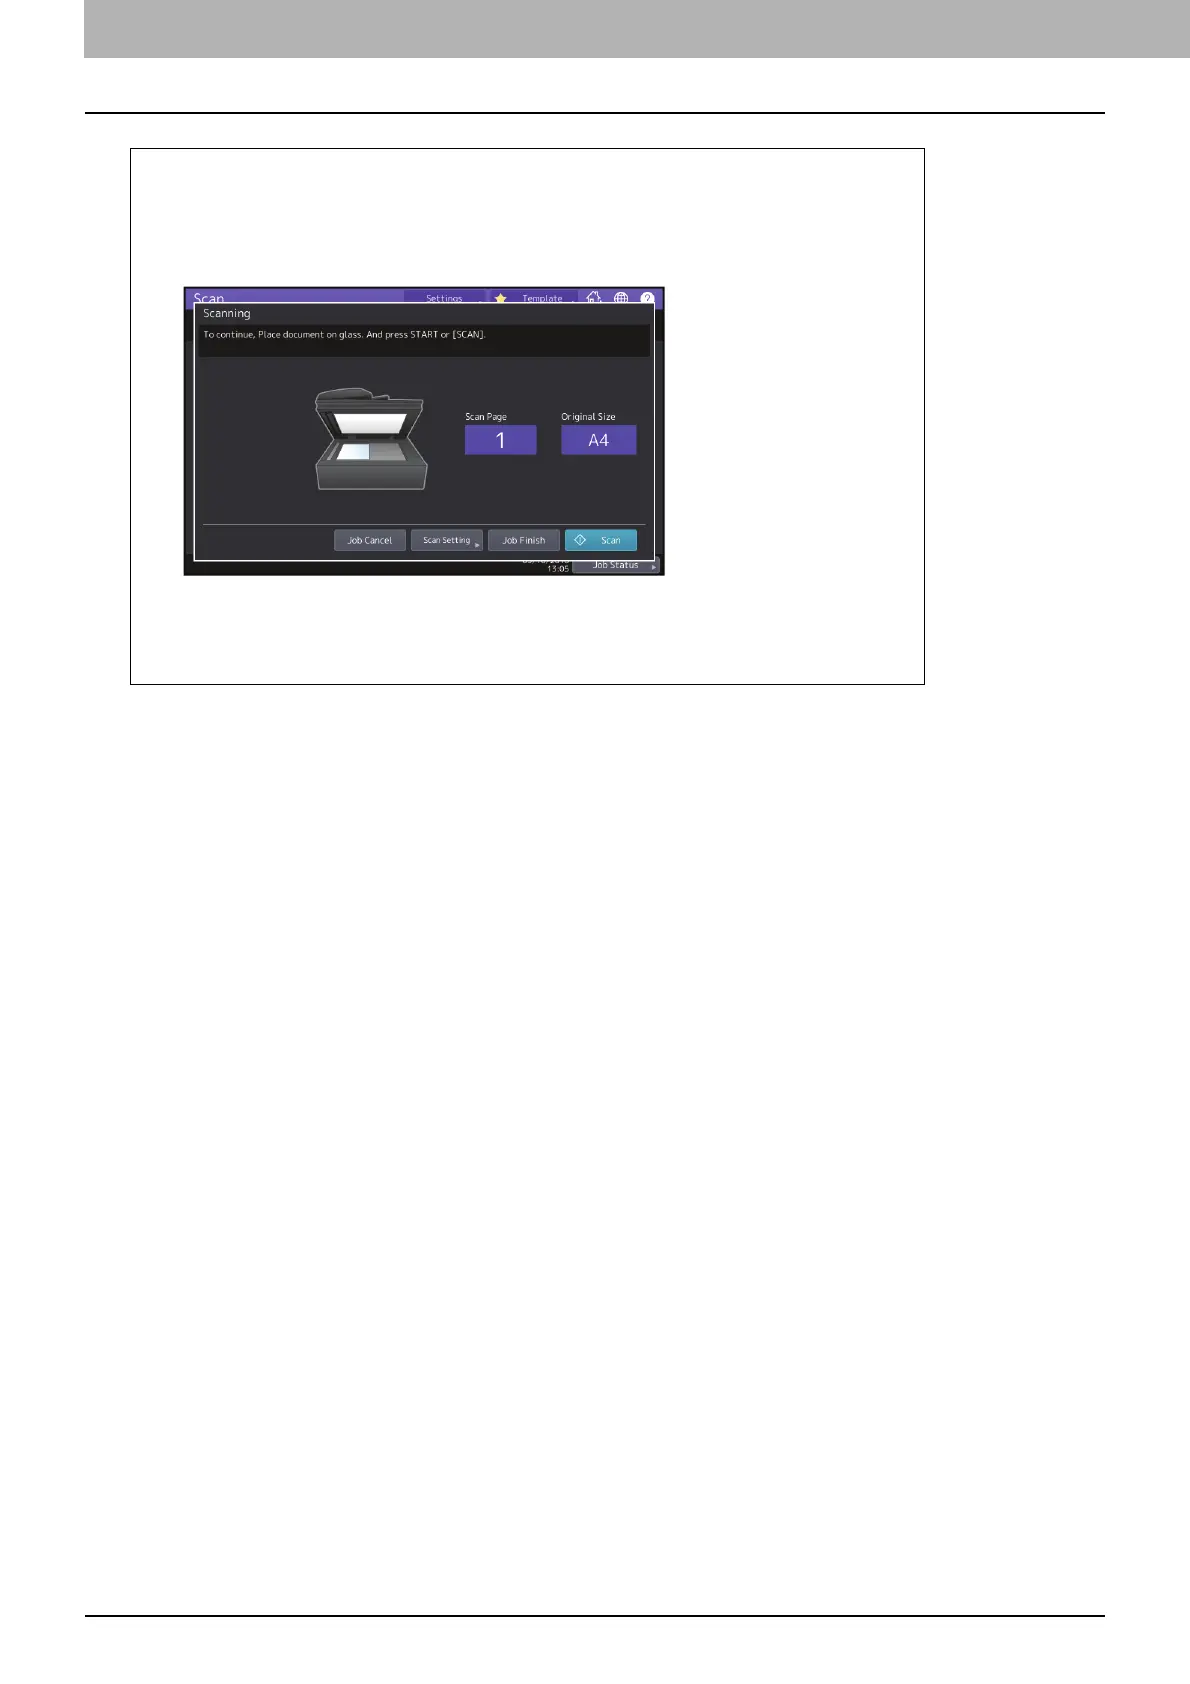
Scanning the next original
When the original is set on the glass or [Continue] is pressed during scanning on the ADF, the
confirmation screen for the next original will be displayed. In either case, when you set the
next original and press [Scan], it will be scanned. Follow this procedure as many times as
necessary. When all of the scanning is finished, press [Job Finish].
To cancel the operation, press [Job Cancel].
To change the scan settings, press [Scan Setting].
P.38 “Changing Scan Settings”

Table of Contents

Other manuals for Toshiba E-STUDIO6506AC

Questions and Answers:

Question and Answer IconNeed help?

Do you have a question about the Toshiba E-STUDIO6506AC and is the answer not in the manual?

Toshiba E-STUDIO6506AC Specifications

General IconGeneral
BrandToshiba
ModelE-STUDIO6506AC
CategoryAll in One Printer
LanguageEnglish

Related product manuals