18
Address Setup
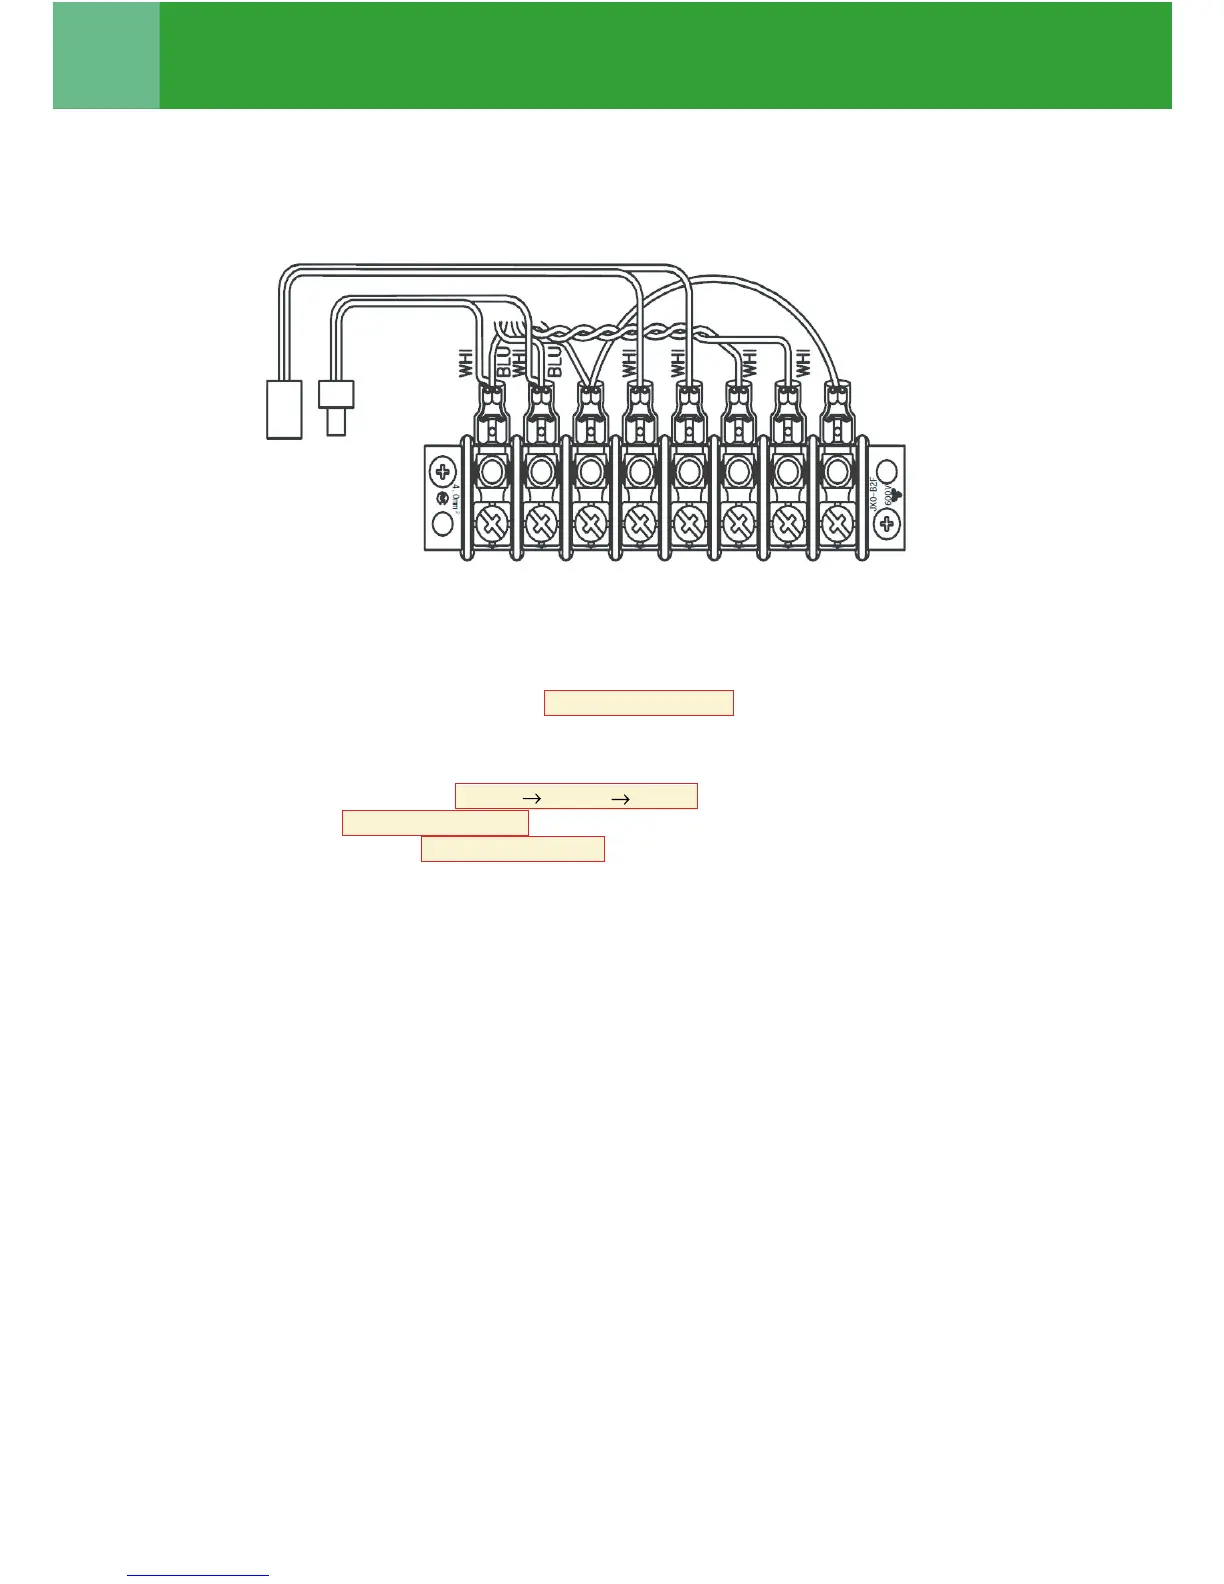
2 Be sure to disconnect the relay connectors between the [U1U2] and [U3U4] terminals on all the header
outdoor units that will be connected to the central control. (Factory default: disconnected)
3 Turn on indoor units first, and then turn on outdoor units.
4 About 1 minute after turning the power on, confirm that the 7-segment display on the interface P.C.
board of the header outdoor unit indicates U. 1. L08 (U. 1. flash) .
5 Push SW 15 to start the automatic address setting.
(It may take up to 10 minutes (normally about 5 minutes) to complete one line’s setting.)
6 The 7-segment display indicates Auto 1 Auto 2 Auto 3 .
After the indication, U. 1. - - - (U. 1. flash) starts flashing on the display.
When the flashing stops and U. 1. - - - (U. 1. light) , remains lit on the display, the setting is complete.
7 Repeat steps 4 to 6 for other refrigerant lines.
Be sure to implement a test operation prior to the actual operation in each system.
2