64
Chapter 10
Customize Your Network Settings
• Group Key Update Period: Enter the number of seconds to control the time interval
for the encryption key automatic renewal. The default is 0, indicating no key renewal.
• WMM: This feature guarantees the packets with high-priority messages being
transmitted preferentially. WMM is enabled compulsively under 802.11n or 802.11ac
mode.
• Short GI: This feature is enabled by default and recommended to increase the data
capacity by reducing the Guard Interval (GI) time.
Note:
If you are not familiar with the settings mentioned above, it’s strongly recommended that you keep the provided default
settings; otherwise it may result in lower wireless network performance.
¾ To enable WDS bridging function:
Locate the WDS section and select the Enable WDS Bridging check box. And then set
the information of the router to be bridged. Refer to FAQ for detailed instructions.
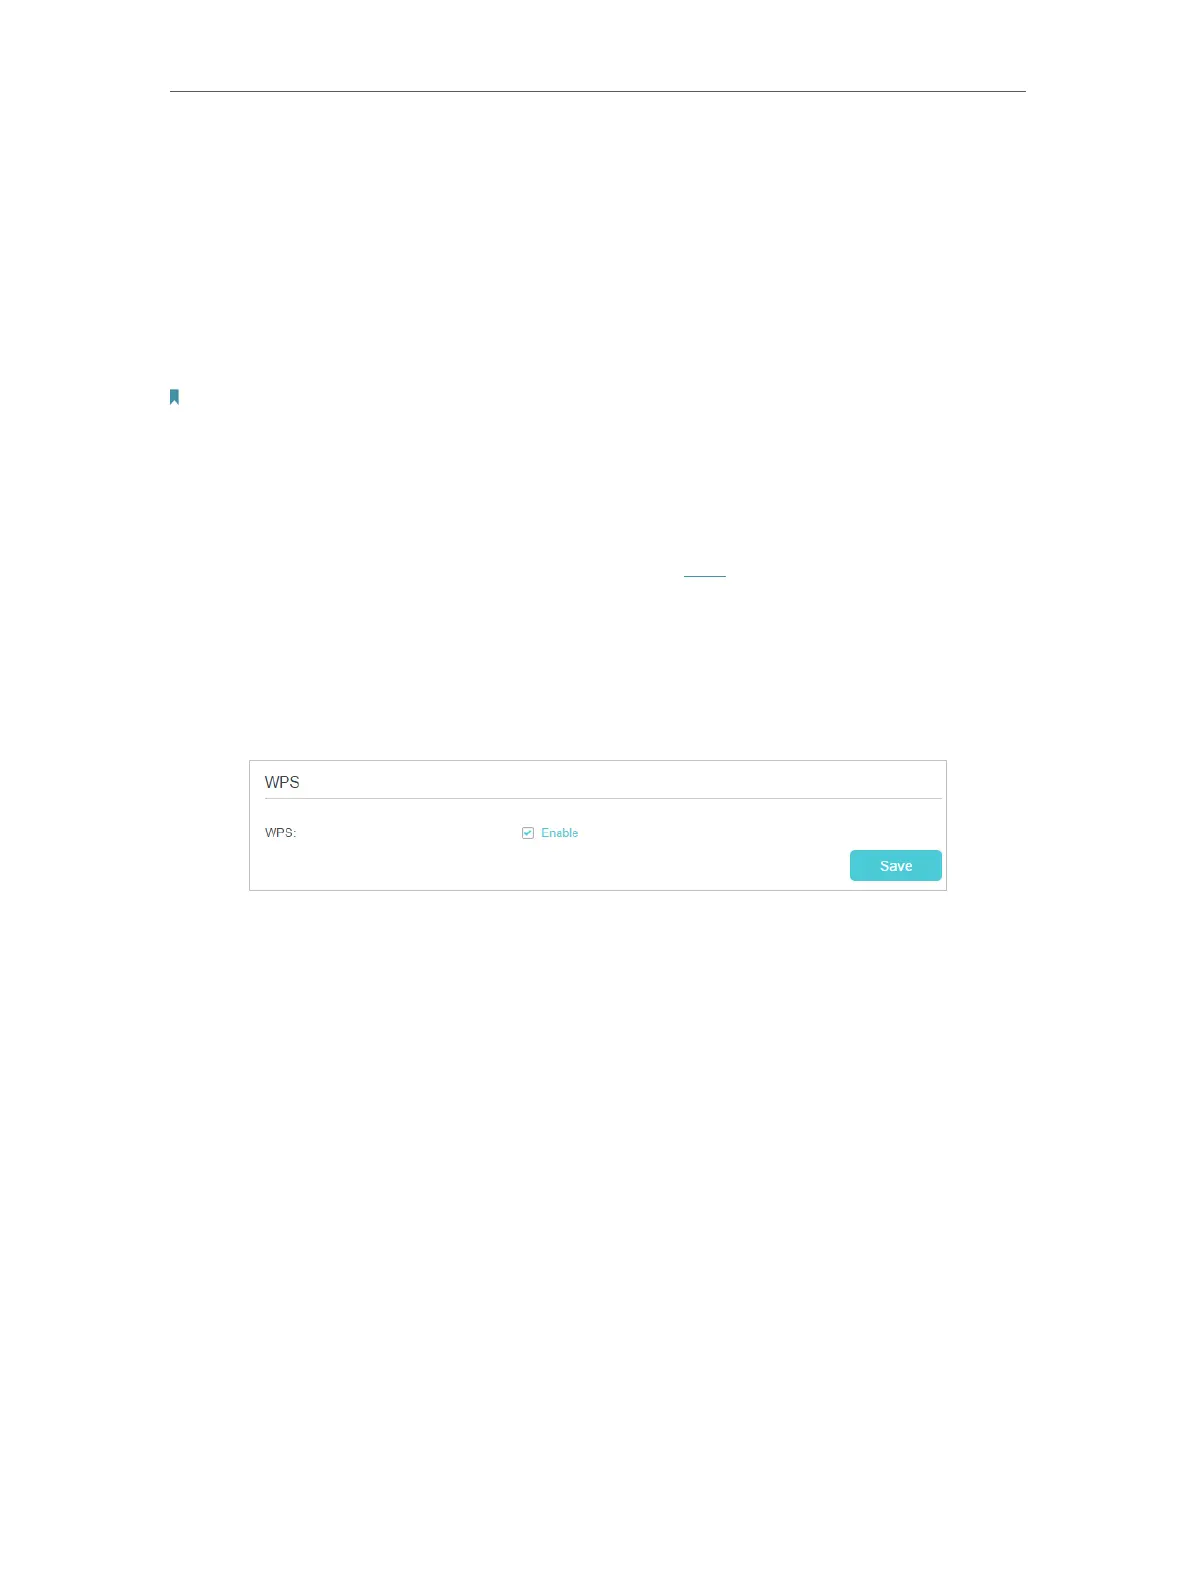
¾ To enable or disable WPS function:
WPS (Wi-Fi Protected Setup) provides you with an easier approach to set up a security-
protected Wi-Fi connection. This function is enabled by default, but if you do not need
this function, clear the WPS Enable check box and then click Save.
¾ To create multi-SSID network:
The router supports additional up to three multi-SSID wireless networks for client
access in each wireless band. You can specify the access and security settings to
ensure network security and privacy according to your situation.
1 ) Locate the Multi-SSID section, and click 2.4GHz or 5GHz to open the
corresponding setup page.
2 ) Select the Enable SSID 1 (2 or 3) check box(es) to enable the corresponding
multi-SSID network.
 Loading...