ÿ Confirm that the rack or workbench is stable, solid, and can bear a weight of at least 5.5Kg;
ÿ When wiring outdoors, it is recommended to use a signal lightning protector.
ÿ Anti-static bracelet
ÿ Confirm that the rack itself has a good cooling system, or maintain good indoor ventilation;
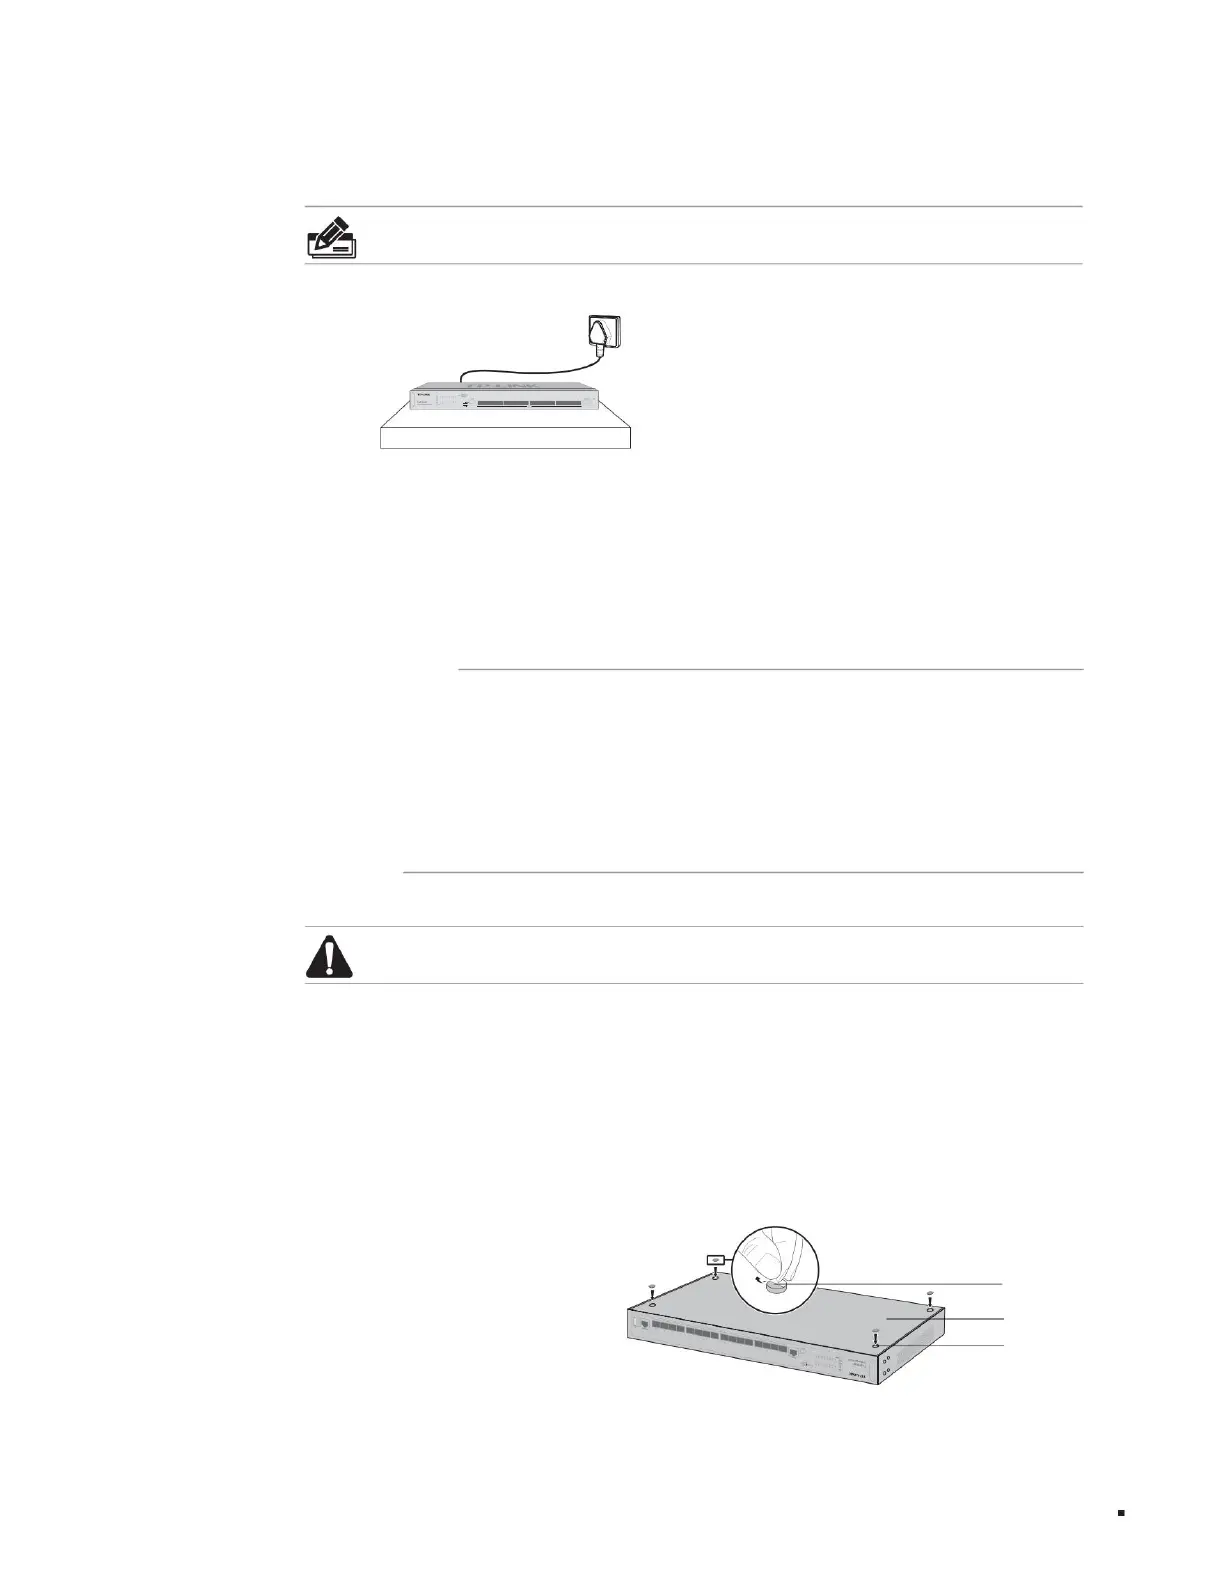
ÿ Confirm that the rack is well grounded and the distance between the power socket and the switch is no more than 1.5 meters.
ÿ Rational wiring to avoid internal induction lightning;
ÿ Philips screwdriver
ÿ Network cable, optical fiber
Whether the switch is installed in a rack or on another level bench, please note the following:
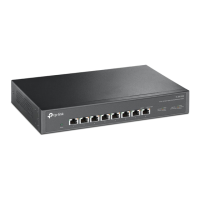
2. Peel off the rubber protective paper of the four foot pads one by one, and stick them in the circular grooves located at the four corners of the bottom of the case, as shown in
As shown in the figure below;
1. Place the switch with the bottom facing up on a sufficiently large and stable table;
When a 19-inch standard rack is not available, the switch can be placed on a stable desktop. This installation method is relatively simple to operate. The specific installation
steps are as follows:
2.3 Preparation of installation tools
2.4 Product installation
ÿ Install on the desktop
Installation table
Note: This
product is specially designed for use in the computer rooms of communication operators. Please follow the following requirements for installation and maintenance.
Layer 3 managed switch installation manual
Note: For
detailed lightning protection measures, please refer to the "Lightning Protection Installation Manual".
Figure 2-1 Desktop installation diagram
10
foot pads
round groove
Back of switch
Product installation
Machine Translated by Google