© Copyright 2014 TRENDnet. All Rights Reserved.
TRENDnet User’s Guide
TEW-815DAP
26
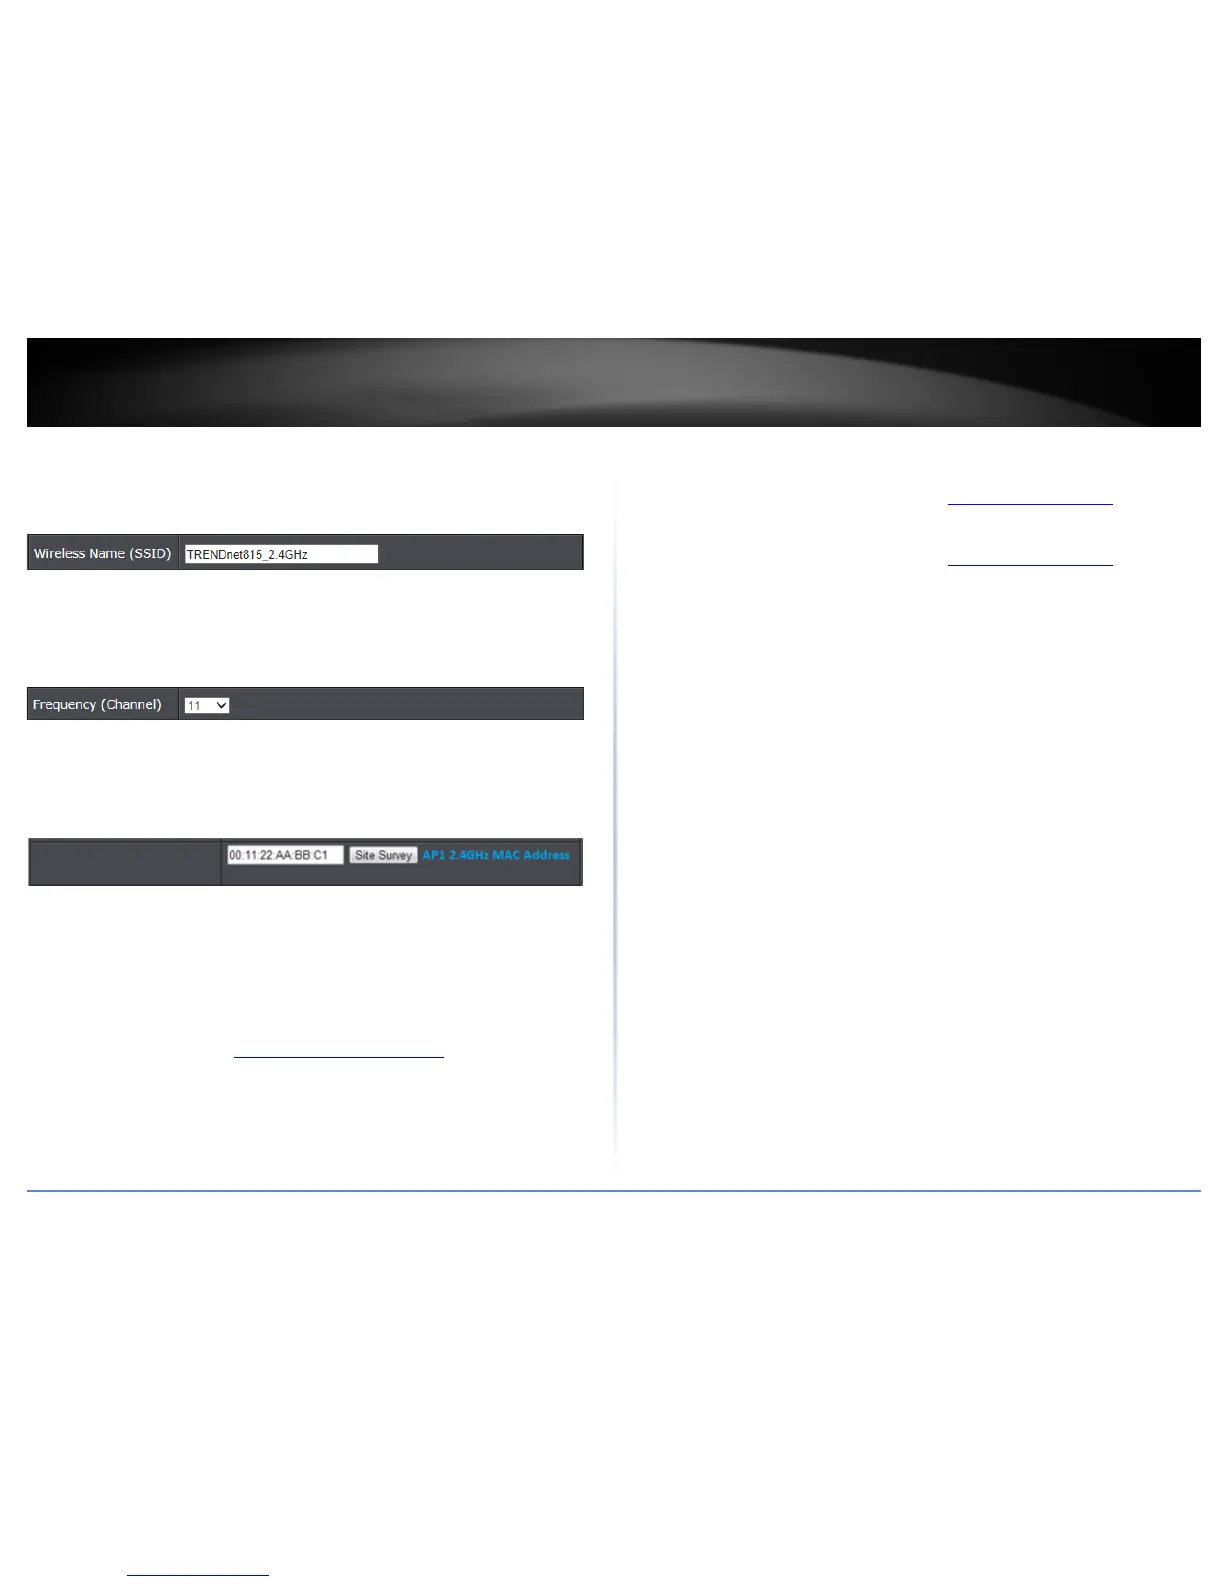
4. Next to Wireless Network Name, enter the wireless network name (SSID).
Note: For this example, the wireless network name (SSID) is required to match the
wireless network name (SSID) configured on AP1.
(ex. TRENDnet815_2.4GHz)
5. Click the Wireless Channel drop-down list and select a specific wireless channel.
Note: For this example, the wireless channel is required to match the wireless channel
configured on AP1.
(ex. 2.462GHz - CH 11)
6. Under the WDS section, next to AP MAC Address, enter the wireless MAC address of
the remote WDS supported access point or router.
Note: Based on the example, enter the remote 2.4GHz wireless MAC address of AP1.
(00:11:22:AA:BB:C1)
Note: You can also use the site survey option to scan for your remote WDS supported
device broadcasting (AP or WDS+AP), then select and connect to copy the wireless
MAC addresses of your other WDS supported devices. This simplifies the process of
having to write down the wireless MAC addresses of all devices and manually enter.
7. Configure the wireless security settings and wireless key.
Note: Please refer to page 10 “
Wireless Networking and Security” for details on
configuring wireless security settings.
8. Click Apply.
Bridging additional WDS supported devices
For a point-to-multipoint (hub and spoke) WDS configuration, the AP2 (spoke)
configuration procedure in the previous section “
Creating a Wireless Bridge” page 24
can be used when creating additional WDS bridges to AP1 (hub).
For multiple point-to-point wireless WDS bridge links, you can follow the entire
configuration procedure in the previous section “
Creating a Wireless Bridge” on page
24.
The TEW-815DAP can support up to 4 wireless WDS bridges per band (2.4GHz and 5GHz)
for a total of 8 wireless WDS bridge connections.
 Loading...