✓
Wearing a radiation badge and safety glasses (or other
locally approved safety devices), step on the plate and hammer
the drill rod at least 50 millimeters (2 in) deeper than the desired
test depth. The drill rod increments include the additional depth.
✓
Remove the drill rod by pulling straight up and twisting the
extraction tool. Do not loosen the drill rod by tapping from
side to side with a hammer. This will distort the hole or cause
loose material to fall into the hole.
✓
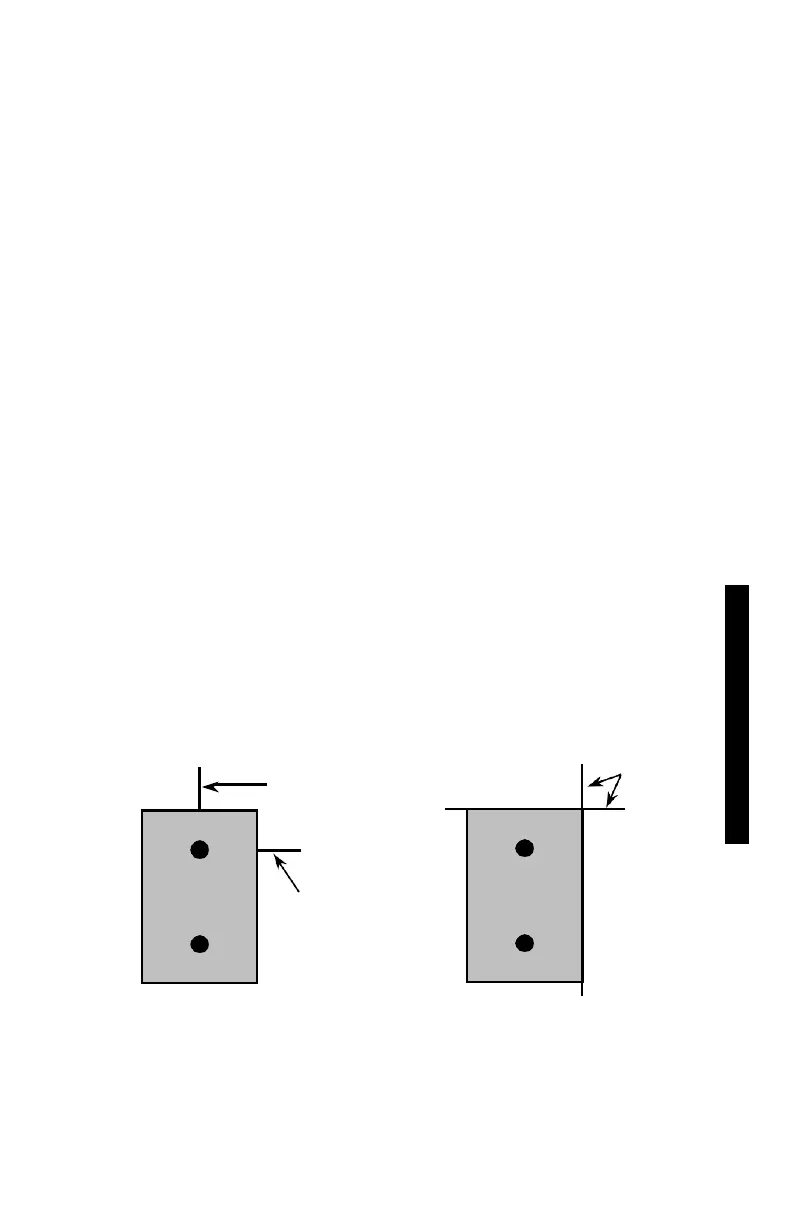
To ensure accurate placement of the gauge, before removing the
scraper plate mark the test area using the drill rod as shown in
Figure 3-5.
✓
Carefully pick up the scraper plate and place the gauge on the
surface prepared by the plate. Insert the source rod into the hole
made by the drill rod. Use care when inserting the source rod,
trying not to disturb the soil around the hole.
✓
Lower the source rod into the hole. Release the trigger and lock
the source rod into the correct position. A click should be heard
when the source rod is locked into position.
✓
Gently slide the gauge toward the keypad so the source rod
makes contact with the wall of the hole.
MARK FOR SCRAPER
PLATE CENTER
EDGE
MARKS
MARK FOR DRILL
ROD CENTER
METHOD 1
METHOD 2
Figure 3-5. Marking the Test Area
SCRAPER
PLATE
SCRAPER
PLATE