A-6 Model 3321 Aerodynamic Particle Sizer
Spectrometer
Replac i n g t he Filte r s
Replace the four filters (TSI P/N 1602230) according to the maintenance
schedule and under the following circumstances:
If the pumps are at maximum power and still cannot achieve the
correct flows for the instrument
If the flow path has become wetted by any kind of liquid
To replace the filters, proceed as follows:
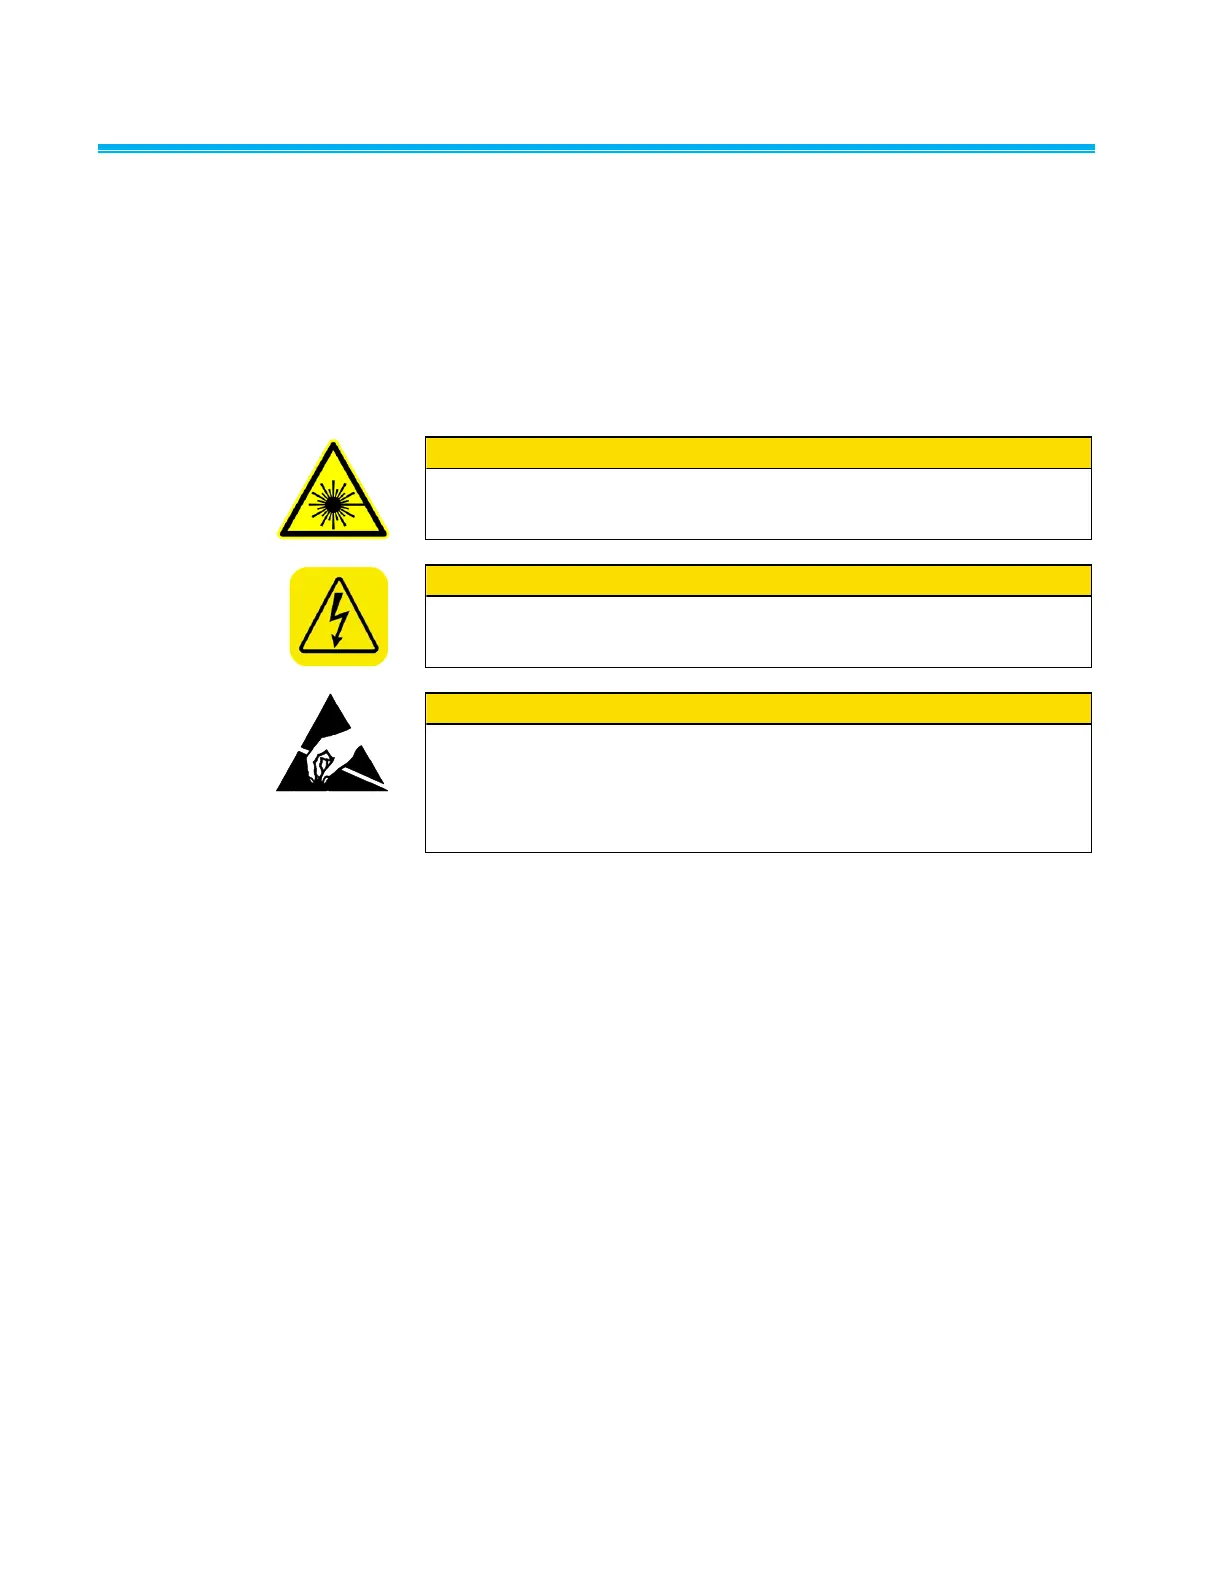
W A R N I N G
Make sure power is switched off and power cord is disconnected to
avoid any exposure to hazardous laser radiation.
W A R N I N G
High voltage is accessible in several locations within this instrument.
Make sure you unplug the power source before removing the cover or
performing maintenance procedures.
C a u t i o n
The electronic circuits within this instrument are susceptible to electro-
static discharge (ESD) damage. Use ESD precautions to avoid
damage.
Use only a table top with a grounded conducting surface
Wear a grounded, static-discharging wrist strap
1. Switch the power off using the switch on the back of the cabinet and
unplug the power cord from the APS™ spectrometer.
2. Remove the knurled retaining ring from the outer inlet nozzle.
3. Loosen the six screws on both sides of the cabinet (two turns is
sufficient) and remove the cover straight upward.
4. Remove the two screws securing the digital printed circuit board.
5. Tilt the printed circuit board upward and remove the large ribbon
cable connector from the center front of the board.
6. Tilt the printed circuit board all the way back so that the pumps are
visible and the board rests against the top edge of the back of the
instrument.
7. The APS™ spectrometer contains a lot of tubing. To easily keep track
of the connections, disconnect the tubing from one filter at a time and
replace it, rather than disconnecting all tubing at once. Also, make
note of the direction of the flow arrow on the filter before
disconnecting it.
8. Lift up on a filter so that it comes out of its supporting clip.