Step 2 — Download Calibration Print and Slice
Download the dual-color keychain: https://www.thingiverse.com/thing:330157...
Slice the keychain model in CANVAS. After slicing in CANVAS is complete you will have two files.
The first is a SEEM file that will have the extension MAF (Mosaic Accessory File). You'll also
receive a modified Gcode file. Transfer the MAF to Palette 2's SD card manually. Transfer the
modified Gcode file to your printer.
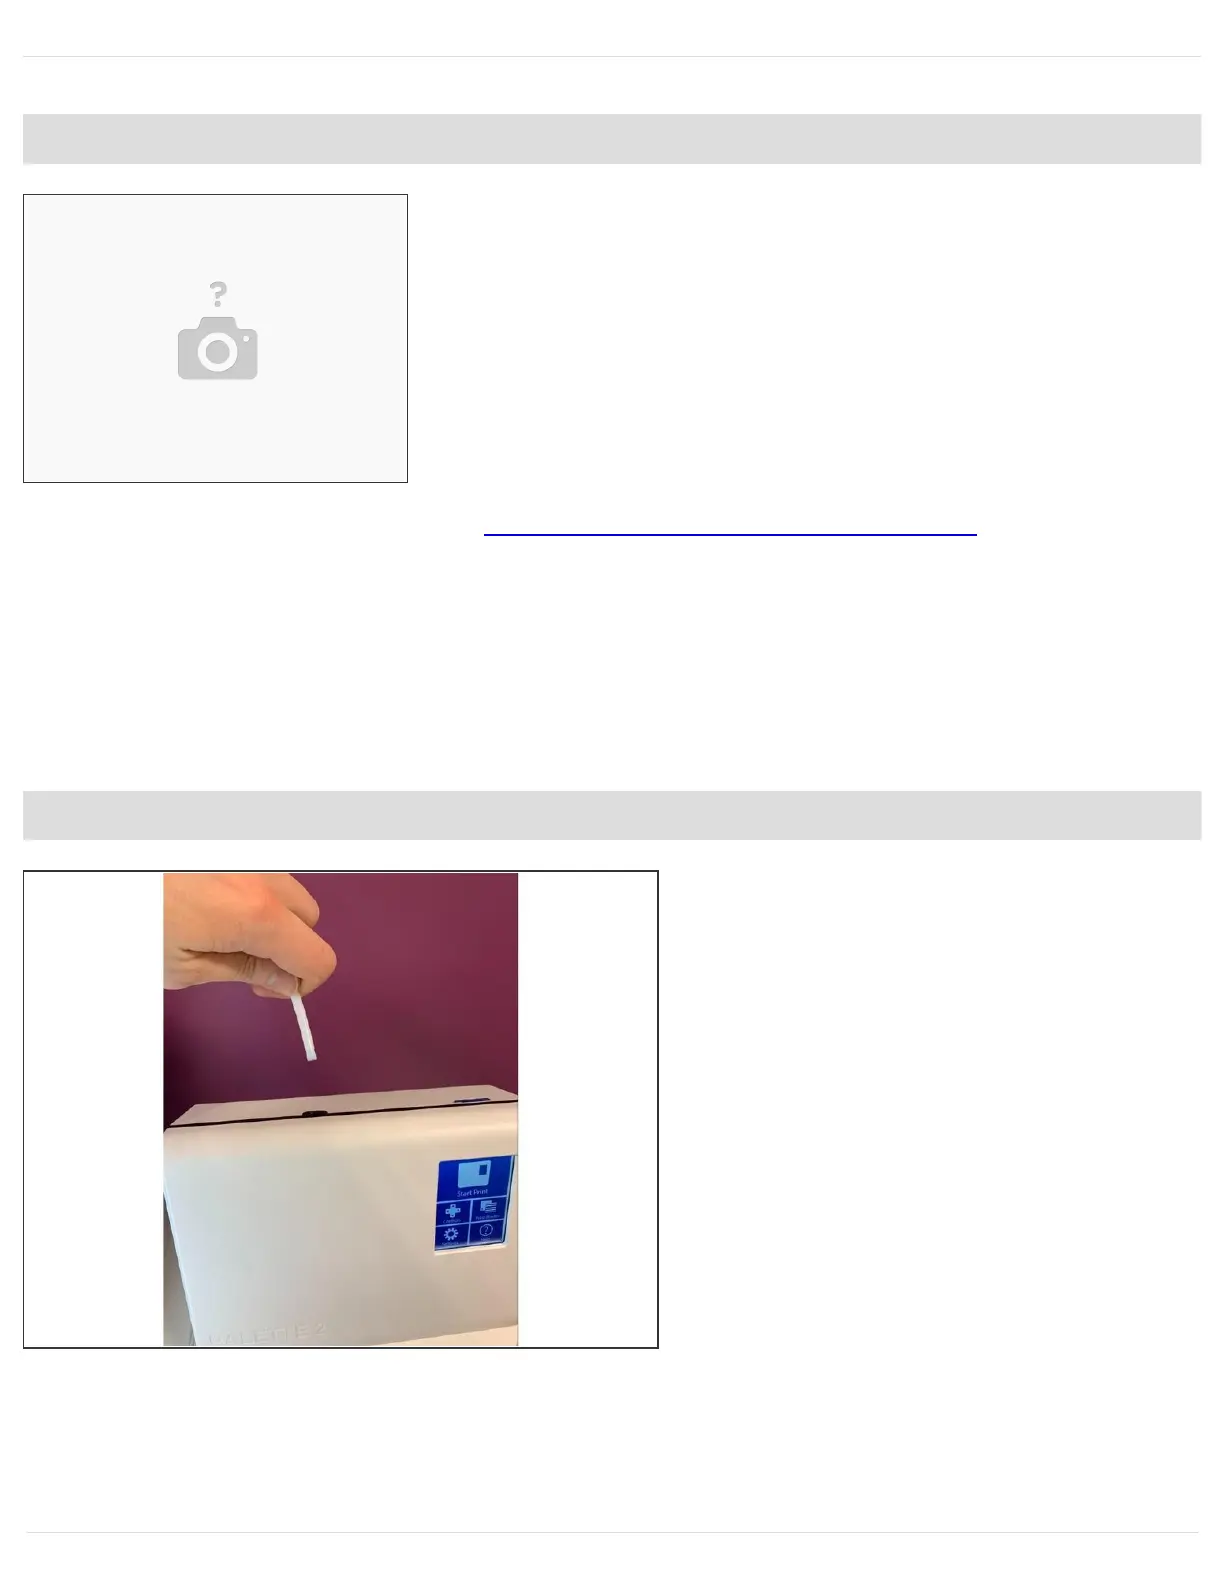
Step 3 — Remove Palette's outgoing tube
Please disconnect the Palette 2
outgoing tube from Palette 2 by
firmly pulling it out, this is a push fit
connection so you will need to use a
bit of force to remove it. Ensure that
there is no filament in the path from
this tube to the hotend. If there is,
please remove the filament so that
the path is clear.
This document was generated on 2021-12-22 12:23:35 AM (MST).
© 2021 support.mosaicmfg.com/ Page 4 of 9