( ) Auto Setting4
When this key is pressed, the oscilloscope will automatically adjust the
vertical scale factor, timebase, and trigger mode according to the input
signals.
(5).Run/Stop
Press the key to "run" or "stop" sampling. RUN state is indicated by
green light. STOP state is indicated by red light.
(6).Single trigger
Press this key to set up single trigger mode.
(7).Correction signal switching
Long press the key to drive the correction signal to enter or leave the
channel
(8).Screen copy
Press this key to quickly copy the screen waveform to the USB storage
device in BMP bitmap format
(9).Multipurpose Knob
Multipurpose: During menu operations , turn the knob to select submenu,
then press the knob to confirm the options .
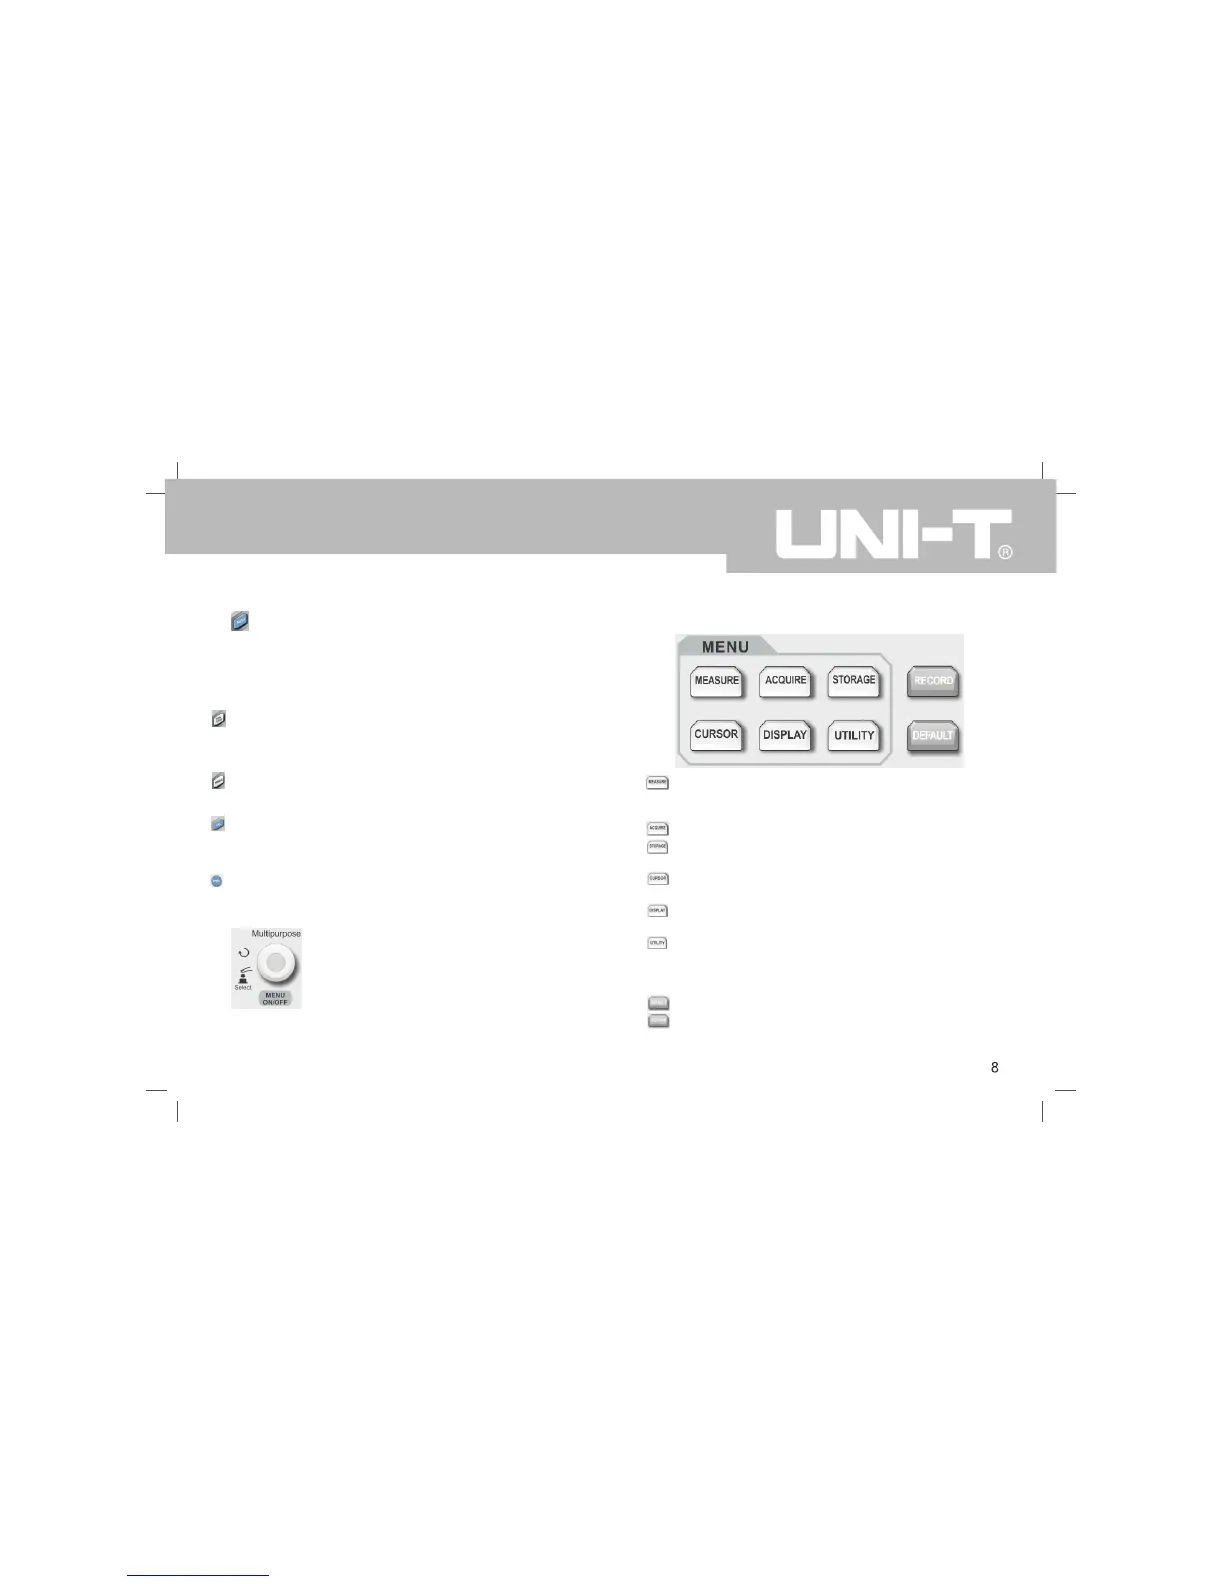
(10).Function Keys
①. Measure setting key: can set measure source to all parameters,
custom parameters and perform measurement statistics, select
measurement indicators, etc.
②. Sampling setting key: set up acquisition mode and the storage depth .
③. Storage interface key: can select different types for storage and
waveform, which can be stored internally or through USB device.
④. Cursor measurement key : can measure waveform’s time and
voltage manually with cursor.
⑤. Display setting key : used for the display settings such as display
type, format, duration, grid brightness, and waveform brightness.
⑥. The utility key : can be used to choose some less commonly used
settings such as self-calibration, system information, language, menu
display, waveform recording, pass test, square wave output, frequency
meter, system upgrades, backlight brightness, output, etc.
⑦. Press this key to restore to factory default settings.
⑧. Press this key to open the waveform recording menu.
UTD2000CEX-II User Manual
 Loading...