4. Slide the grey Teflon ring into place and gently put the flat ring back on top of the Teflon
ring.
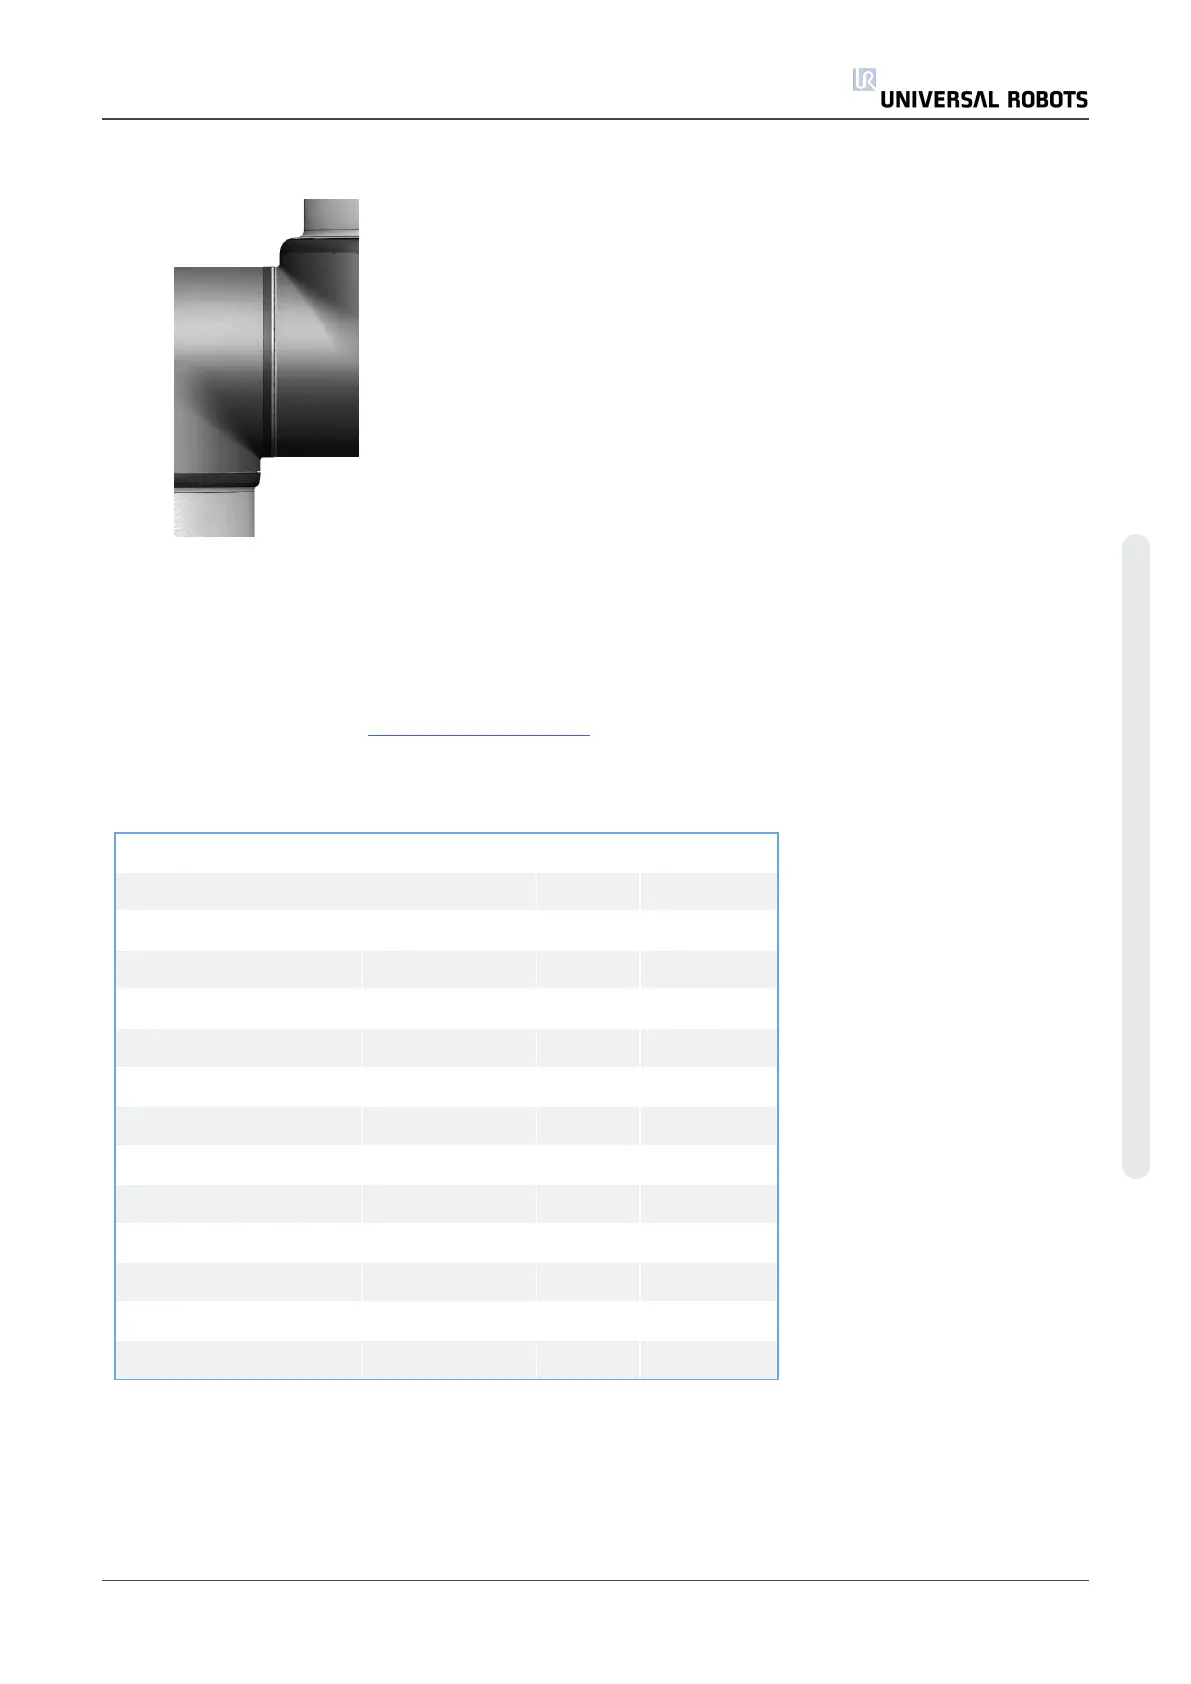
5. Mount the alignment screw (if present) and tighten with 0.4Nm.
6. Twist the communication cable 1.5 to 2 full rounds before connecting to reduce electrical
noise in the system.
7. Mount the blue lid on the joint and tighten with 0.4Nm.
8. Proceed to chapter Dual Robot Calibration for calibrating the robot.
5.2.5. Torque Values
UR5 torque values
CONNECTION TORQUE HEAD SIZE
Base mounting bracket J0 Base 2.6Nm 7 mm.
[J0] Base [J1] Shoulder 2.6Nm 7 mm.
[J1] Shoulder Upper arm 2.6Nm Hex key 3
Upper arm [J2] Elbow 2.6Nm Hex key 3
[J2] Elbow Lower arm 2.6Nm 7 mm.
Lower arm [J3] Wrist 1 1.3Nm 5.5 mm.
[J3] Wrist 1 [J4] Wrist 2 1.3Nm 5.5 mm.
[J4] Wrist 2 [J5] Wrist 3 1.3Nm 5.5 mm.
[J5] Wrist 3 Tool m. bracket 1.3Nm 5.5 mm.
Alignment screw 0.4Nm Torx T10
Blue lid 0.4Nm Torx T10
Tool connector 0.3Nm Finger/hand
Attention: Click the torque tools 3 times before using to ensure the correct calibrated torque.
Service Manual 23 UR5
5.Service and Replacement of parts
Copyright © 2009–2021 by UniversalRobotsA/S. All rights reserved.