
C
Christina VangAug 29, 2025
What to do if my Utax All in One Printer says 'Left cover is open'?
- SSuzanne PetersAug 29, 2025
If your Utax All in One Printer displays 'Left cover is open', ensure the left cover is closed.
What to do if my Utax All in One Printer says 'Left cover is open'?
If your Utax All in One Printer displays 'Left cover is open', ensure the left cover is closed.
How to fix moire pattern on copies from Utax 5240L All in One Printer?
If copies from your Utax All in One Printer have a moire pattern because the original is a printed photograph, set the image quality to [Photo].
Why my Utax All in One Printer ejects blank sheets?
If your Utax All in One Printer ejects blank sheets, make sure the originals are loaded correctly. When placing originals on the platen, place them face-down and align them with the slit glass. When placing originals in the document processor, place them face-up.
What to do if my Utax All in One Printer says 'Paper jammed'?
If your Utax All in One Printer displays 'Paper jammed', the machine will stop, and the location of the jam will be indicated on the Message Display. Leave the machine on and follow the instruction to remove the jammed paper.
Why are printouts from my Utax 5240L too dark?
If printouts from your Utax All in One Printer are too dark, set the correct density level for auto density if the machine is in Auto Density mode or select the correct density level if the machine is in Manual Density mode. Refresh drum.
Why are images skewed on my Utax All in One Printer?
If your Utax All in One Printer images are skewed, make sure the originals are placed correctly. When placing originals on the platen, align them with the slit glass. When placing originals in the document processor, align the original width guides securely before placing the originals. Check the position of the paper width guides if the paper is loaded correctly.
Why are printouts from my Utax 5240L All in One Printer dirty?
If your Utax All in One Printer printouts are dirty, clean the platen or the document processor if they are dirty. Refresh drum.
Why are printouts from my Utax 5240L fuzzy?
If your Utax All in One Printer printouts are fuzzy, use the machine in a location that has suitable humidity. Refresh drum.
What to do if pressing Start key does not produce copies on Utax All in One Printer?
If the Start key on your Utax All in One Printer does not produce copies, check the Message Display for any messages and respond accordingly. If the machine is in Sleep mode, press the Power key to recover the machine from Sleep mode. The machine will be ready to copy within 15 seconds.
Why Utax All in One Printer cannot feed originals?
If your Utax All in One Printer cannot feed originals, align the original width guides securely before placing the originals in the document processor. If the paper feed roller or the separation pad is dirty, wipe it with a moistened cloth. If the problem is not solved, contact your Service Representative. Replace the paper feed roller and separation pad.
Explains the meaning of various safety warning and instruction symbols used in the guide.
Identifies and describes the keys and displays on the machine's operation panel.
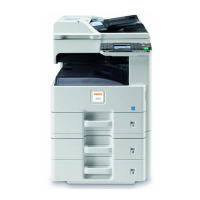
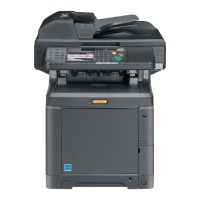
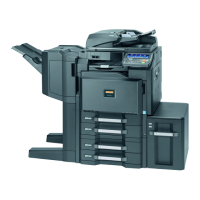
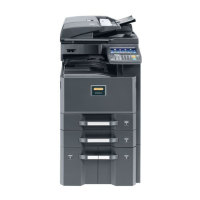
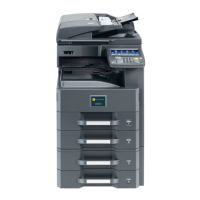
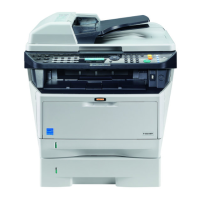
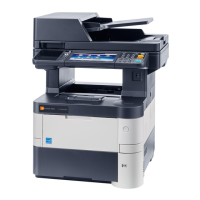
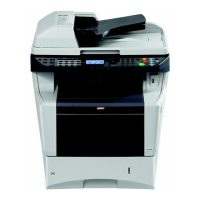
Illustrates and labels the main physical components of the machine.
Details how to connect the machine to a PC or network and prepare necessary cables.
Details the procedure for turning off the machine, including precautions.
Provides step-by-step instructions for installing the printer driver software on Windows PCs.
Details how to configure SMTP settings to enable sending scanned images via email.
Details the process of adding necessary ports to the Windows Firewall for network communication.
Guides users on setting paper size and media type for the machine's cassettes.
Explains how to place originals correctly on the machine's platen for scanning.
Explains how to log in to and log out from the machine for user authentication.
Provides step-by-step instructions for performing a basic copy operation.
Details the process of sending scanned images as email attachments.
Explains how to save scanned images to a shared folder on a PC via SMB.
Describes how to access the menu for canceling print or send jobs.
Guides the user in setting the default paper selection method for copying.
Explains how to specify the original document's size before scanning for sending.
Guides the user in selecting the file format for scanned documents, such as PDF or TIFF.
Guides the user in selecting the default file format (PDF, TIFF, XPS, JPEG) for sending scanned originals.
Guides the user in selecting the scanning resolution for image clarity and file size.
Details how to set the default scanning resolution for optimal image quality.
Details how to select the color mode (Full Color, Grayscale, or B&W) for scanned images.
Explains how to print files directly from a USB memory device connected to the machine.
Details the procedure for storing scanned image files onto a USB memory device.
Guides the user on the correct procedure to safely remove the USB memory to prevent data loss.
Explains the Private Print function for secure printing using an ID.
Describes how to check the real-time status of print, send, and store jobs.
Explains how to check the history of completed print, send, and store jobs.
Covers common settings like language, display, sound, and date/time.
Guides users on setting paper size and media type for individual cassettes.
Details how to select paper size and media type for the multi-purpose tray.
Explains how the machine handles errors when duplex printing is not possible.
Details how to manage errors when paper size or type does not match the selection.
Guides the user in setting the default image quality for scanned files based on compression.
Explains how to create and set the size of a RAM disk for job box printing.
Details how to set the resolution for copying photographs for optimal quality.
Details how to select the emulation mode for compatibility with different printer languages.
Details how to select the binding orientation for duplex printing.
Explains how to register functions to Left/Right Select keys for quick access during sending.
Details settings for Quick Copy Jobs and Job Retention Deletion within the Job Box.
Guides the user on adjusting copy density in manual or auto modes for better print quality.
Explains how to adjust scan density for sending or storing data in the document box.
Guides the user on registering new individual contacts in the address book.
Guides the user in specifying the settings for the machine's LAN interface.
Details the process of setting up TCP/IP for connection to a Windows network.
Explains how to enable or disable the use of the DHCP server for automatic IP assignment.
Details the process of setting up TCP/IP for IPv6 network connectivity.
Details how to configure IPSec settings for secure network communication.
Explains how to set up SSL for secure communication, including IPP and HTTP port security.
Provides instructions for cleaning the machine's glass platen and document processor.
Details the step-by-step process for replacing the toner container.
Guides the user on replacing the used waste toner box with a new one.
Provides a table of common symptoms, checkpoints, and corrective actions for troubleshooting.
Explains how to respond to alphanumeric error messages displayed on the control panel.
Provides important precautions to follow when clearing paper jams, including safety warnings.
Details how to administer user access, including enabling login and managing users.
Explains how job accounting manages copy/print counts per account for statistics and control.
Explains how to enable or disable user login administration and select authentication methods.
Guides the user on logging in by entering an account ID when job accounting is enabled.
Guides the user on adding new users with properties like name, password, and access level.
Outlines the initial steps for setting up job accounting for the first time.
Explains how to enable or disable the job accounting feature for usage tracking.
Details the process of adding a new account, including name, ID, and restriction settings.
Lists technical specifications for the machine, including type, printing method, and paper capacity.
Explains how to install the printing system driver software from the DVD-ROM onto a computer.
| Printer Type | Laser |
|---|---|
| Functions | Print, Copy, Scan |
| Print Resolution | 1200 x 1200 dpi |
| Paper Capacity | 250 sheets |
| Duplex Printing | Yes |
| Operating systems | Windows, macOS, Linux |
| Connectivity | USB, Ethernet |
| Scanner Type | Flatbed, ADF |
| Print languages | PCL, PostScript |
| Display | LCD |