Setup and Registration
6-38
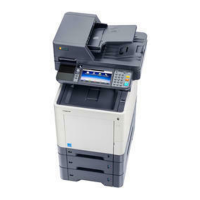
Deleting Permit ID No.
1 Press the or key to select [Delete].
2 Press the OK key.
3 Press [Yes] (the Left Select key). This deletes
the Permit ID number.
5 To change and delete other Permit ID numbers,
repeat step 2 to 4.
Setting Send Restriction
You can restrict the other parties to which you send originals only to the ones registered in Permit FAX No. and
Permit ID No. as well as the ones registered in the Address Book. To change the sending restriction, follow the
steps below.
1 Refer to Basic Operation Procedure on page 6-7.
2 Press the or key to select [TX Restriction].
3 Press the OK key.
4 Press the or key to select sending restriction.
To not use the sending restriction, select [Off]. To
restrict the other parties only to the ones registered
in Permit FAX No. and Permit ID No. as well as the
ones registered in the Address Book, select
[Permit+Addr Book].
5 Press the OK key.
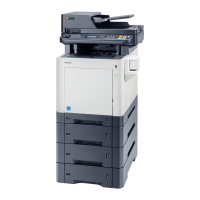
Menu:
a
b
1
Detail/Edit
*********************
3
Add FAX ID
2
Delete
Delete.
Are you sure?
z
0004
[ Yes ] [ No ]
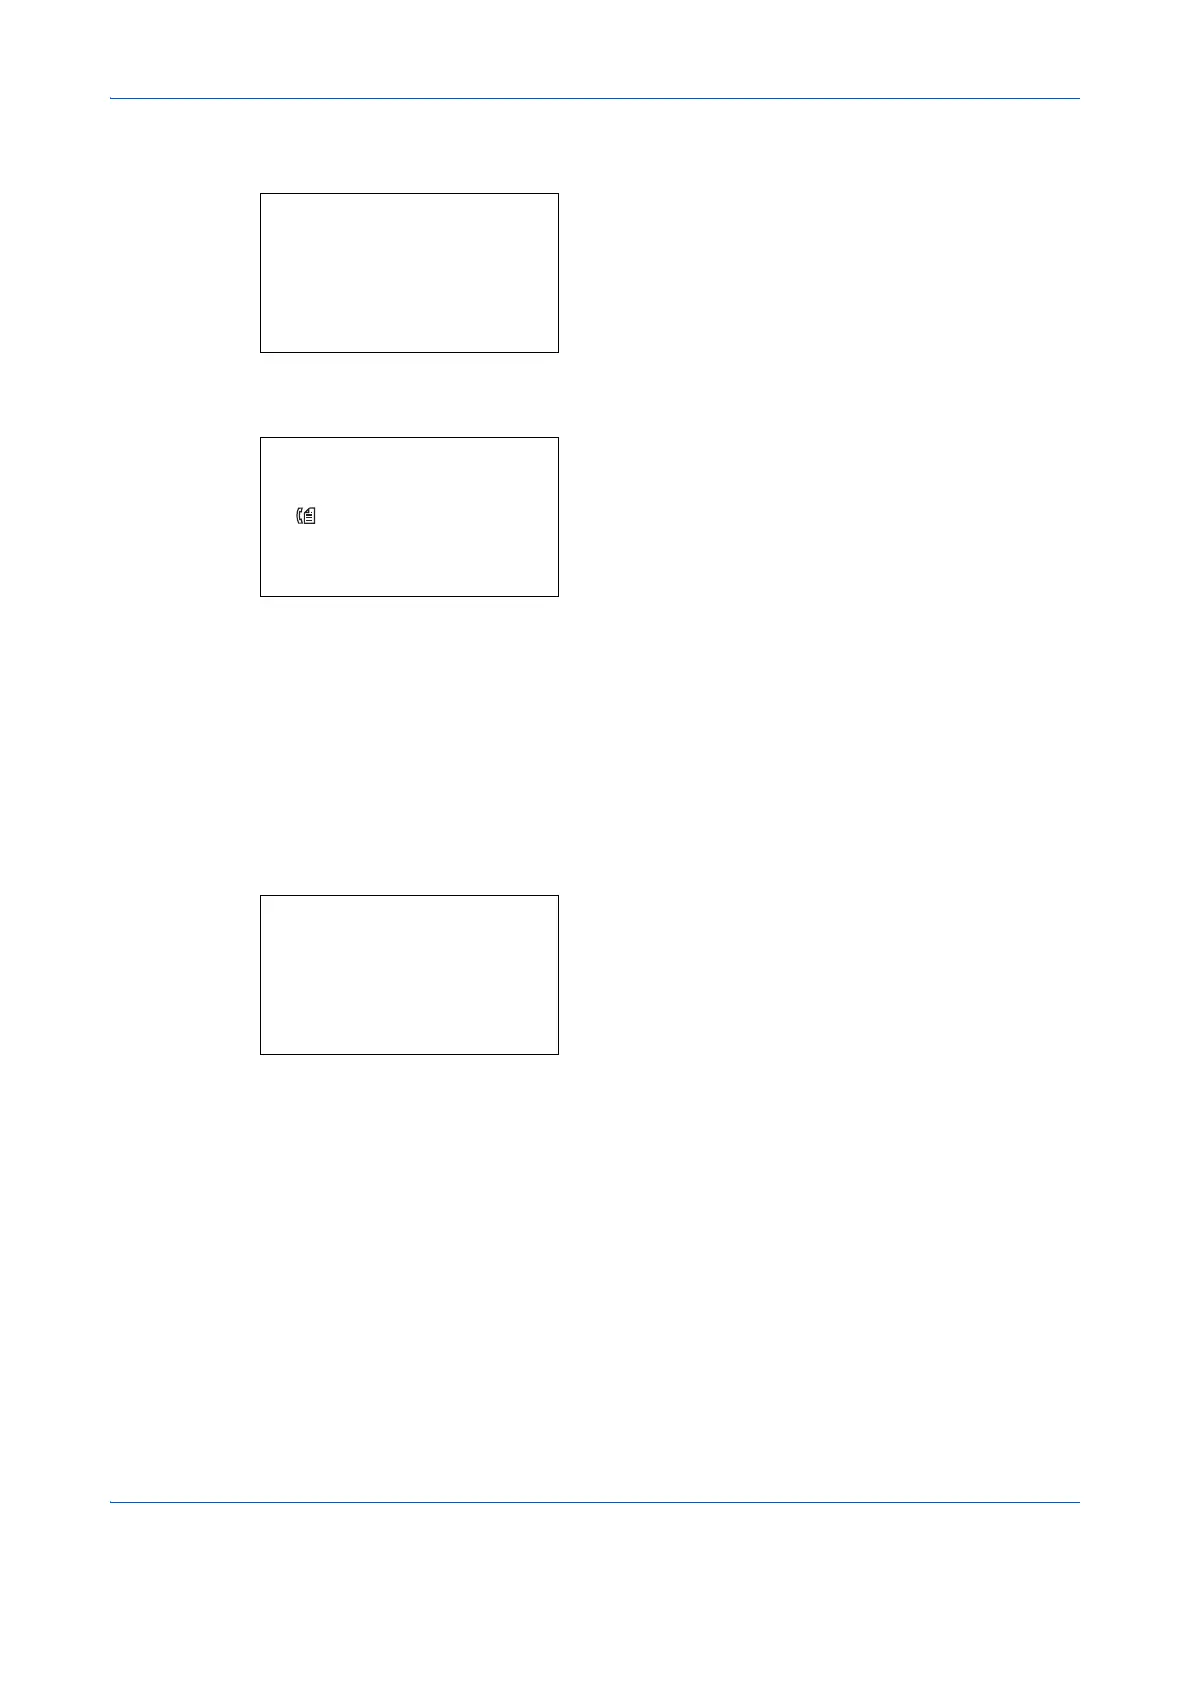
TX/RX Restrict.:
a
b
*********************
2
RX Restriction
3
Permit No. List
[ Exit ]
1
TX Restriction
 Loading...