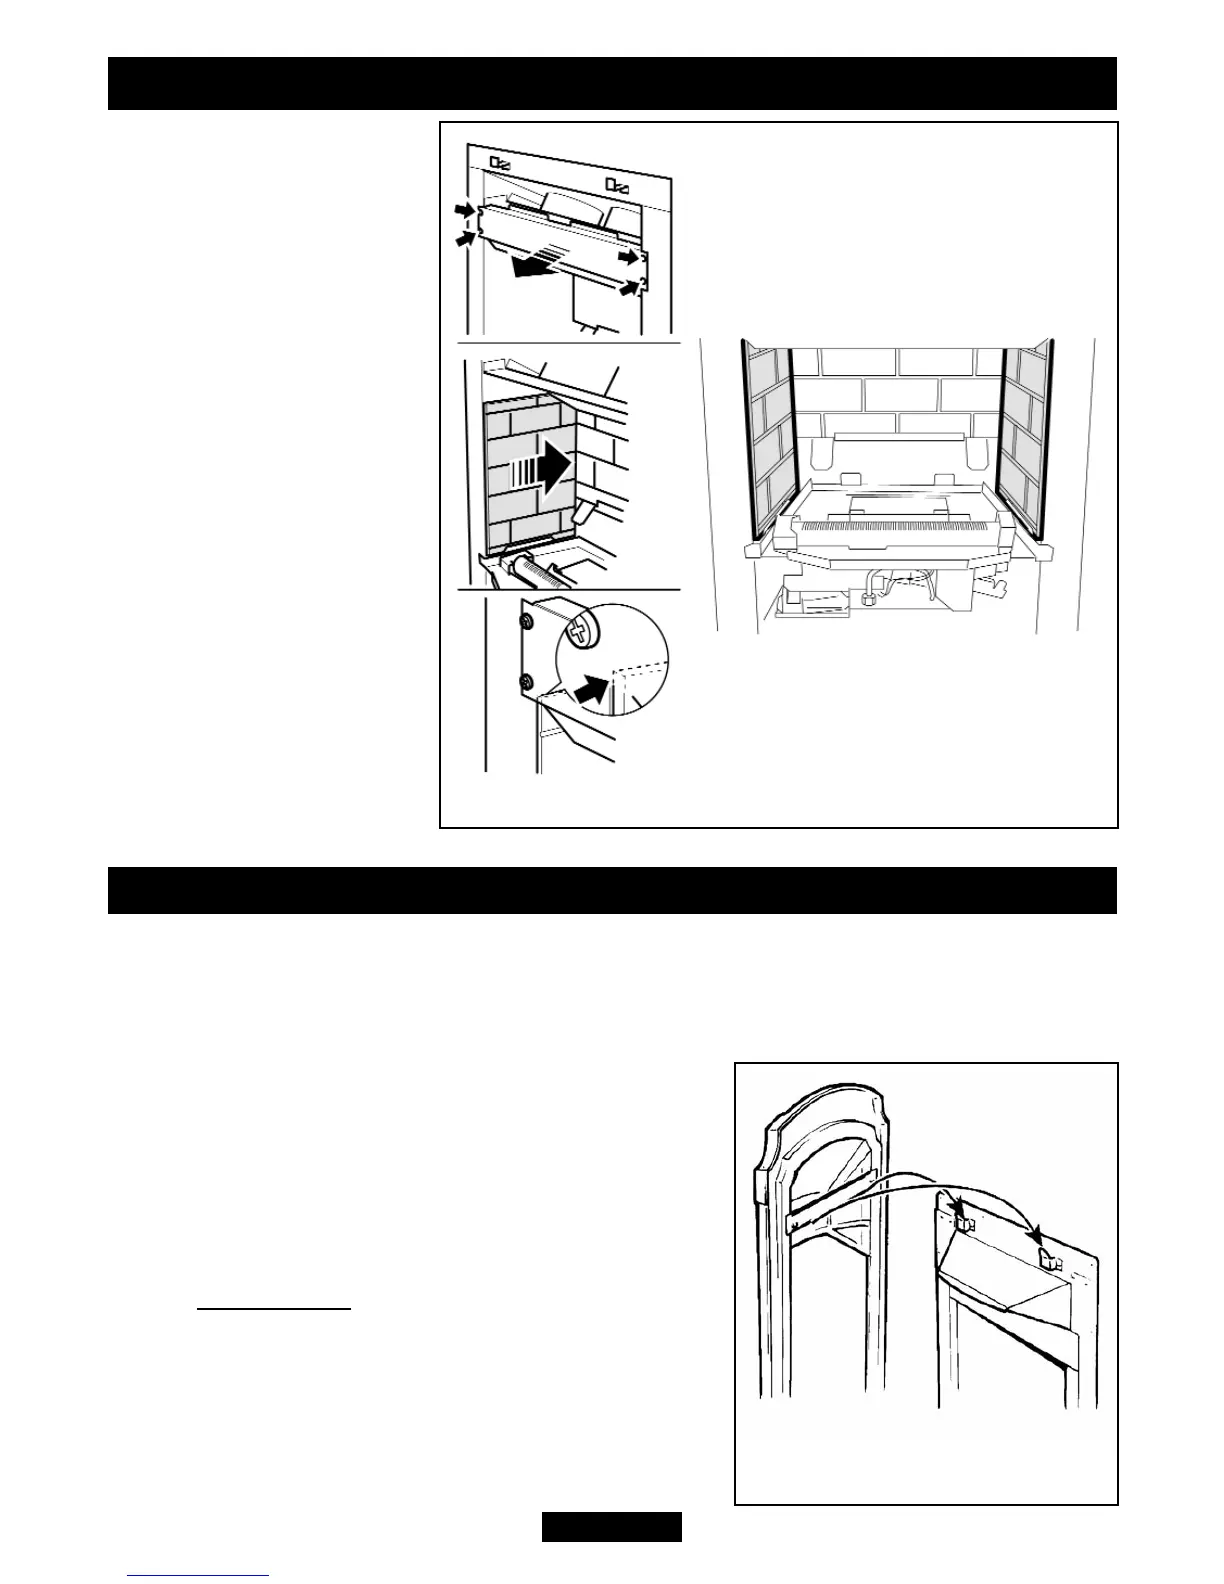
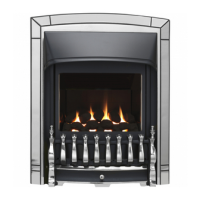
2. Remove four screws
from the spillage plate sides
(See figure 30).
3. Remove the spillage
plate by lifting it forward.
4. Fit the ceramic side walls
against the side faces of
the burner compartment.
The bottom edges of the
walls should rest in the
ledges at the sides of the
firebox. Slide them in from
the front and ensure that
the touch the rear wall. The
friction between the side
walls and the rear wall
should hold the side walls
in position (See figure 30)
5. Re-fit the spillage plate.
Be careful not to damage
the edges of the side walls.
The spillage plate will hold
the side walls in place.
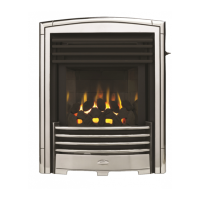
12. FASCIA AND CONTROL LINKAGE
Before fitting the fascia ensure that the information on the back pages of the
owner guide have been completed.
12.1 Remove the tape securing the control linking
bar to the fascia. Slide the control button upwards as
far as it will go. Make sure that the bottom of the
linking bar is higher than the bottom of the fascia.
12.2 Carefully lift the fascia. Do not lift it by the
control button.
12.2.1 Adorn fascia.
Place the fascia against the fireplace front surface so
that the retaining strip at the back of the fascia is
above the two upper retaining brackets at the top of
the convection box. Lower the fascia making sure
that the rear retaining strip locates fully over the
retaining brackets on the convection box (See figure
Page 33
© Baxi Heating U.K. Limited 2009.
INSTALLER GUIDE
Figure 31. Adorn fascia top
location.
Figure 30. Ceramic side walls installation