57
User Manual
[MENU] + [MENU] + "INPUT/OUTPUT" + [ENTER] + "VIDEO INPUT" +
[ENTER]
Select Video Input
E
: Available options are the following: Full Video 1: Shows the image from the video camera
1 at full screen. Full Video 1 + Video 2 Small: Shows the image from the video camera 1
at full screen, with the image from the video camera 2 on a window which can be moved up/
down and/or right/left using the cursor key. Full Video 2: Shows the image from the video
camera 2 at full screen. Full Video 2 + Video 1 Small: Shows the image from the video
camera 2 at full screen, with the image from the video camera 1 on a window which can be
moved up/down and/or right/left using the cursor key. PiP (Picture In Picture) Video 1:
Shows the cartographic image at full screen, with the image from the video camera 1 on a
window which can be moved up/down and/or right/left using the cursor key. PiP (Picture In
Picture) Video 2: Shows the cartographic image at full screen, with the image from the video
camera 2 on a window which can be moved up/down and/or right/left using the cursor key.
Auto Switch Video 1 / Video 2: Shows the image from the video camera 1 and from the video
camera 2 at full screen alternately, after time selected in the "Switching Timeout" item (see
below). None.
Activate Video Input
E
: Activates Video Input from menu. At the activation of the Video Mode the following messages
are shown on a dedicated window: "Connnected Video Input Signal is XXXX. The Video
Mode will be activated". XXXX can be PAL or NTSC: the software automatically detects the
type of Video Input source connected. Once the Video Mode is active use the following keys
to adjust video settings: press [POWER] and move the cursor to adjust the contrast and
backlight, press [ZOOM IN]/[ZOMM OUT] to adjust hue phase. Pressing any other key exits
from Video Mode.
Switching Timeout
E
: Select the timeout for the Auto Switch option among 5, 10, 30 seconds, 1, 5, 10 minutes.
Restore Defaults
E
: Restores default values of Contrast, Brightness, Backlight, color saturation and Hue phase
4.8 C-WEATHER SERVICE
E
C-Weather Service
E
is an innovative meteorological forecasting system with the
ability to visualize the weather forecast, overlaying it on cartography. The weather
data is held on Jeppesen Marine’s weather server, which can be accessed via a
C-COM modem connected to the chart plotter or by using the PC Planner (or the
DPS - Dealer Programming System) saving the weather data on a User C-CARD.
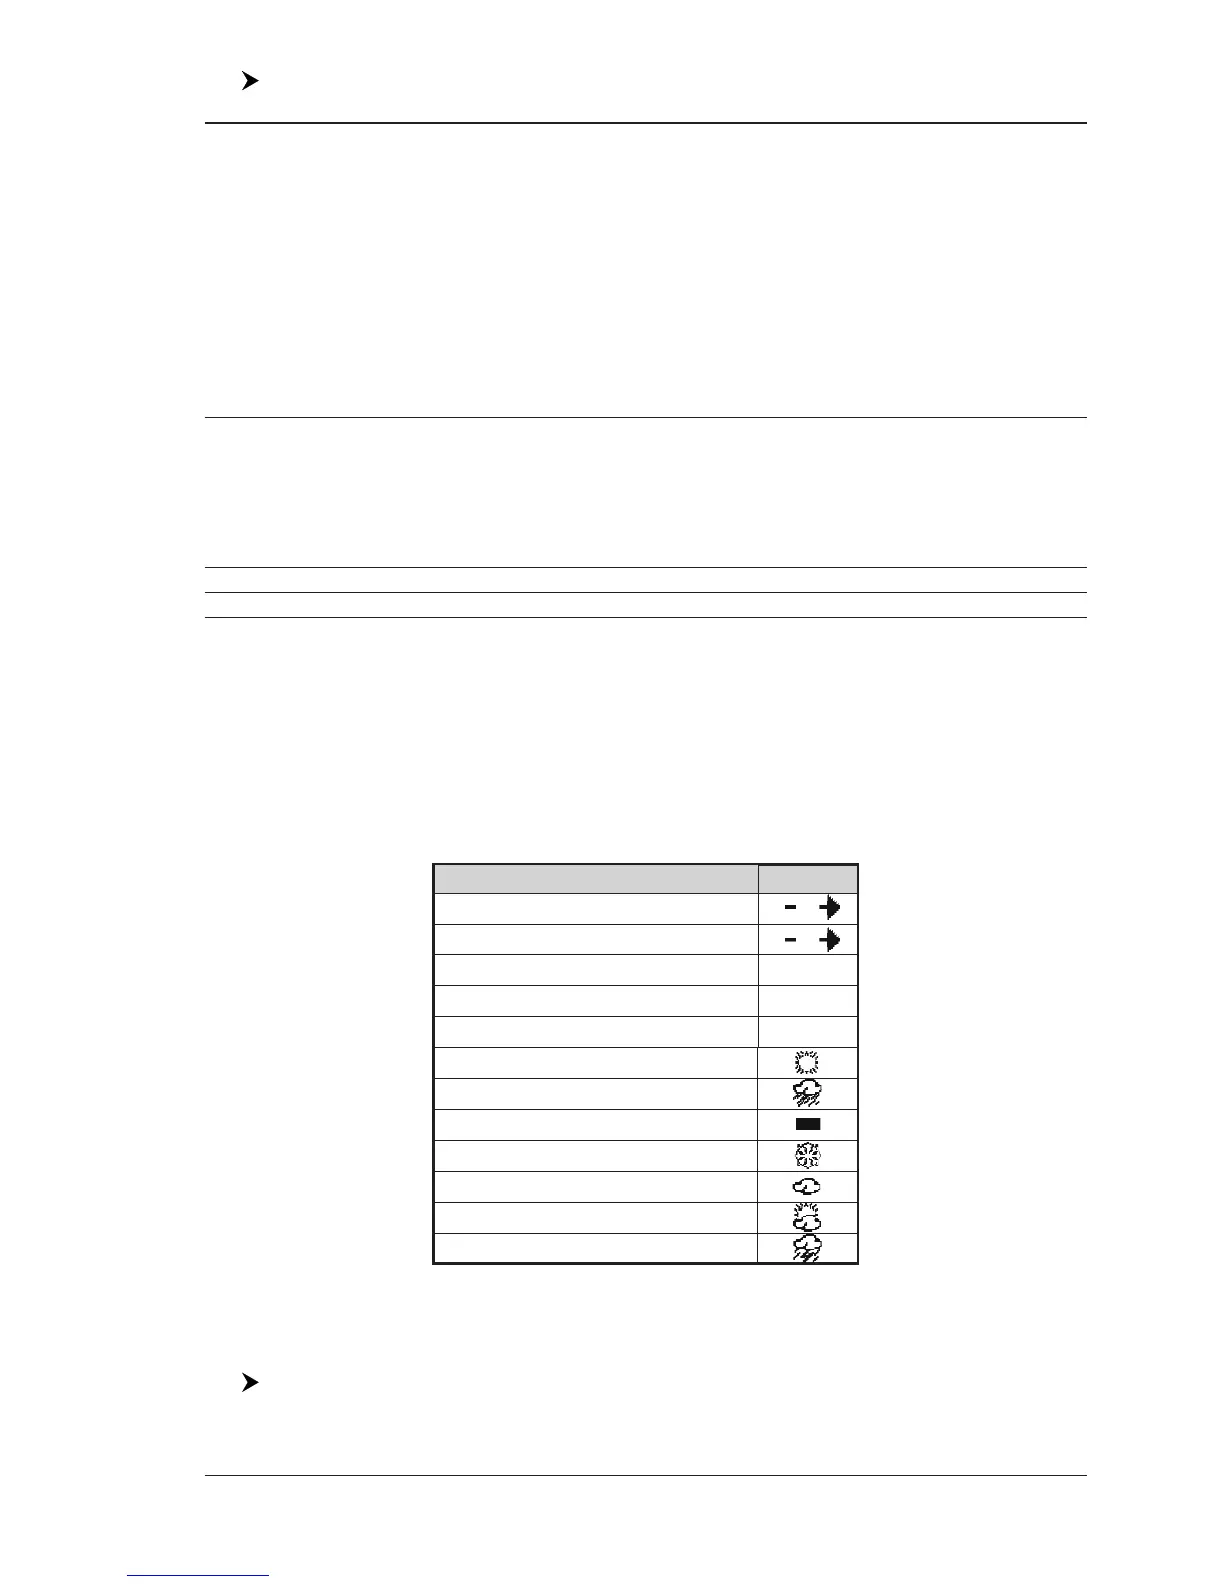
The weather format data available are:
WIND (Speed & Dir) 0
WAVE (Height & Dir) 1
TEMPERATURE (C°) 18°
HUMIDITY (%) 30
VISIBILITY (m) 20
WEATHER TYPE: Sun
WEATHER TYPE: Rain
WEATHER TYPE: Fog
WEATHER TYPE: Snow
WEATHER TYPE: Clouds
WEATHER TYPE: Partly Cloudy
WEATHER TYPE: Thunderstorm
Data Type Display
Fig. 4.8 - Weather data package
Weather Service
E
Menu
To select the menu:
[MENU] + [MENU] + "WEATHER SERVICE" + [ENTER]
It opens a sub-menu with the following options.