EMR3 Truck Installation Installing the Remote Display (Optional)
38
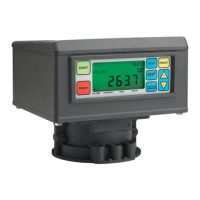
Figure 28. Remote display assembly
Figure 29. Remote Display front cover C&C switch installation
START
FINISH
MODE PRESET
NEXT
ENTER
VOLUME CURRENCY RATE SETUP
Mounting bracke
(P/N 846000-024
Plastic caps (remove
for cable entry)
These 2 hex head bolts are drilled
through for sealing optional front
cover C&C switch
#30 Torx screws (
emr\remotefr.eps
#30 Torx screws (4) fasten into back of
Remote Display housing
Adjust mounting strips to desired
indents each side, then tighten nuts
Mounting Strips shown
in low position (2)
1 Nut and 1 lockwasher
each side
Base
Mounting Strip
shown in high
position
Assembly of Remote Display
Head Mounting Bracket
Side view
8.625"
(220 mm)
igh position
or
6.625"
(168 mm)
low position
9.5"
(240 mm)
3.25"
(83 mm)
5.625"
(143 mm)
Remote Display Head
(P/N 84569X-X2X)
witch cover
Flat hex nut Spacer
Switch body
Note: Discard the knurled ring nut includ
with the switch and keep the flat hex nut.
Inside Remote Display cover
Pushbutton C&C
mode switch
emr\fccswassy.ep

 Loading...


