Menu
No. 1
Window
Locate
Enter
P1
P2
House settings Room Create
Back
Enter
No. 1
No. 2
No. 3
P1
P2
Back
House
Rooms are created to make it easier to locate and operate
your products.
The example shows two rooms
with two skylights (indicated as
"Window" in the remote display)
in each. Below it is shown how
to create Room 1 by moving the
relevant products from House to
Room 1.
1
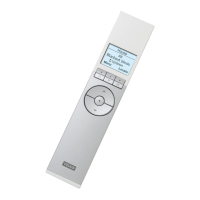
P r e s s "Menu".
2
Scroll through the menus:
3
Displays the areas, here the area House.
P r e s s
to highlight the area with the product to be as-
signed to Room 1 first.
Press "Enter" to confirm your choice.
4
Displays a list of all products in House. The product type,
in this case skylights (indicated as "Window"), appears in
the display. The individual products can be identified by
pressing for a short period of time. This will activate
the product briefly.
Press to highlight the product to be moved to Room 1.
Press "Enter" to confirm your choice.
House
HOUSE
WINDOW
PRODUCT FROM
House

 Loading...