Section 3 Installation
3.1 Installing UV System
Prerequisites:
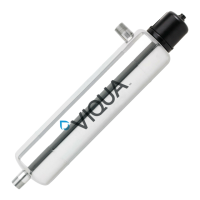
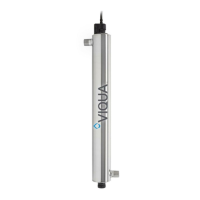
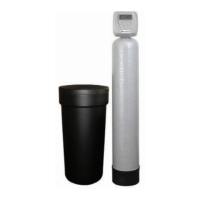
• Determine appropriate indoor location of the controller and chamber. Refer to Figure 3.
• Ensure adequate clearance above chamber to allow for removal of the lamp and sleeve.
• Make sure to turn off the main water supply.
• Mount the system to the wall with appropriate lag bolts through the two mounting holes located on the metal bracket.
The supplied lag bolts are suitable for attachment to wood. (Attachments to other materials will require purchasing of
alternative hardware).
• Make all necessary plumbing connections. Refer to Figure 3.
Procedure:
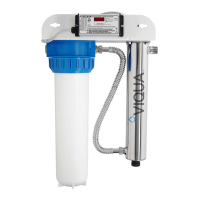
Item Description Function
14 Junction box Optional - Powers solenoid valves, remote alarms and auto-dialers.
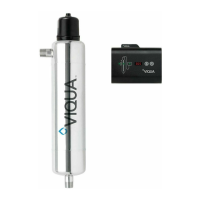
15 Controller
Powers and controls the UV lamp and other devices. Provides human interface, displaying
information and allowing control inputs (such as muting the audible alarm).
16 Power source
Provides power to the controller. For safety reasons the outlet must be protected by a Ground Fault
Circuit Interrupter (GFCI). NOTE: to protect the controller, a UL1449 certified (or equivalent) transient
voltage surge suppressor is required.
Model L Ø A (maximum) B C D (maximum)
D4/D4+/D4-V/D4-V+ 20.5" (52cm) 4" (10cm) 72" (183cm) 8.5" (22cm) 6" (15cm) 54" (137cm)
E4/E4+/E4-V/E4-V+ 30" (76cm) 4" (10cm) 72" (183cm) 8.5" (22cm) 6" (15cm) 54" (137cm)
F4/F4+/F4-V/F4-V+ 44.25" (112.4cm) 4" (10cm) 72" (183cm) 8.5" (22cm) 6" (15cm) 54" (137cm)
CAUTION
Electronic controller must be connected to a Ground Fault Protected Circuit (GFCI) receptacle. Ensure green ground wire ring terminal is securely
fastened to ground stud on UV chamber.
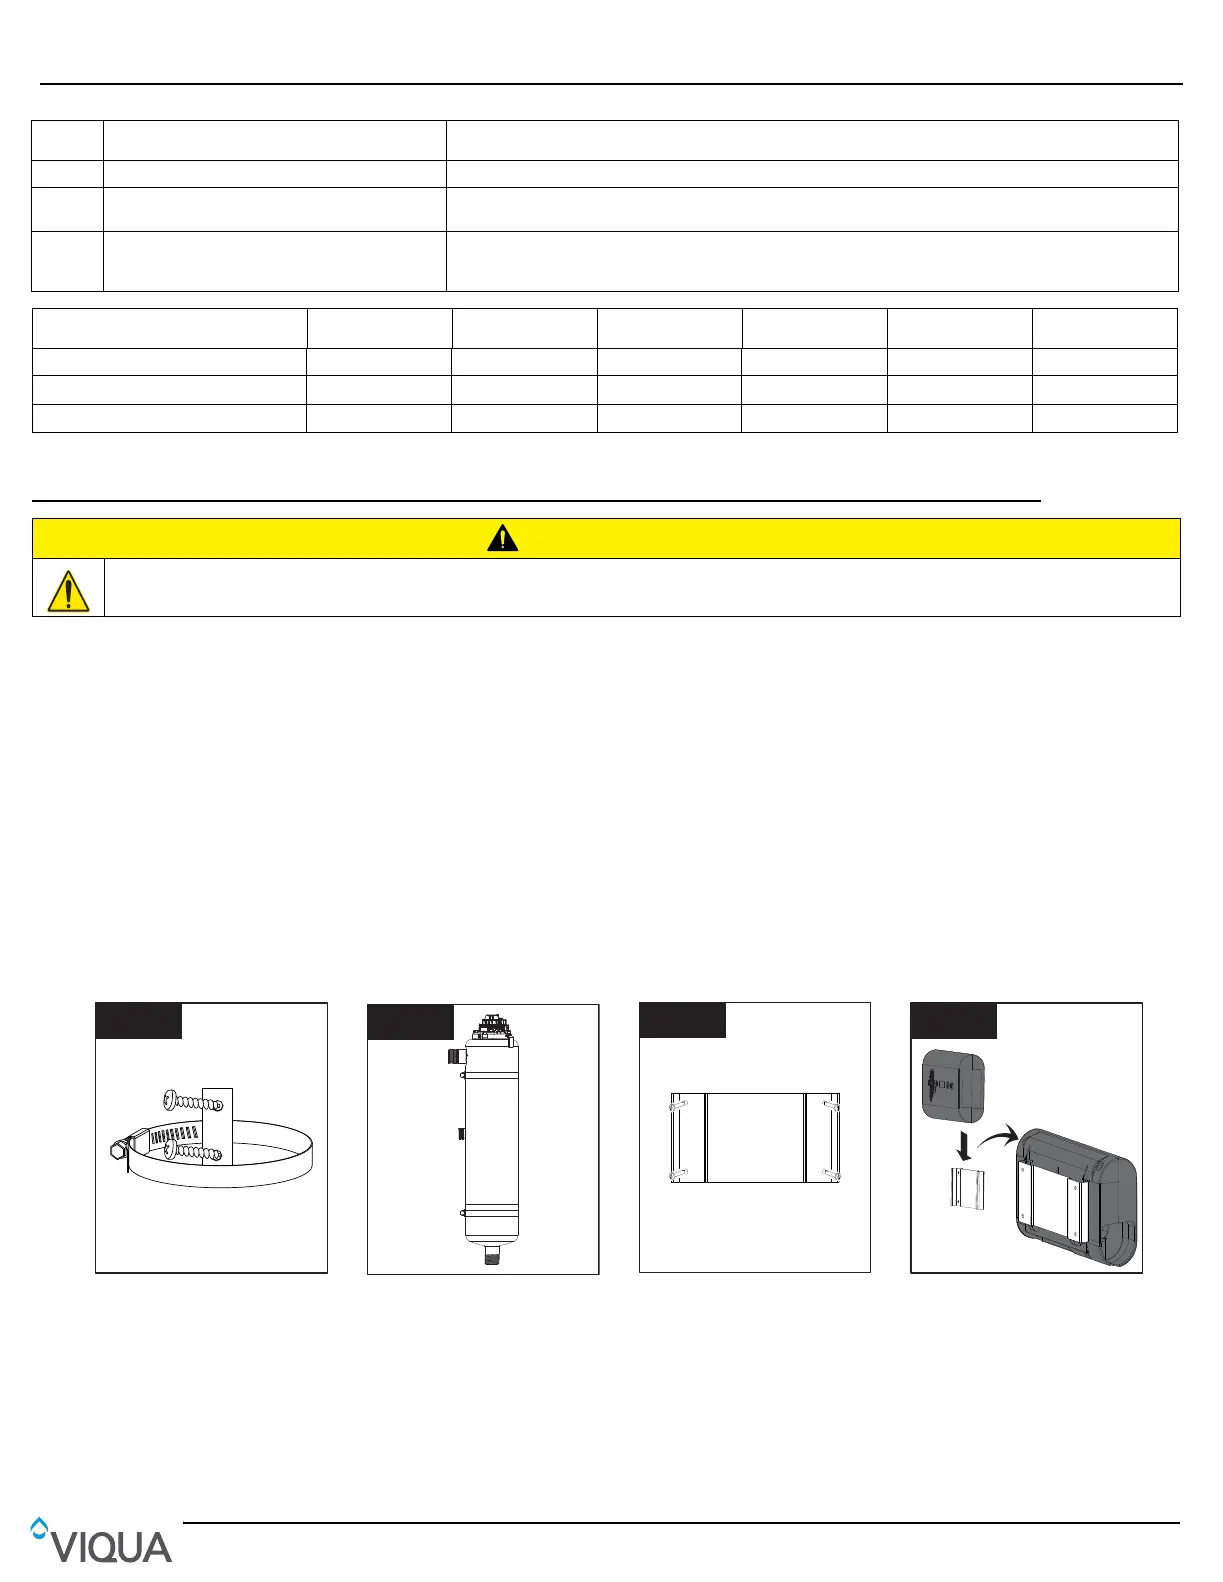
• Screw chamber clamp(s) to
the wall (#10 screws
recommended.)
• Insert chamber and tighten
clamp(s).
• Make all necessary plumbing
connections. Refer to
Section 2.1.
• Mount controller mounting
bracket to wall using four #8
screws (not provided).
• Slide controller onto mounting
bracket.
MantenimientoInstallation
8
49
5.2 Limpieza y reposición de la vaina tubular de cuarzo
Nota: Los minerales del agua van formando lentamente una capa en la vaina tubular de cuarzo de la lámpara. Esta capa
debe retirarse porque reduce la cantidad de luz UV que llega al agua, reduciendo de este modo el rendimiento de la
desinfección. Si la vaina tubular no puede limpiarse, deberá reemplazarse por otra.
Requisitos previos:
• Cortar el suministro de agua y drenar todas las líneas.
• Despresurizar el sistema. Colocar un paño pequeño debajo de la unidad para recoger el agua que pueda caer.
• Quitar la lámpara UV. Consulte Sección 5.1.
Procedimiento:
1
2
•
Introduzca y asegure el ensamblaje
de la lámpara/vaina tubular.
Nota: Si se aprieta demasiado,
se romperá la vaina.
• Alinee las conexiones mediante la
abrazadera de anillo de rotación e
instale el enchufe de la lámpara.
11
• Introduzca la tapa de seguridad.
• Restaure la energía.
• Si se ha insertado la lámpara
nueva, mantenga pulsado el
botón de restablecimiento del
temporizador de la lámpara
durante 5 segundos. La pantalla
debería mostrar .
• Abra todos los grifos y entradas
de agua. Examine si hay fugas.
1
2
3
• Desenrosque el tornillo de la vaina
tubular y quite las juntas tóricas
de la vaina de cuarzo.
• Limpie la vaina tubular de cuarzo
con un trapo empapado en CLR,
vinagre u otro ácido blando y,
a continuación, aclárela con agua.
Nota: Si no es posible limpiar la
vaina tubular por completo o si se
raya o se quiebra, reemplácela.
1
2
3
• Introduzca las juntas tóricas
y apriete el tornillo de la vaina
tubular en la vaina de cuarzo.
• Cuando haya finalizado el servicio,
realice los pasos que aparecen en
los requisitos previos en orden
inverso al desmontaje.
4
1
2
Eliminador de
sarro comercial
0
30
15
45
30 min
3
• Quite el sensor UV.
• Sumerja el extremo del sensor
durante 30 minutos en
desincrustante comercial
y límpielo con un algodón limpio.