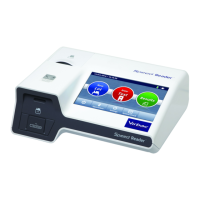
ATTENTION, when an incubation time is required, you must observe it and
you cannot exceed it for more than 30 seconds in order to obtain a valid
result. Always ensure you have performed this step properly before
proceeding to the next step.
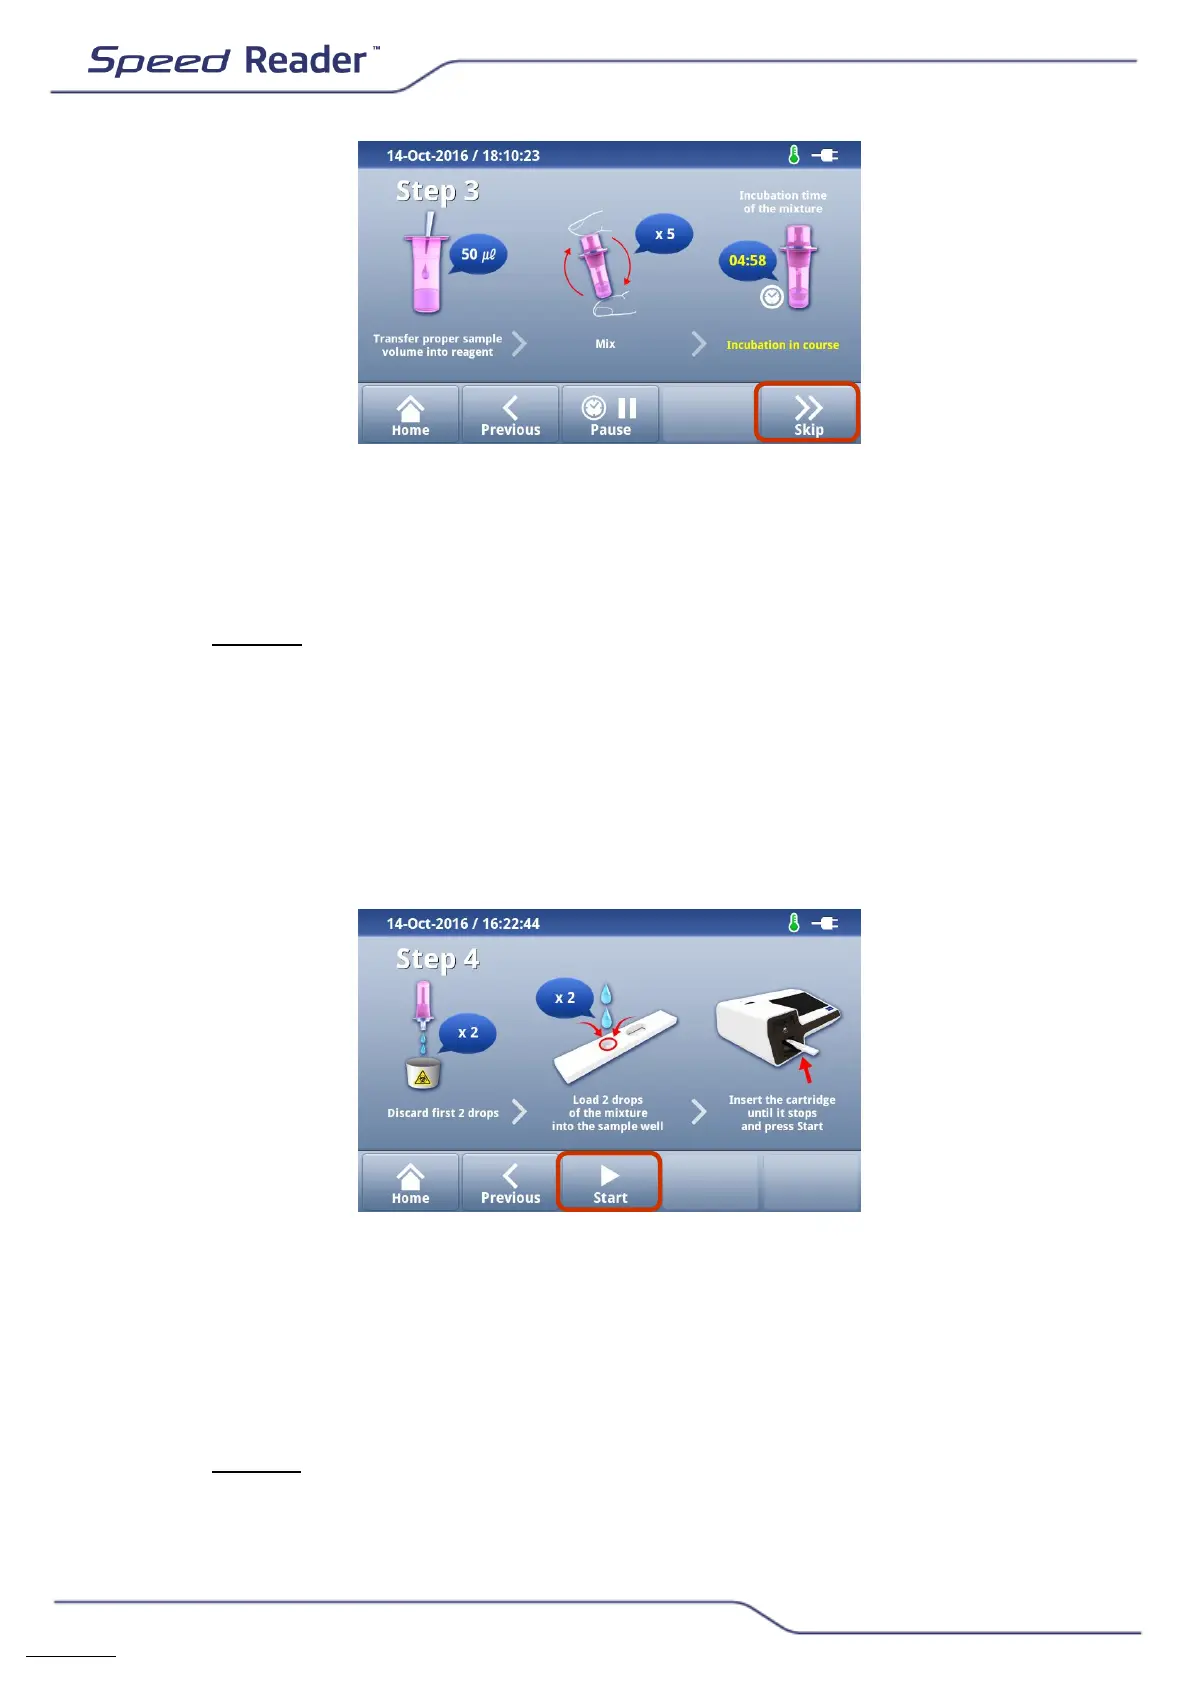
Step 4: Remove completely the blank tape from the charger and
put 2 drops of the reagent-sample mixture into the sample well, first
ensuring that you eliminate the first 2 drops, so as to flush out the
content of the dead space of the dropper then add 2 drops of the
mixture into the sample well taking care to hold the vial VERTICALLY.
o Reinsert the tape into the test loader observing the direction indicated
by the arrow at the end of the tape and ensuring you keep the tape
level. Once the tape has been inserted as far as it will go,
immediately press “Start”.
Attention: be sure to insert the tape as far as it will go to ensure the correct
positioning of the reading zone with respect to the fluorescence sensors.
When the cassette is incorrectly positioned, the reader displays an error
message inviting to insert it again. Position the cassette well and press
"Retry" to restart the analysis.
o Step 5: The following screen will appear. The countdown ensures that
enough time is given for the mixture to migrate before automatically
proceeding to the reading of the result.