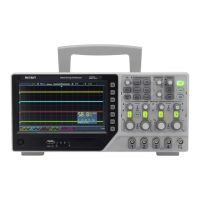
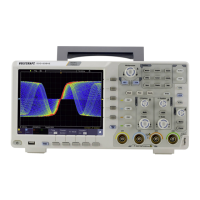
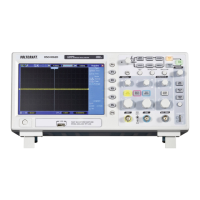
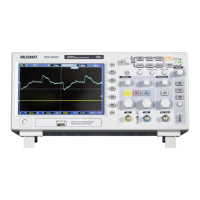
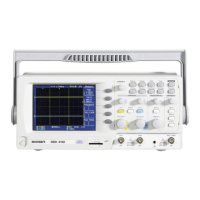
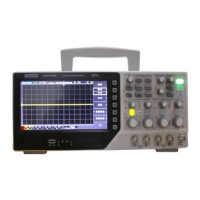
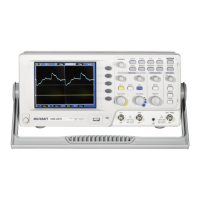
4.Advanced User Guidebook
How to Measure with Cursors
Push the Cursor button to turn cursors on and display the cursor menu. Push it
again to turn cursors off.
The Cursor Measurement for normal mode:
The description of the cursor menu is shown as the following table:
Setting Description
Type
Time
Time&Voltage
AutoCursr
Display the voltage measurement cursor and menu.
Display the time measurement cursor and menu.
Display the time and voltage measurement cursor
and menu.
The horizontal cursors are set as the intersections of
the vertical cursors and the waveform
(Time&Vol
Time
Voltage
Makes the vertical cursors active.
Makes the horizontal cursors active.
(Wave
zoom
Main
Extension
Measure in the main window.
Measure in the extension window.
Line
b
ab
Turn the M knob to move line a.
Turn the M knob to move line b.
Two cursors are linked. Turn the M knob to move
Source CH1 to CH4
Display the channel to which the cursor
measurement will be applied.
Perform the following operation steps for the time and voltage cursor measurement
of the channel CH1:
1. Push Cursor to display the cursor menu.
2. Select Source in the bottom menu, select CH1 in the right menu.
3. Select the first menu item in the bottom menu, the Type menu will display at
the right of the screen. In the right menu, select Time&Voltage for Type,
two blue dotted lines displayed along the horizontal direction of the screen,
two blue dotted lines displayed along the vertical direction of the screen.
Cursor measure window at the left bottom of the screen shows the cursor
readout.
4. In the bottom menu, select Line Type as Time to make the vertical cursors
active. If the Line in the bottom menu is select as a, turn the M knob to move
line a to the right or left. If b is selected, turn the M knob to move line b.
5. In the bottom menu, select Line Type as Voltage to make the horizontal
cursors active. Select Line in the bottom menu as a or b, turn the M knob to
 Loading...