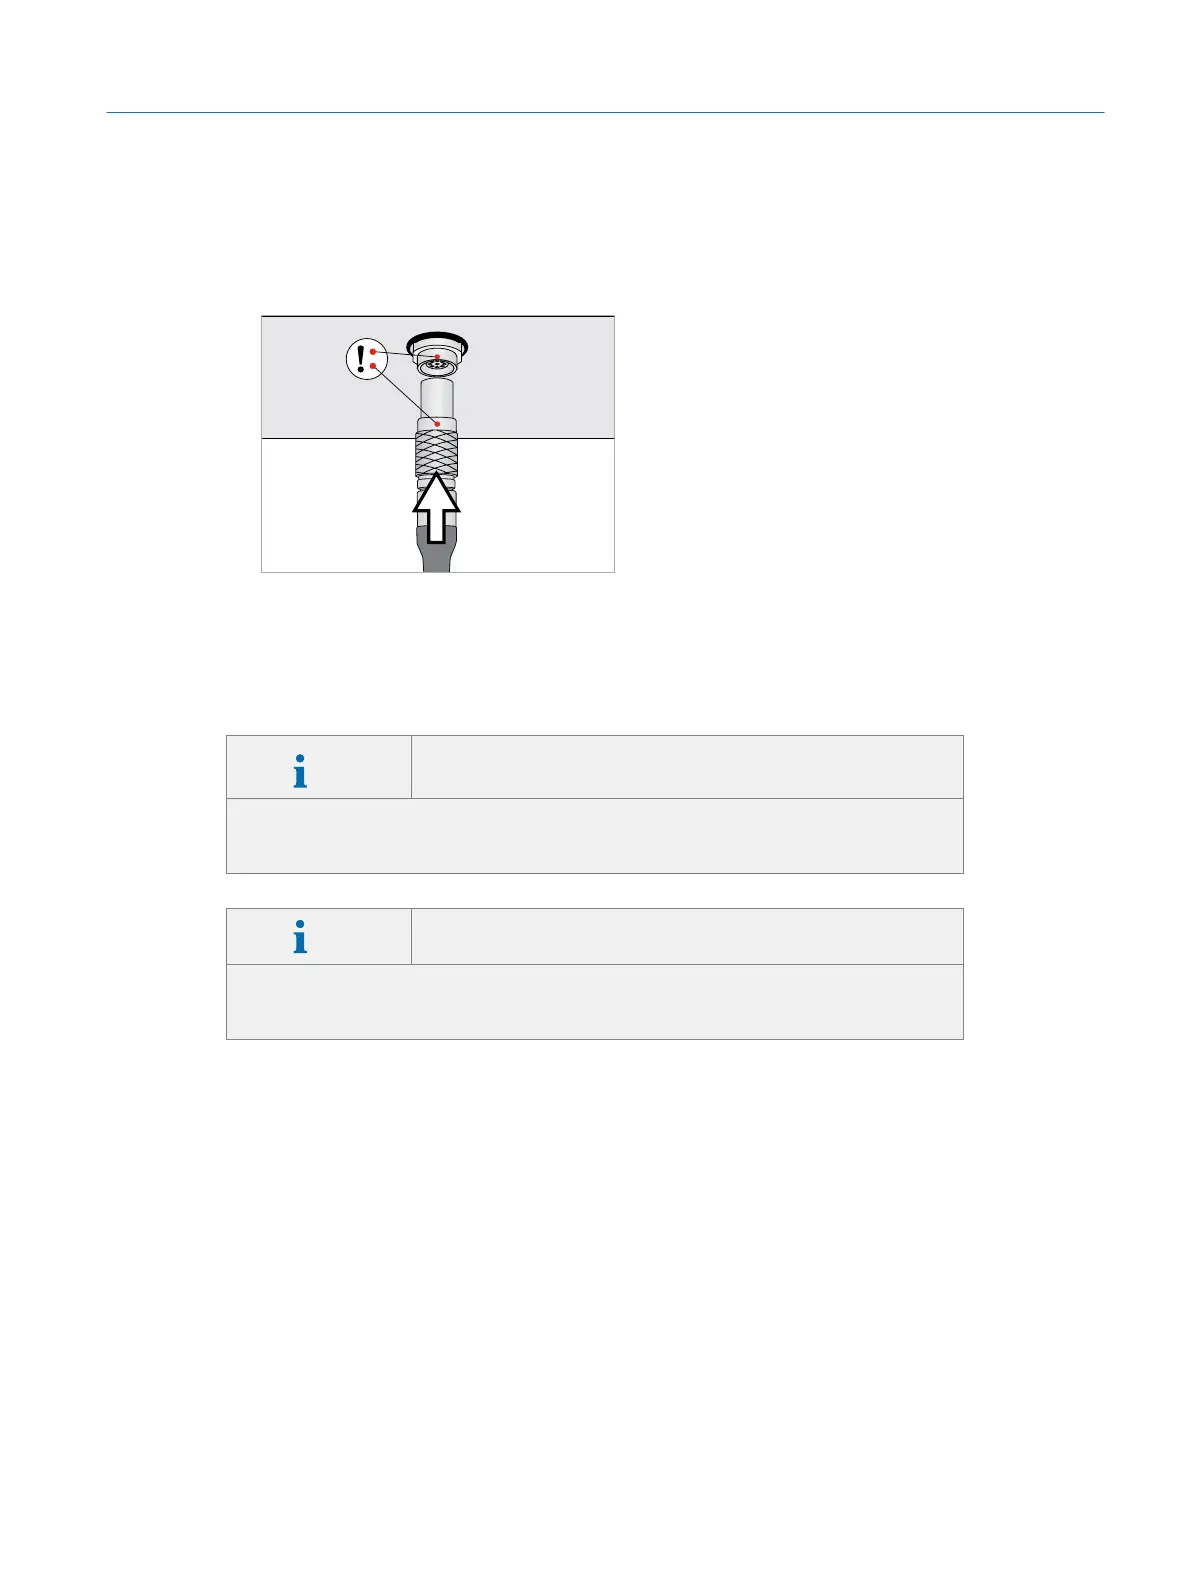
5. Connect the DisplayPort plug and VRx plug to the corresponding connectors
on the back of the simulator PC (ÂFig. 14 on page26, #2). Be sure to align
the red dots on the VRx plug and VRx connector before pushing the plug into
the connector (ÂFig. 15 on page27).
Fig. 15: Connecting the VRx plug
4.8 Attaching the Microscope Eyepieces
Info
Section only applies to simulators shipped in plastic
transport containers
If the simulator was shipped in cardboard packaging, the eyepieces are already
attached to the microscope arm. In this case, please skip this section.
Info Malfunction due to mixed up hardware
The optics within the eyepieces and the microscope socket are calibrated and
cannot be used with the hardware of another Eyesi Surgical simulator.
Attaching the microscope eyepieces:
1. Remove the sealing caps from the eyepieces and microscope socket.
2. Align the white dots of the eyepiece unit and microscope socket (ÂFig. 16 on
page28, #1).
27
Installation
Eyesi Surgical Simulator – Installation and Operating Guide