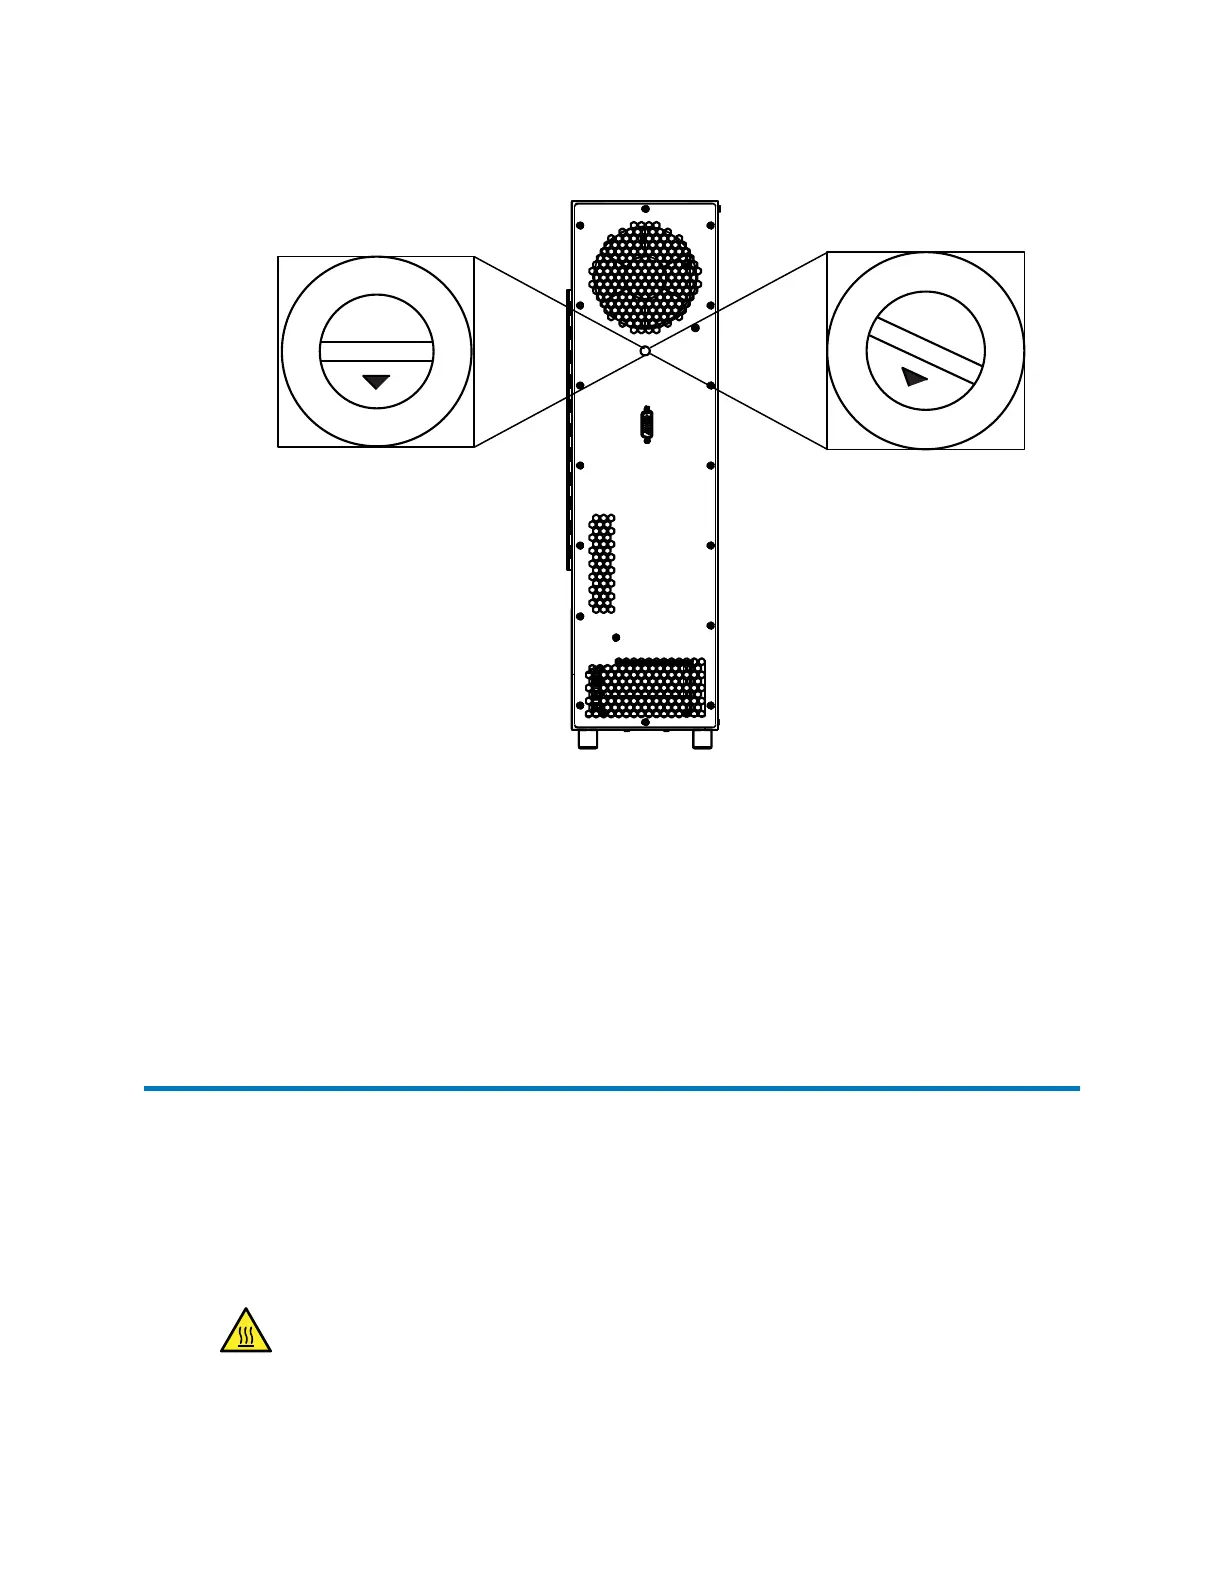
Figure 2–17: Column-selection valve switch settings
8
9
A
B
C
D
E
F
0
1
2
3
4
5
6
7
8
9
A
B
C
D
E
F
0
1
2
3
4
5
6
7
Column-selection (8-port,
3-position) valve installed
No valve installed
3. Using the small, flat-head screwdriver, rotate the switch dial to the required address setting
for the valve configuration.
Important: The arrow in the switch dial indicates the setting.
4. Power-on the sample manager and the column compartment, to enable the new address.
Note: Communication is not enabled until the sample manager and, if applicable, 30-cm
CHC module, are powered on.
2.5
Column compartment plumbing connections
The standard configuration of the 30-cm CH and 30-cm CHC module connects the passive
preheater to the sample manager's injection valve tubing via a union. If column switching is
enabled, the passive preheater and union are bypassed and the sample manager's injection
valve outlet tubing connects directly to the column-selection valve inlet. The topics in this section
convey instructions for making the connections for both of these setups.
When making column tubing connections, heed these warnings:
Warning: To prevent burn injuries, set the column temperature to Off, and then allow
the column compartment and its components to cool for 60 minutes before touching
them. Monitor the column compartment's internal temperature to ensure that all
components are cool.
December 5, 2017, 715004751 Rev. C
Page 37