Connecting eSATA Device
If external eSATA storage is used, it can be connected to a rear eSATA port. Additional power for eSATA device
will be required as NVR doesn’t supply power.
1. Check compatibility of eSATA with NVR as not all eSATA are compatible with NVR.
2. If eSATA is connected to NVR when it is on, it may not be recognized depending on external devices. So
we recommend following the below steps.
1) Turn off NVR.
2) Turn off eSATA then connect it to NVR.
3) Turn on eSATA.
4) Turn on NVR.
Connecting input/out terminals
Wire end handling
See below for wire end handling used in terminal block. Please work on single line and multiple line as they
have different thicknesses.
Connecting the sensor
Specification
Below requirements need to be met in order to connect the sensor to ALARM IN port.
Connect the trimmed wire to terminal block
* Adopted differently based on product specification
Connecting relay
Specifications
Please see the below table for alarm output requirements.
Connect the trimmed wire to terminal block
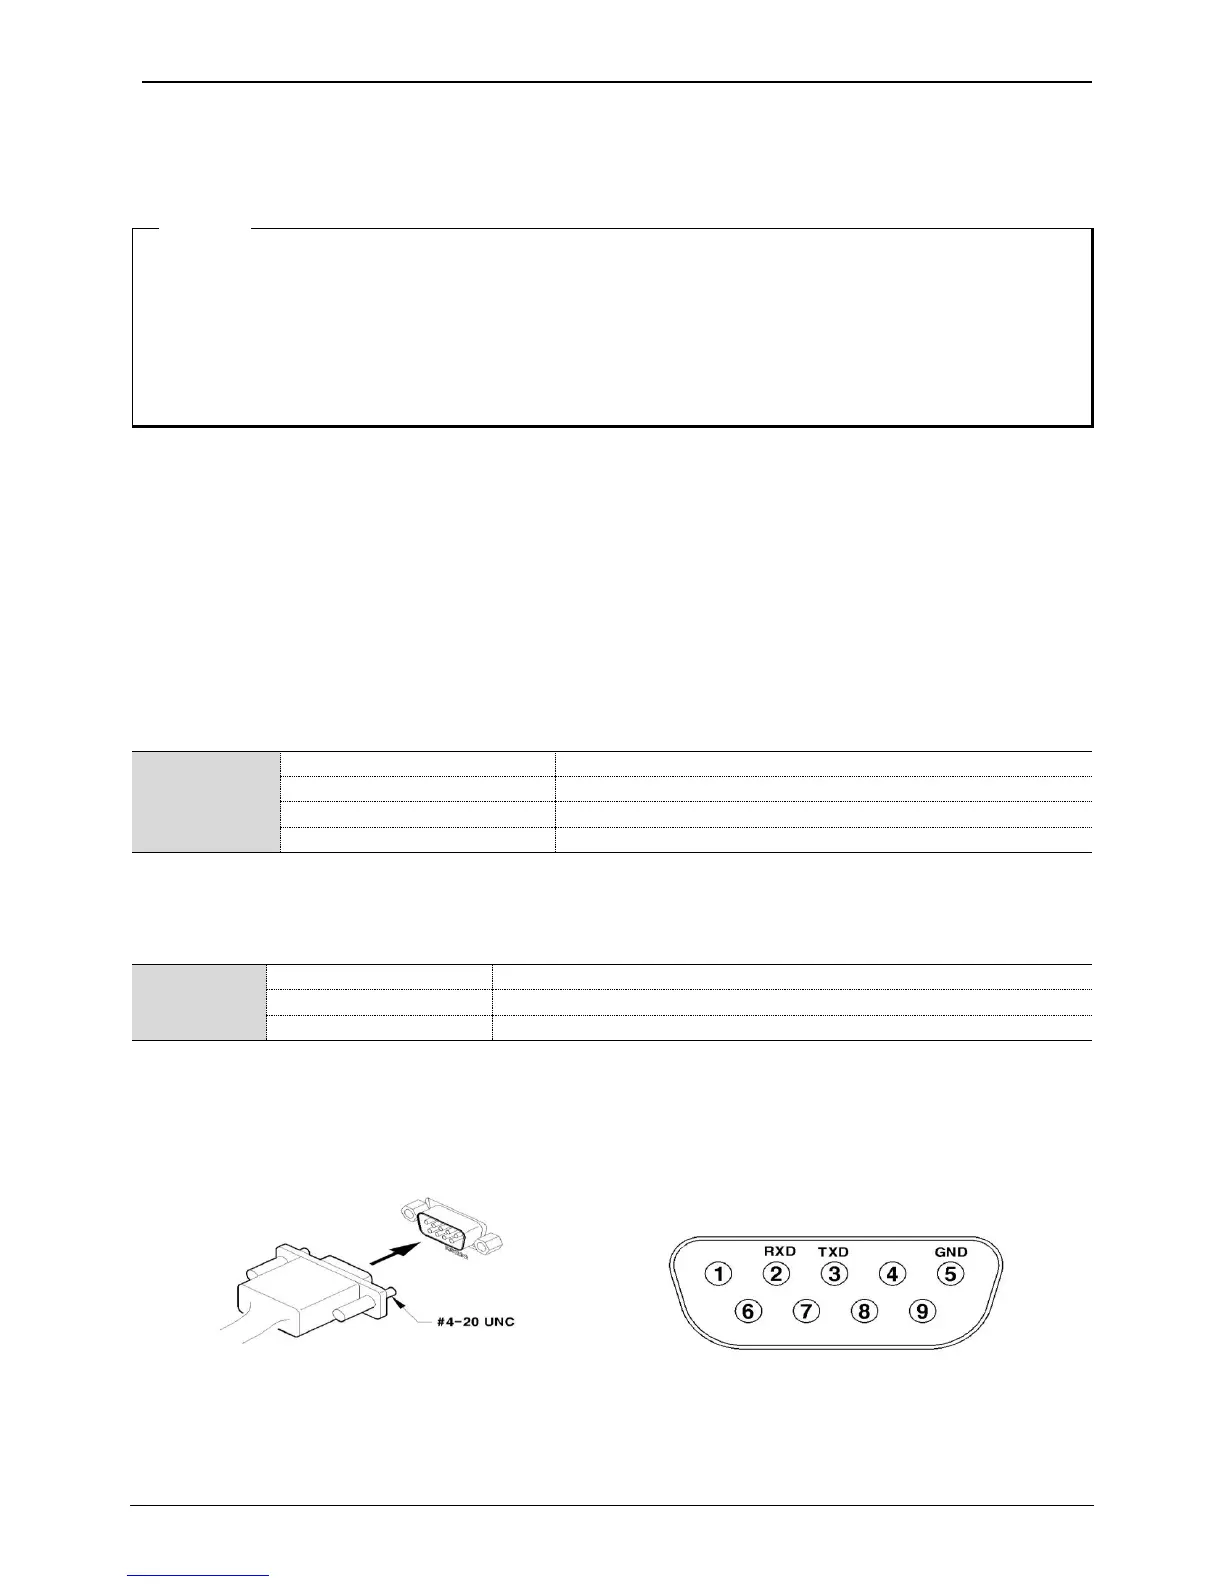
Connecting USB TO SERIAL
Connecting Text Input Devices (ATM / POS / Access Control)
By connecting the USB TO SERIAL cable to USB port of NVR, it is possible to record text data which is input
from external device such as POS/ATM through USB TO SERIAL cable with video.
Please set the serial configuration and text information at [Device] menu for RS232 (D-Sub 9pin) connection.
<Note>
Currently, the model name “NEXT-RS232 4P” is available for USB TO SERIAL cable.
- Multiple lines: Peel off the recommended length (8~10mm) and lead-coat it. Use AWG 22 ~ 26.
- Single line: Peel off the recommended length (8~10mm) and use AWG 20 ~ 26.