22 Repair information and repair instructions
6.2.8 Replacing the toggle switch
Tools required:
• Crosstip screwdriver, size 1,
• Open-ended spanner SW 7,
• Open-ended spanner SW 17,
• Open-ended spanner SW 19 (only with AGA coupling),
• Guide pipes, for toggle switches (from Weinmann),
• Special locknut tool G 3/8 and special tool from Set WM 15348.
1. Remove the housing (see “6.2.3 Dismantling
the housing” on page 14).
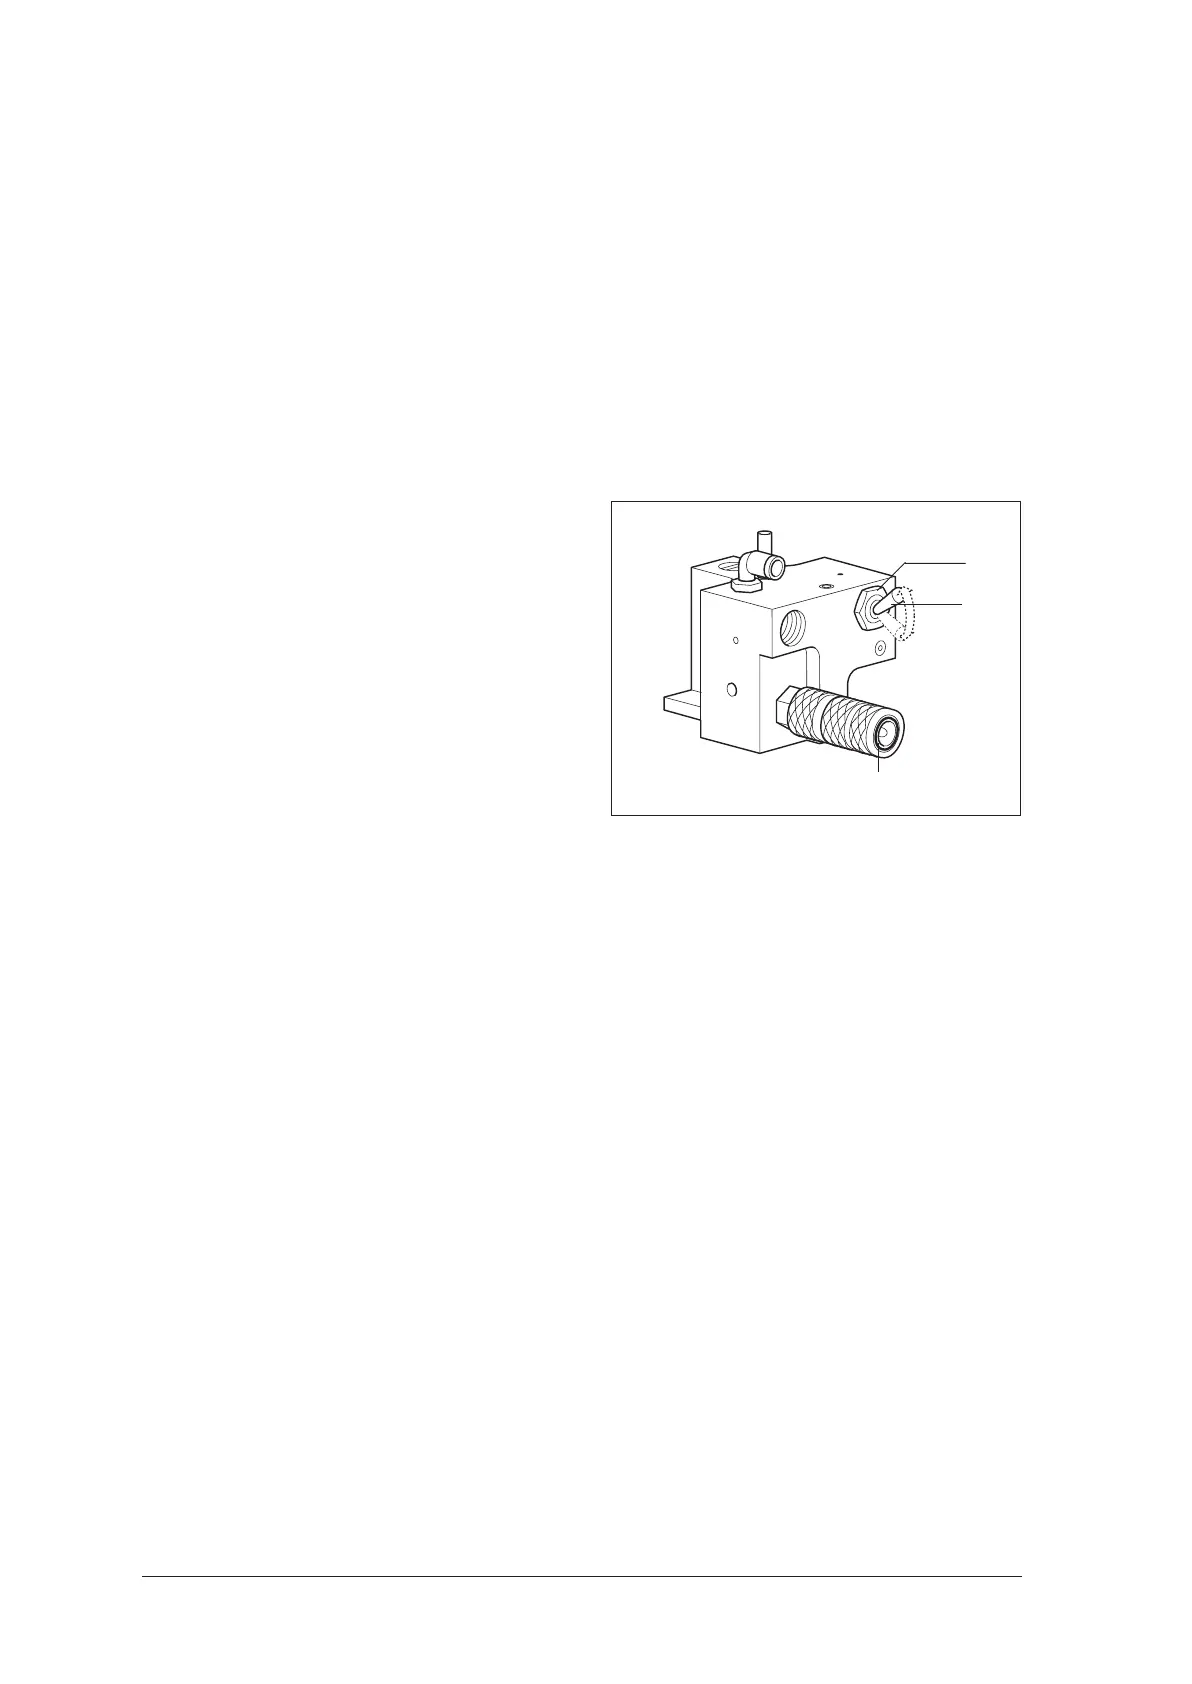
2. Use an open-ended spanner (SW 17) to un-
screw counter nut 51, then remove the faulty
toggle switch 20.
3. Screw in the new toggle switch 20 using the
existing counter nut 51 and the new seals.
Take care with the installation position:
The toggle switch should drop automatically into
its end position. It must not become stuck in an in-
termediate position.
Note:
The toggle switch will tend to drop into the upper
position.
4. Re-assemble the housing (see “6.2.4 Assem-
bling the housing” on page 16).
5. Perform a final check (see “3. Final Check” on
page 7).
6.2.9 Replacing the quick-release coupling
Tools required:
• Crosstip screwdriver, size 1,
• Open-ended spanner SW 7,
• Open-ended spanner SW 14 (with Walther coupling),
• Open-ended spanner SW 19 (with AGA coupling),
• Brass brush,
• Thread tapper for internal thread G 1/8,
• Guide pipes, for toggle switches (from Weinmann),
• Special locknut tool G 3/8 and special tool from Set WM 15348.
1. Remove the housing (see “6.2.3 Dismantling
the housing” on page 14).
2. Carefully clamp the pneumatic block in a vice
with protective jaws.
20
51
50