16 Repair information and repair instructions
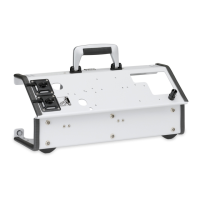
6.2.4 Assembling the housing
Tools required:
• Crosstip screwdriver, size 1,
• Open-ended spanner SW 7,
• Open-ended spanner SW 19 (only with AGA coupling),
• Open-ended spanner SW 22,
• Guide pipes, for toggle switches (from Weinmann),
• Special locknut tool G 3/8 and special tool from Set WM 15348.
1. Wet the edge of the pressure gauge 6 with a
little spirit and press it into the mounting 14.
Observe the installation position so that the dis-
play remains clearly legible!
2. Pass the rubber bead over the pressure gauge
with your fingers.
3. Make sure that the four rubber buffers 36 in the
housing base section 16 are firmly seated (in-
sert with a little spirit if necessary).
4. Carefully insert the two blind plugs 35 into the
holes on the underside of the housing. The flat-
tened sides should be pointing towards the
base of the device.
5. Carefully insert the pneumatic block into the
housing base section.
6. For easier movement, disconnect the supply
tube 25 from the pnuematic block.
7. Push the supply tube into the angular bush 40
as far as it will go.
8. Rotate the angular bush 40 in the opposite di-
rection of the oxygen inlet 5.
9. Push the supply tube into the bush 40 of the
pneumatic block as far as it will go.
36
40
16
35
20