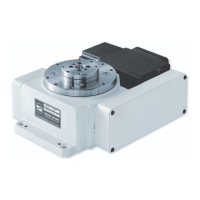
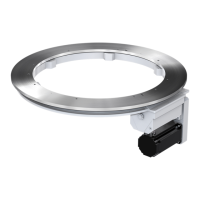
Rotary indexing ring TR
Mounting
Use screws with the property class specified
to mount the product, see chapter 8.3. When
determining the length of the screws, take
into account the loads and forces acting in
your application as well as the characteristics
of the supporting structure to which the
product is mounted.
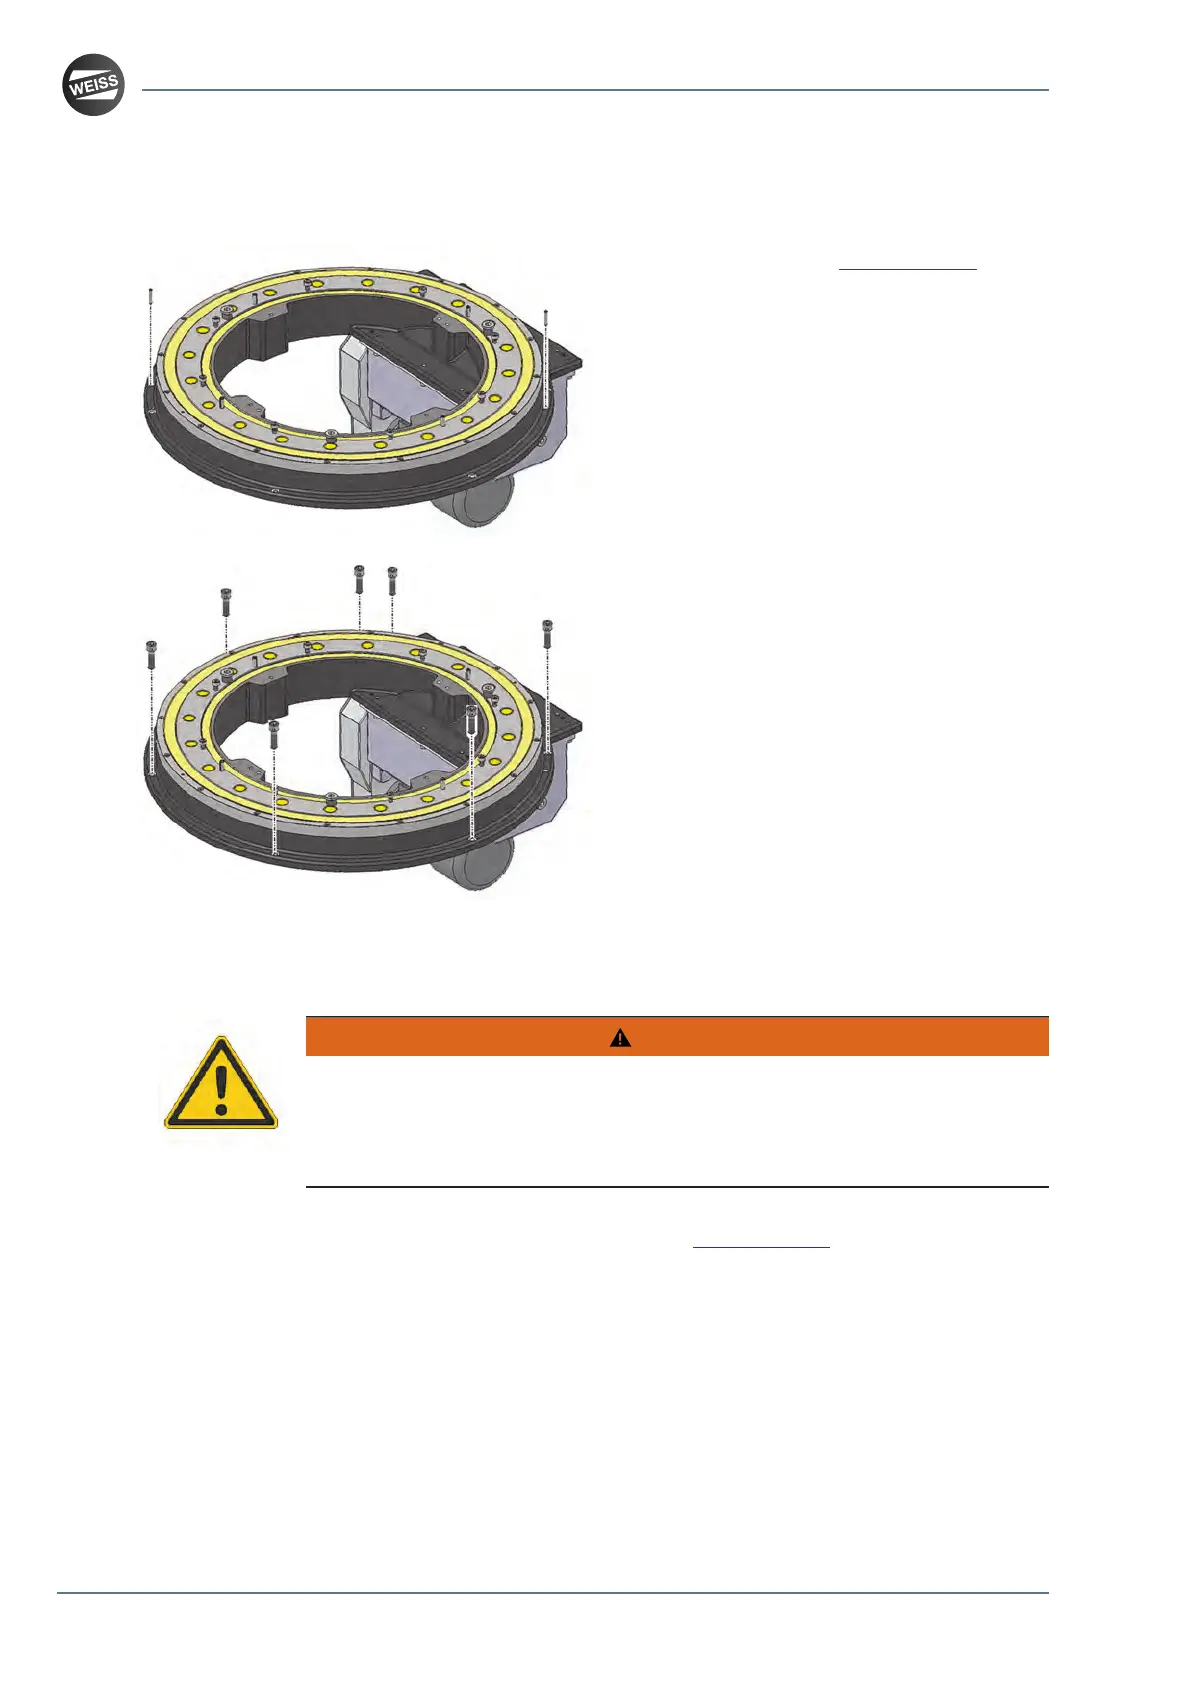
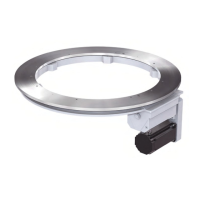
1. Place the product at the mounting site
in compliance with the transportation
instructions and align it according to the
holes and the pin holes.
2. Center the product with two parallel pins and
then drive in the first parallel pin by one third.
3. Screw in all screws and tighten them.
4. Drive in all parallel pins (positive fit, the
parallel pin must be in contact with the
housing of the indexing table and the
supporting surface/mounting surface).
5. Tighten all screws cross-wise with the
specified tightening torque.
8.5 Displacing the drive housing
WARNING
FALLING PARTS
Failure to follow these instructions can result in death, serious injury, and
equipment damage.
■
Secure the motor so it cannot fall down before loosening the screws.
The drive housing is factory-mounted according to the drive position you specify in your order. The
drive housing can be moved to the permissible drive positions, see chapter 3.6.
34 / 79
Mounting instructions_062019_4.0_en