15
T Backgrnd Background Teach-In
Press <T> for
Teach-In
Teach-In Background process
1) Align light spot to background (e.g., on conveyor belt).
2) Press “T” key. –> The switching point is learned.
Note:
• The switching point can be recalibrated in the menu item Poti (see chapter 7.3.4)
if needed.
• The switching hysteresis can be modified in the menu item Hysteresis (see chap-
ter 7.3.5) if needed.
7.3.3. Switching Output Window Teach-In
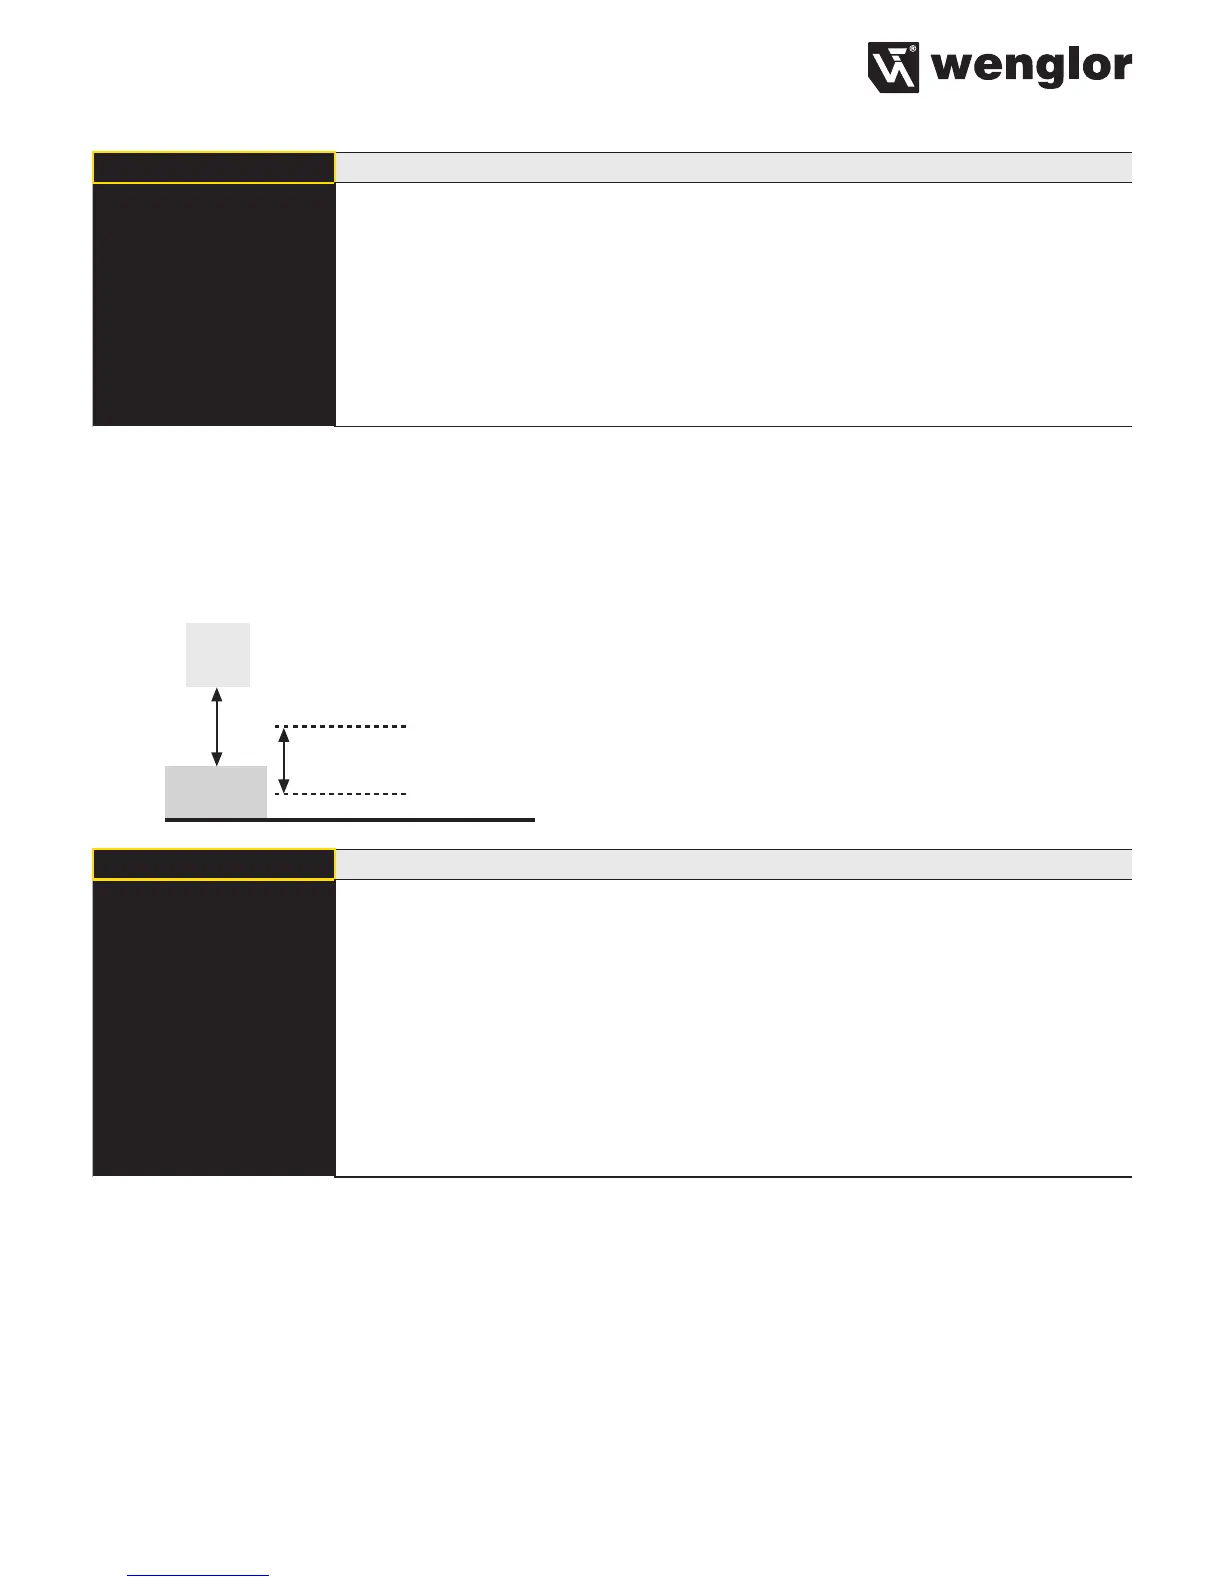
In case of the Window Teach-In there are two switching points. The difference between the two switching points
is referred to as a window. The size of the window is referred to as window width. The sensor is activated when
an object is positioned within the window.
Sensor
Object
Window Width
T Window Window Teach-In
Press <T> for
Teach-In
Teach-In Window process
1) Align light spot to foreground (if present) or to object.
2) Press “T” key. –> The switching points are learned.
Note:
• The Window Size variable can be increased or decreased in the menu item
Window (see chapter 7.3.6). 50 mm is the preset.
• The center of the window can be readjusted in the menu item Poti (see chapter
7.3.4) if needed. The two switching points are alternately displayed in this process.
• The switching hysteresis can be modified in the menu item Hysteresis (see chap-
ter 7.3.5) if needed.
Examples of applications:
Ex. 1: Recognition of objects that are very difficult to recognize visually, e.g., shiny black metal plates in an
extremely slanted position in front of a background.
–> Use Teach-In Background for this application.
Ex. 2: Distinction of objects, e.g., small and large packages on a conveyor belt.
–> In this application, use Teach In to the object to be recognized, at which the Sensor is to switch.