COOLING
SYSTEM
I
WATER
PUMPS
DESCRIPTION
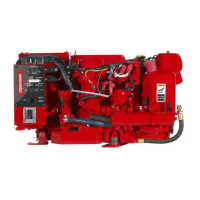
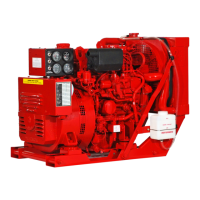
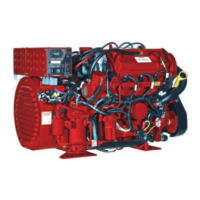
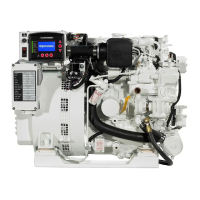
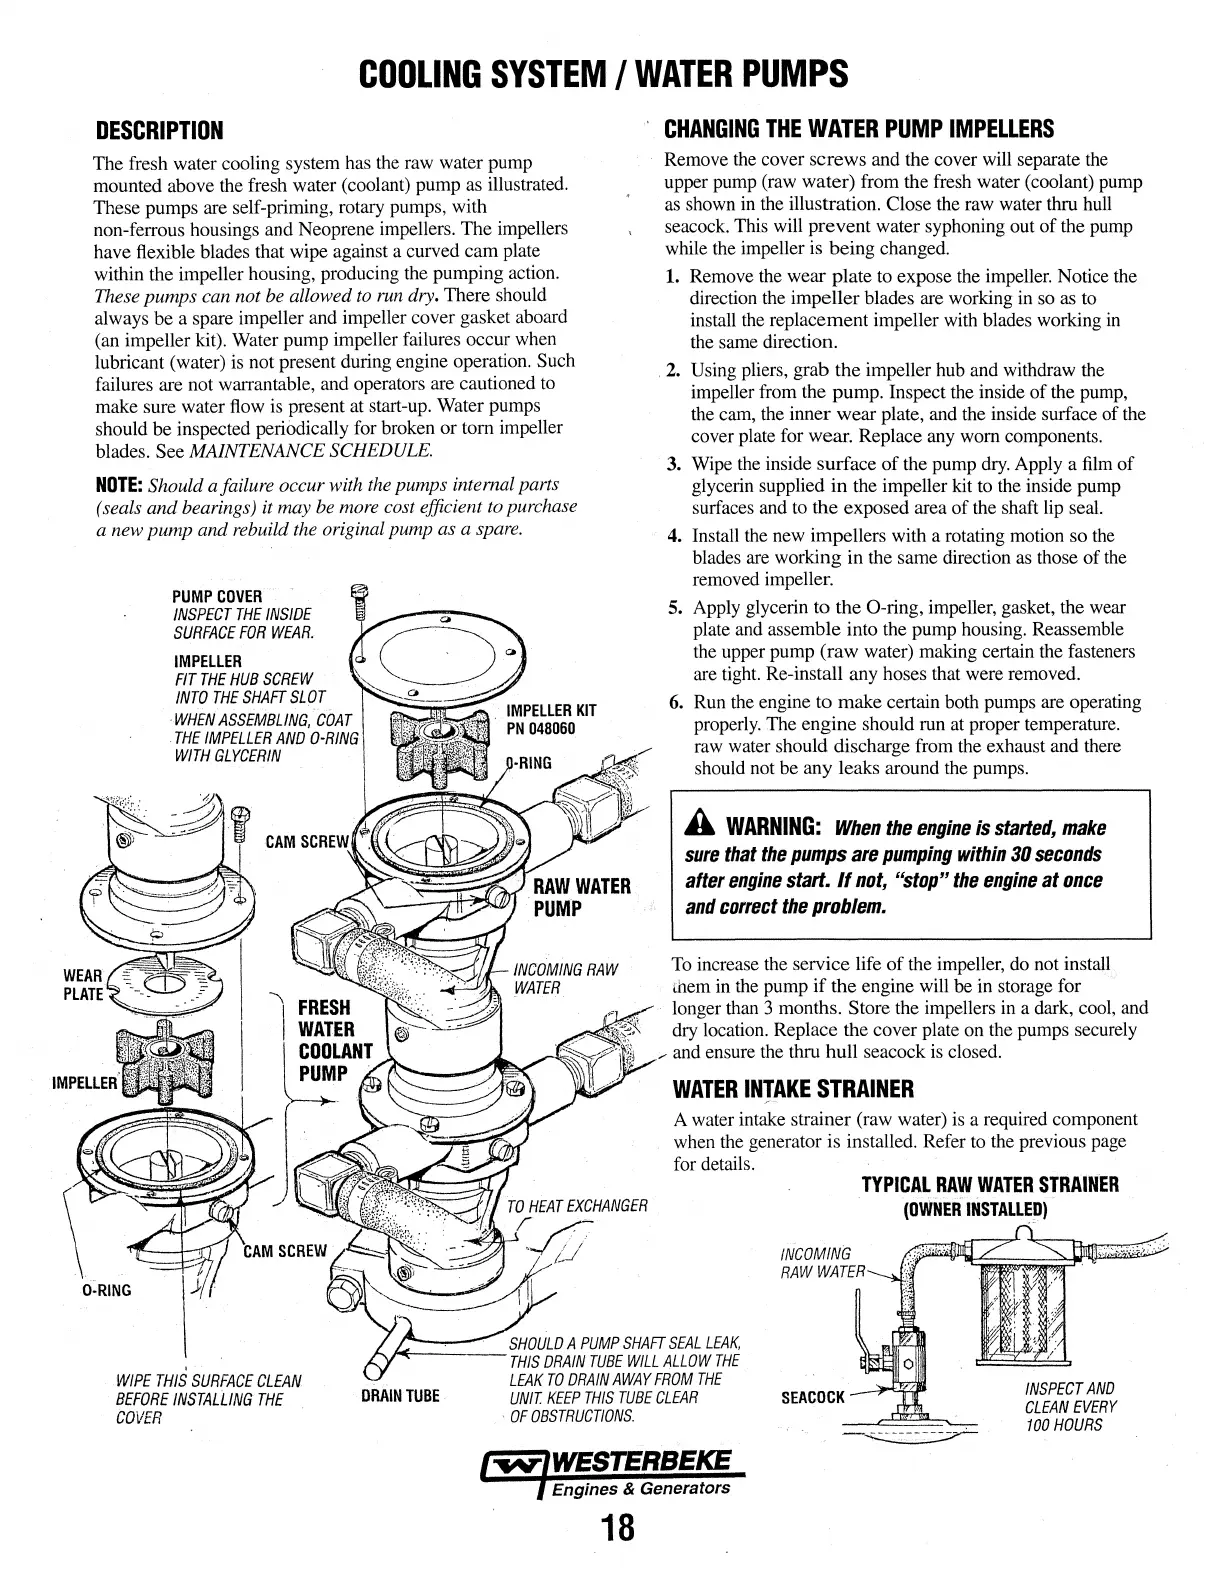
The fresh water cooling system has the raw water pump
mounted above the fresh water (coolant) pump as illustrated.
These pumps are self-priming, rotary pumps, with
non-ferrous housings and Neoprene impellers. The impellers
have flexible blades that wipe against a curved cam plate
within the impeller housing, producing the pumping action.
These pumps can not be allowed
to
run
dry. There should
always
be
a spare impeller and impeller cover gasket aboard
(an impeller kit). Water pump impeller failures occur when
lubricant (water)
is
not present during engine operation. Such
failures are not warrantable, and operators are cautioned to
make sure water flow is present at start-up. Water pumps
should
be
inspected periodically for broken or tom impeller
blades.
See MAINTENANCE SCHEDULE.
NOTE:
Should a failure occur with the pumps internal parts
(seals
and
bearings) it may be more cost efficient to purchase
a new pump and rebuild the original pump as a spare.
PUMP
COVER
INSPECT
THE
INSIDE
SURFACE
FOR
WEAR.
IMPELLER
FIT
THE
HUB
SCREW
INTO
THE
SHAFT
SLOT
·WHEN
ASSEMBLING,
COAT
THE
IMPELLER
AND
0-R/NG
WITH
GLYCERIN
CHANGING
THE
WATER
PUMP
IMPELLERS
Remove the cover screws and the cover will separate
the
upper pump (raw water) from the fresh water (coolant) pump
as
shown in the illustration. Close the raw water thru hull
seacock. This will prevent water syphoning out
of
the pump
while the impeller is being changed.
1.
Remove the wear plate to expose the impeller. Notice the
direction the impeller blades are working in so
as
to
install the replacement impeller with blades working
in
the same direction.
2.
Using pliers, grab the impeller hub and withdraw the
impeller from the pump. Inspect the inside of the pump,
the cam, the inner wear plate, and the inside surface of the
cover plate for wear. Replace any worn components.
3. Wipe the inside surface
of
the pump
dry.
Apply a
film
of
glycerin supplied in the impeller kit to the inside pump
surfaces and to the exposed area
of
the shaft lip seal.
4.
Install the new impellers with a rotating motion so the
blades are working in the same direction as those of the
removed impeller.
5. Apply glycerin to the 0-ring, impeller, gasket, the wear
plate and assemble into the pump housing. Reassemble
the upper pump
(raw
water) making certain the fasteners
are tight. Re-install any hoses that were removed.
6. Run the engine
to
make certain both pumps are operating
properly. The engine should run at proper temperature.
raw water should discharge from the exhaust and there
should not be any leaks around the pumps.
A
WARNING:
When
the
engine
is
started,
make
sure
that
the
pumps
are
pumping
within
30
seconds
after
engine
start.
If
not,
"stop"
the
engine
at
once
and
correct
the
problem.
To
increase the service life
of
the impeller, do not install
mem
in the pump
if
the engine will be in storage for
longer than 3 months.
Store the impellers in a dark, cool, and
dry location. Replace the cover plate on the pumps securely
and ensure the thru hull seacock
is
closed.
WATER
INTAKE
STRAINER
A water intake strainer (raw water)
is
a required component
when the generator is installed. Refer to the previous page
for details.
TYPICAL
RAW
WATER
STRAINER
(OWNER
INSTALLED)
INCOMING
RAW
WATER
WIPE
THIS
SURFACE
CLEAN
BEFORE
INSTALLING
THE
COVER
DRAIN
TUBE
A
PUMP
SHAFT
SEAL
LEAK,
THIS
DRAIN
TUBE
WILL
ALLOW
THE
LEAK
TO
DRAIN
AWAY
FROM
THE
UNIT.
KEEP
THIS
TUBE
CLEAR
SEACOCK
INSPECT
AND
CLEAN
EVERY
100
HOURS
OF
OBSTRUCTIONS.
18