15.5
Step 4: Fit Upright Lower Fixings
Hold the Upright Assembly with the Brake Caliper towards the Rear of the Car.
Each Upright has a letter `L’ or `R’ on it to identify which side of the car it should go on.
(`R’ is for the Drivers Side and `L’ is for the Passenger Side)
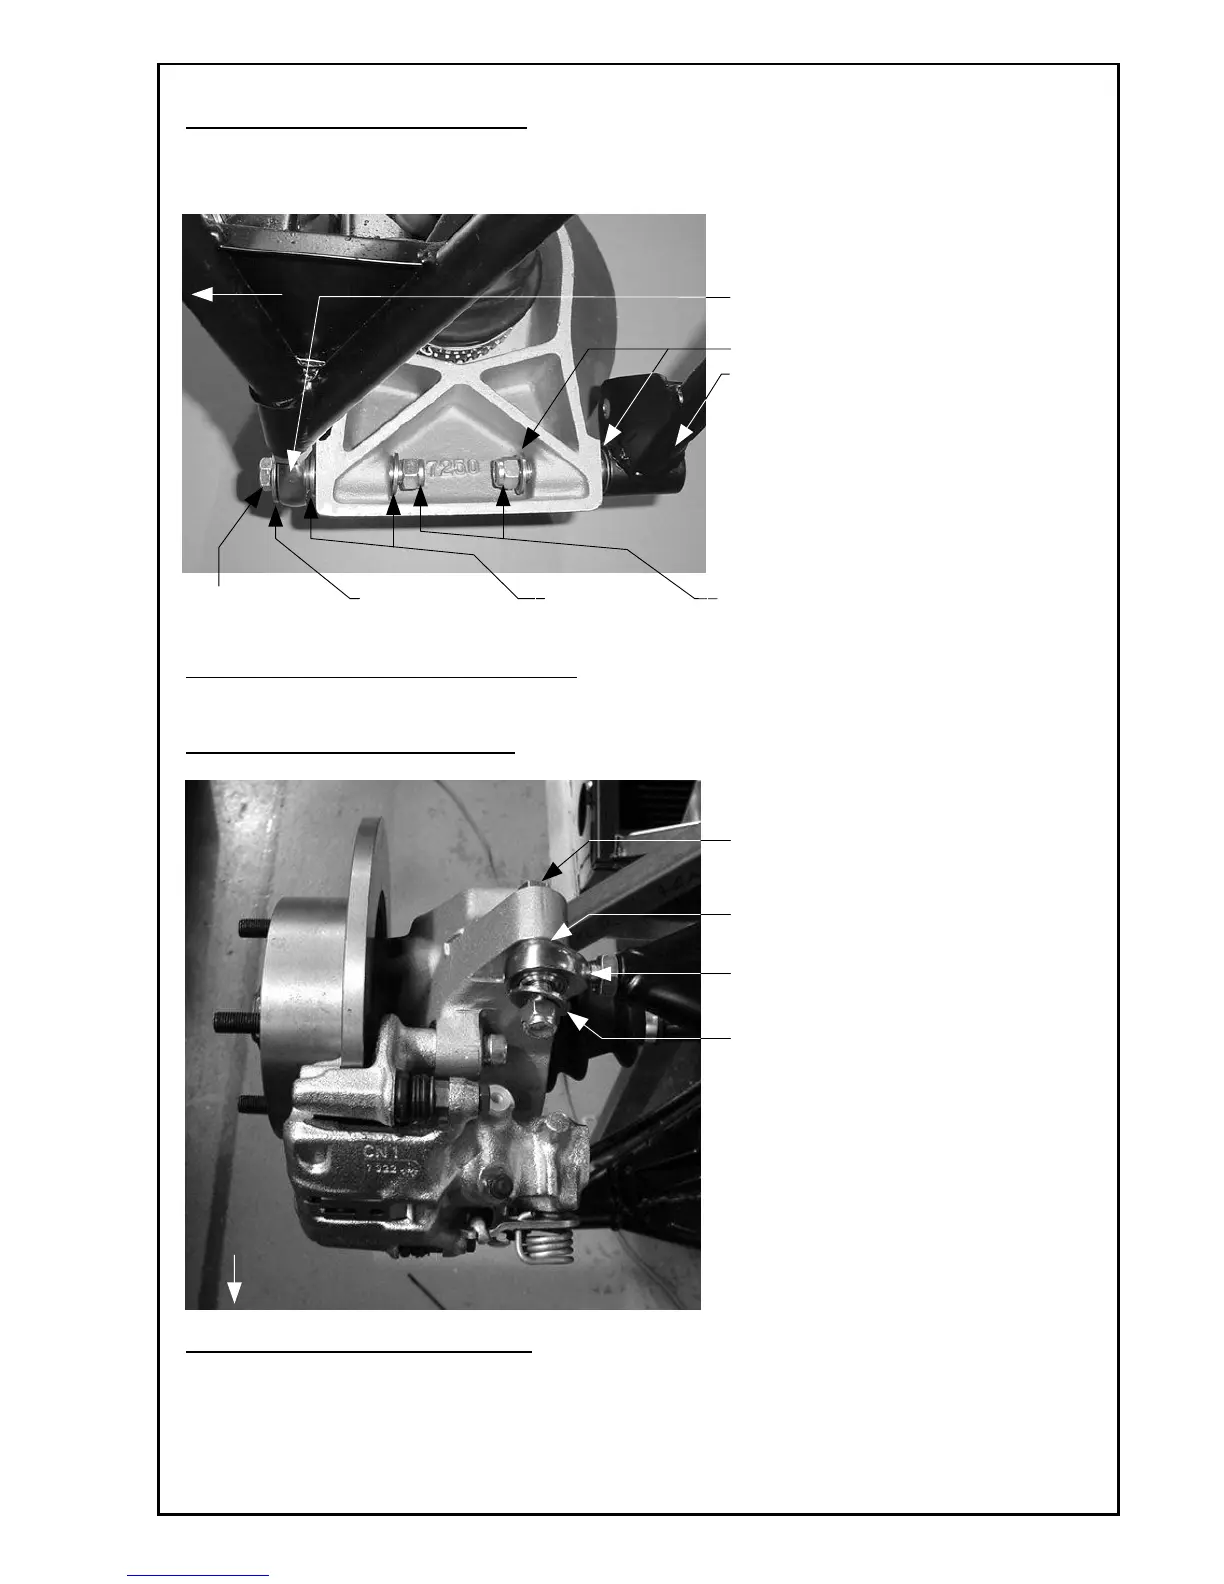
View From Back Of Passenger Side Upright
Step 5: Fit Upright Upper Fixing
View From Above & From Rear Of Car
NOTE: Do Not Fully Tighten the Top and Bottom Nyloc Nuts that secure the Rod Ends at
this Stage as the Set-Up of the Car is Adjusted on these Joints.
Lower Rod End
7/16” UNF x
3” Long Bolt
Rear Of
Car
7/16” Plain Washers x 3
Includes 1 Under Head Of
7/16” UNF x 3¾” Long Bolt
7/16” Repair
Washer
7/16” Plain
Washers
7/16” Nyloc
Nuts
7/16” UNF x 2¾” Long Bolt
+ Plain Washer under Head
Upper Rod End
7/16” Repair Washer & Nyloc Nut
7/16” Plain Washer
Rear Of
Car