Cut the Mat
1. Click Cut to cut the mat.
Because the motors are
still engaged, the CMC will
automatically begin to cut.
We were not prompted to
change the blade depth setting or cartridge prior to cutting
this time because our matboard type and cutting operation
did not change.
2. After it has nished cutting, remove the matboard from
the CMC. The second mat has been cut.
3. Click on the “X” button once to return to the New
Openings screen. Continue clicking on the “X” button to
return to the Main Screen.
4. Remove the matboard from the CMC. The mat is now complete. If something doesn’t look quite right,
please see “Troubleshooting” page 26 for more information.
Blade Depth Settings
1. To change
the blade
depth in the
software,
select the
desired
Layer on the
Cut Preview
Screen.
2. Click on
the Blade
Depth
button.
3. On the Blade Depth screen, select the new blade depth number under Opening.
For this rst mat, leave it at the default setting of 10.
4. Click OK.
5. If we had changed the Blade
Depth, the new blade depth
number would listed next to the
current layer.
NOTE: Returning to Editor then
back to Cut Preview reloads the
default blade depth and dense settings.
20-34300-1A GettingStartedManual9K-70FrameShop
02/23/24
21
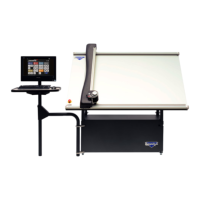
Wizard CMC Model 9000 Hardware and Software Getting Started Manual
Wizard™ CMC Model 9000 Hardware and Software Getting Started Guide