Xerox
®
D70n Scanner Wired Network Connection
6-2 User Guide
7. Sign in to the Cloud Service using your Microsoft or Google account.
The scanner will now be registered on the Cloud Service with your account. You can now access
the scanner on the iOS or Android mobile apps or Visioneer Network Scanner Manager.
Note: You will need to sign in with the same account that registered the scanner on the Cloud
Server before using the scanner on any of the aforementioned applications. See the Visioneer
Mobile Capture user guide for more information, www.xeroxscanners.com
.
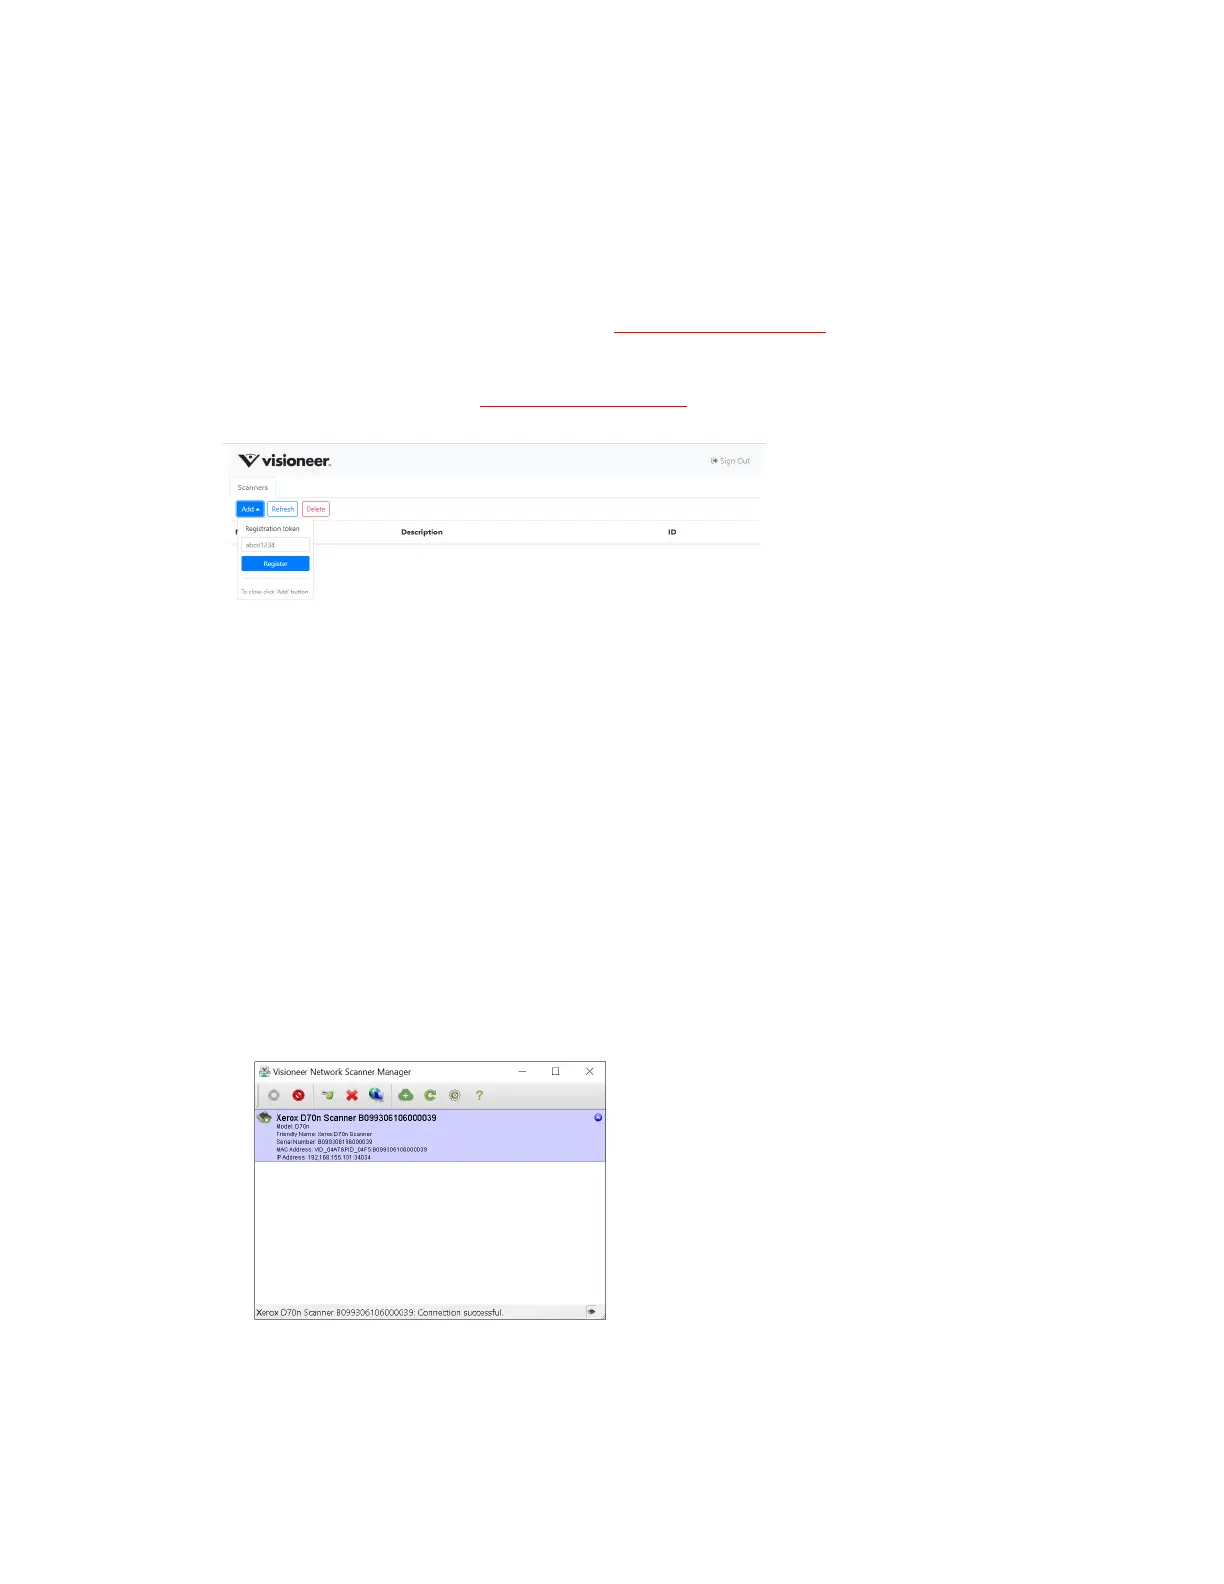
There is a registration token number above the QR code. You can use this to register the scanner
using any device by browsing to www.vast.visioneer.com
. Log in with your Microsoft or Google
account and click Add to add a scanner.
Alternatively, you connect the scanner to the Cloud Server from The Scanner’s Web Interface, see
Registering a new scanner to the TWAIN Direct Cloud.
Using a Network Connected Scanner from your PC
Once a network connection is established, you can use the scanner wirelessly on a network-
connected device.
1. Ensure the scanner and network-connected device are on the same network.
Alternatively, you can register the scanner to the Cloud Server and then connect it to the PC
using Visioneer Network Scanner Manager.
2. Install scanner driver (see PC Installation) and Visioneer Network Driver (see Visioneer
Network Driver user guide).
3. Launch Visioneer Network Scanner Manager.
4. Select an available scanner from the list.
5. Connect the scanner.
6. It is now ready for use with OneTouch, TWAIN or WIA on your network-connected device.