Xerox DocuMate 3920
User’s Guide
24
1. Press the Menu button on the scanner.
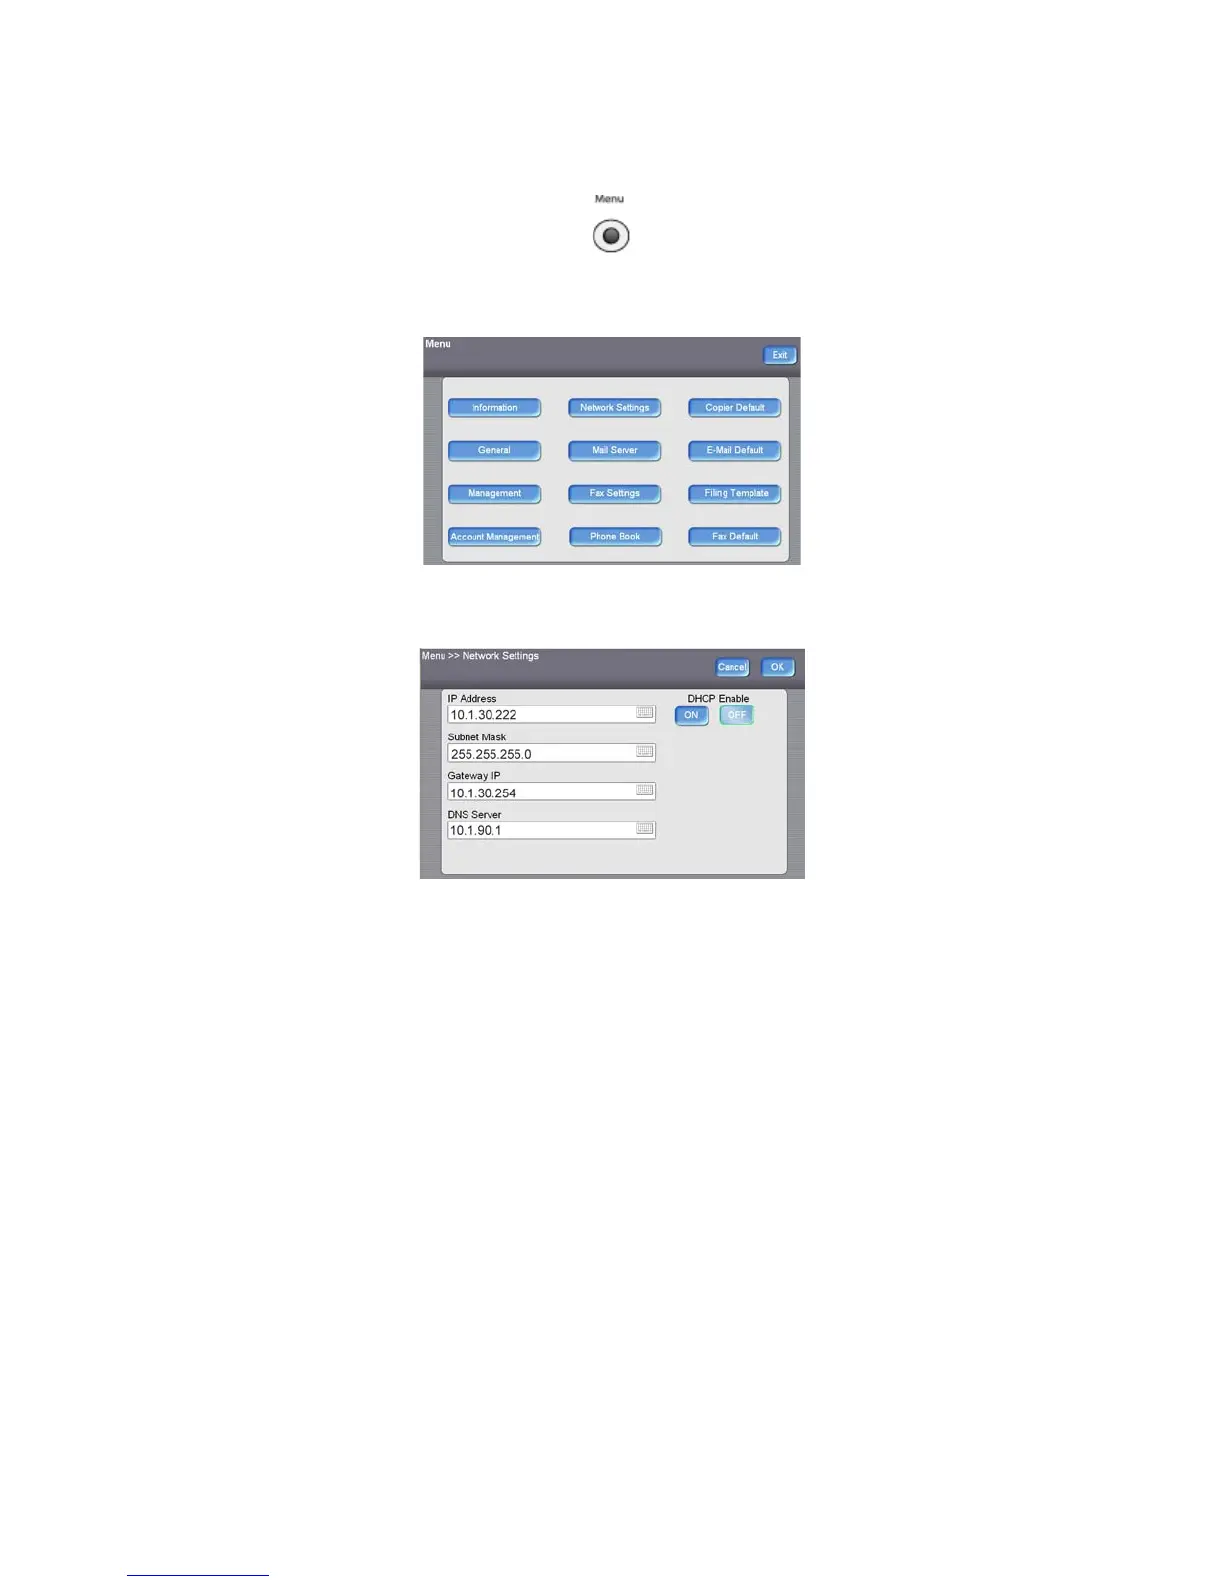
The LCD touch screen displays the following menu.
2. Press the Network Settings button on the LCD touch screen.
3. In the Network Settings menu, either input your network parameters in each field, or press ON
under “DHCP Enable”.
To fill in the fields manually, press the keyboard icon next to each input field. This displays the
soft-keyboard for you to enter the information.
If you turned on DHCP, an IP address will automatically be assigned when you power cycle the
scanner.
4. Press OK when you are finished. Power cycle the scanner when the LCD screen displays the
message “Reboot the machine.”
When the scanner is on again, you will be able to access the network from the scanner, and you will be
able to configure the scanner remotely from a computer on the network.
 Loading...