71
5 Scanning
This chapter describes the basic scanning procedure and how to check scanned
documents stored in mailboxes. It also provides information on how to import the
scanned documents to a computer and how to delete documents in a mailbox.
Scanning Procedure
You can scan documents on the machine and save the scanned data in a specified
mailbox. To use the scan features, a mailbox must be created in advance using
CentreWare Internet Services. For information on how to create a mailbox, refer to the
Scanner Environment Settings chapter in the System Administration Guide.
The following procedure describes the basic scanning procedure.
NOTE: Before starting the scanning procedure, confirm the mailbox number that you
want to save the scanned data to.
NOTE: If the machine is switched off, data currently being processed may be lost, and
all the scanned data stored in mailboxes will be deleted.
NOTE: If the machine receives a print job while you are setting the scan options on
the Control Panel, the scan operation will be interrupted until the print job is finished.
After the machine has finished printing, you can continue the remaining settings for
the scan job.
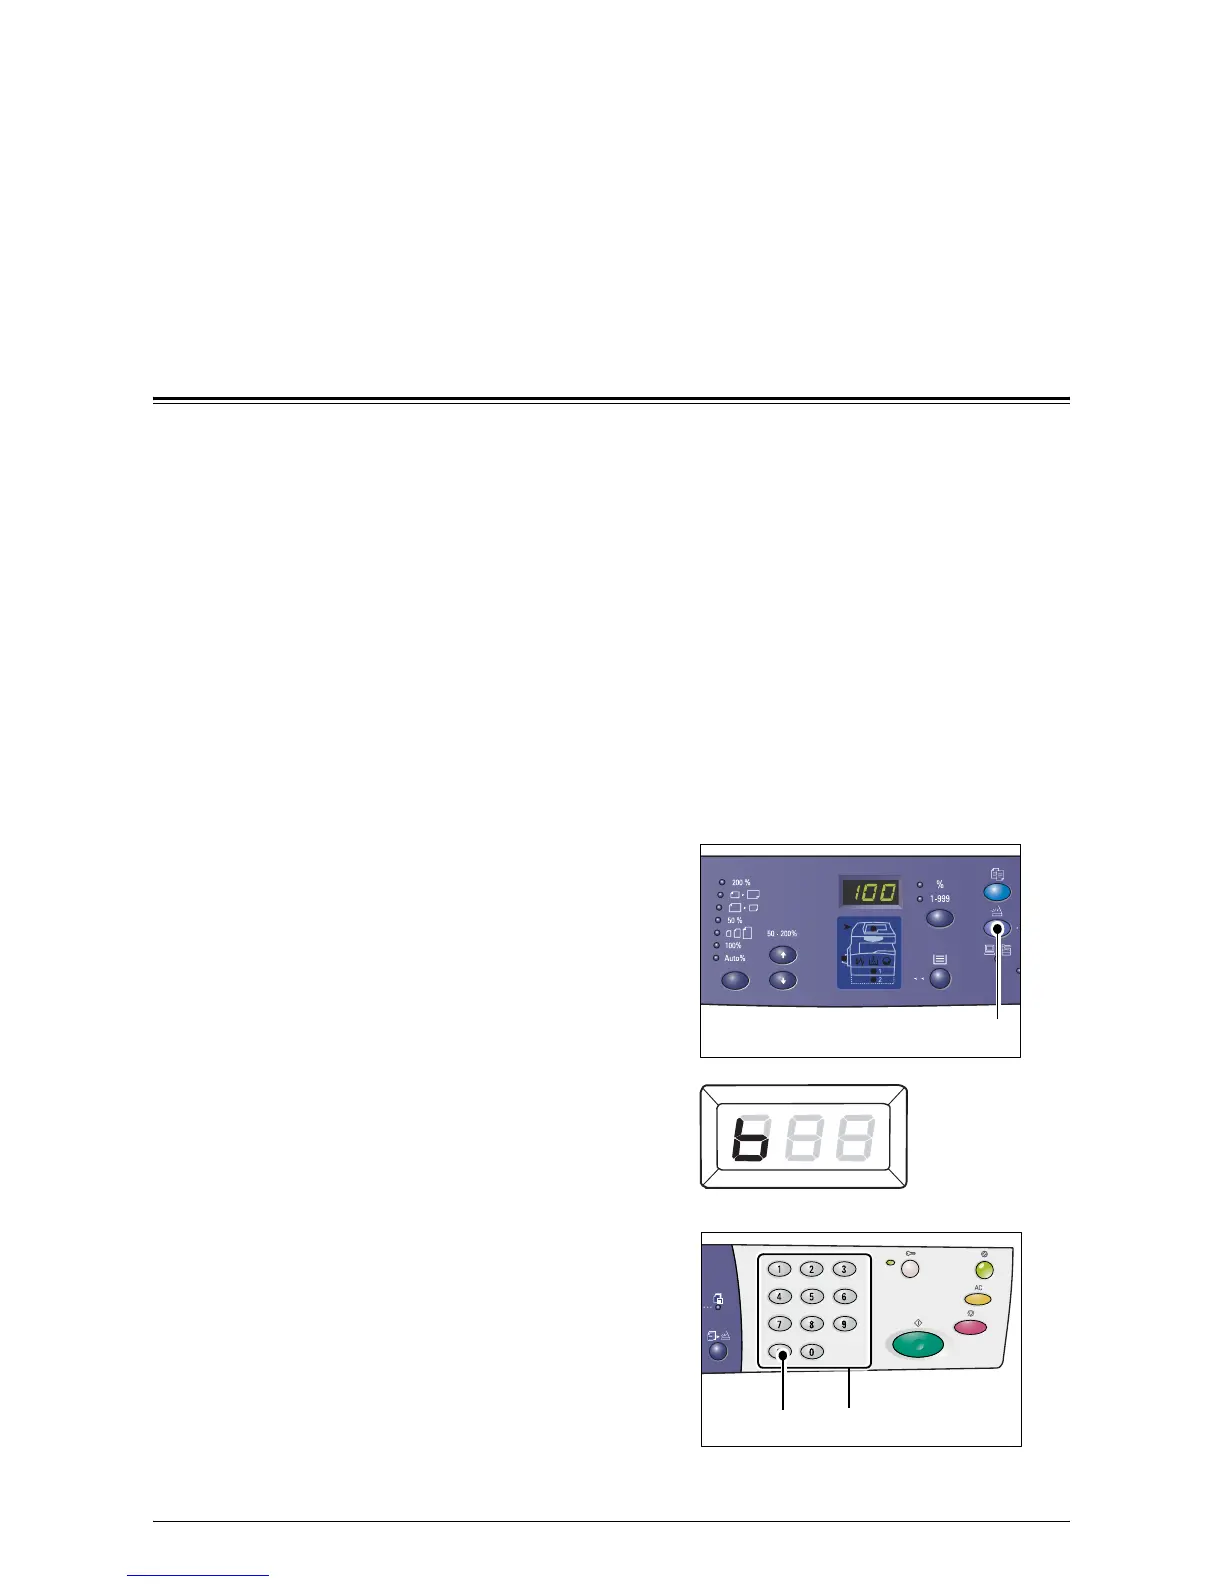
1.
Press the <Scan> button.
The machine enters the Scan Mode.
The letter [b] appears blinking in the
Display.
2.
Enter the mailbox number in which to
store the scanned data, using the
numeric keypad.
NOTE: The mailbox number "1" is used as
an example in this procedure.
NOTE: If you have entered an incorrect
value, press the <C> button to clear the
wrongly entered value.
<Scan> button
Numeric keys
<C> button