O
THER
W
AYS
TO
F
AX
4.4
3
Press Menu until “Fax Feature” appears on the top line of
the display. The first available menu item, “Delay Fax,”
displays on the bottom line.
4
Press Enter.
5
Enter the number of the remote machine using the number
keypad.
To enter the number, you can use one or two-digit speed
dial or group dial numbers. For details, see Chapter 3,
"Automatic Dialling."
6
Press Enter to confirm the number on the display. The
display asks you to enter a name.
7
If you want to assign a name to the transmission, enter the
name. If not, skip this step.
For details on how to enter the name using the number
keypad, see “Entering Characters Using the Number
Keypad” on page 1.5.
8
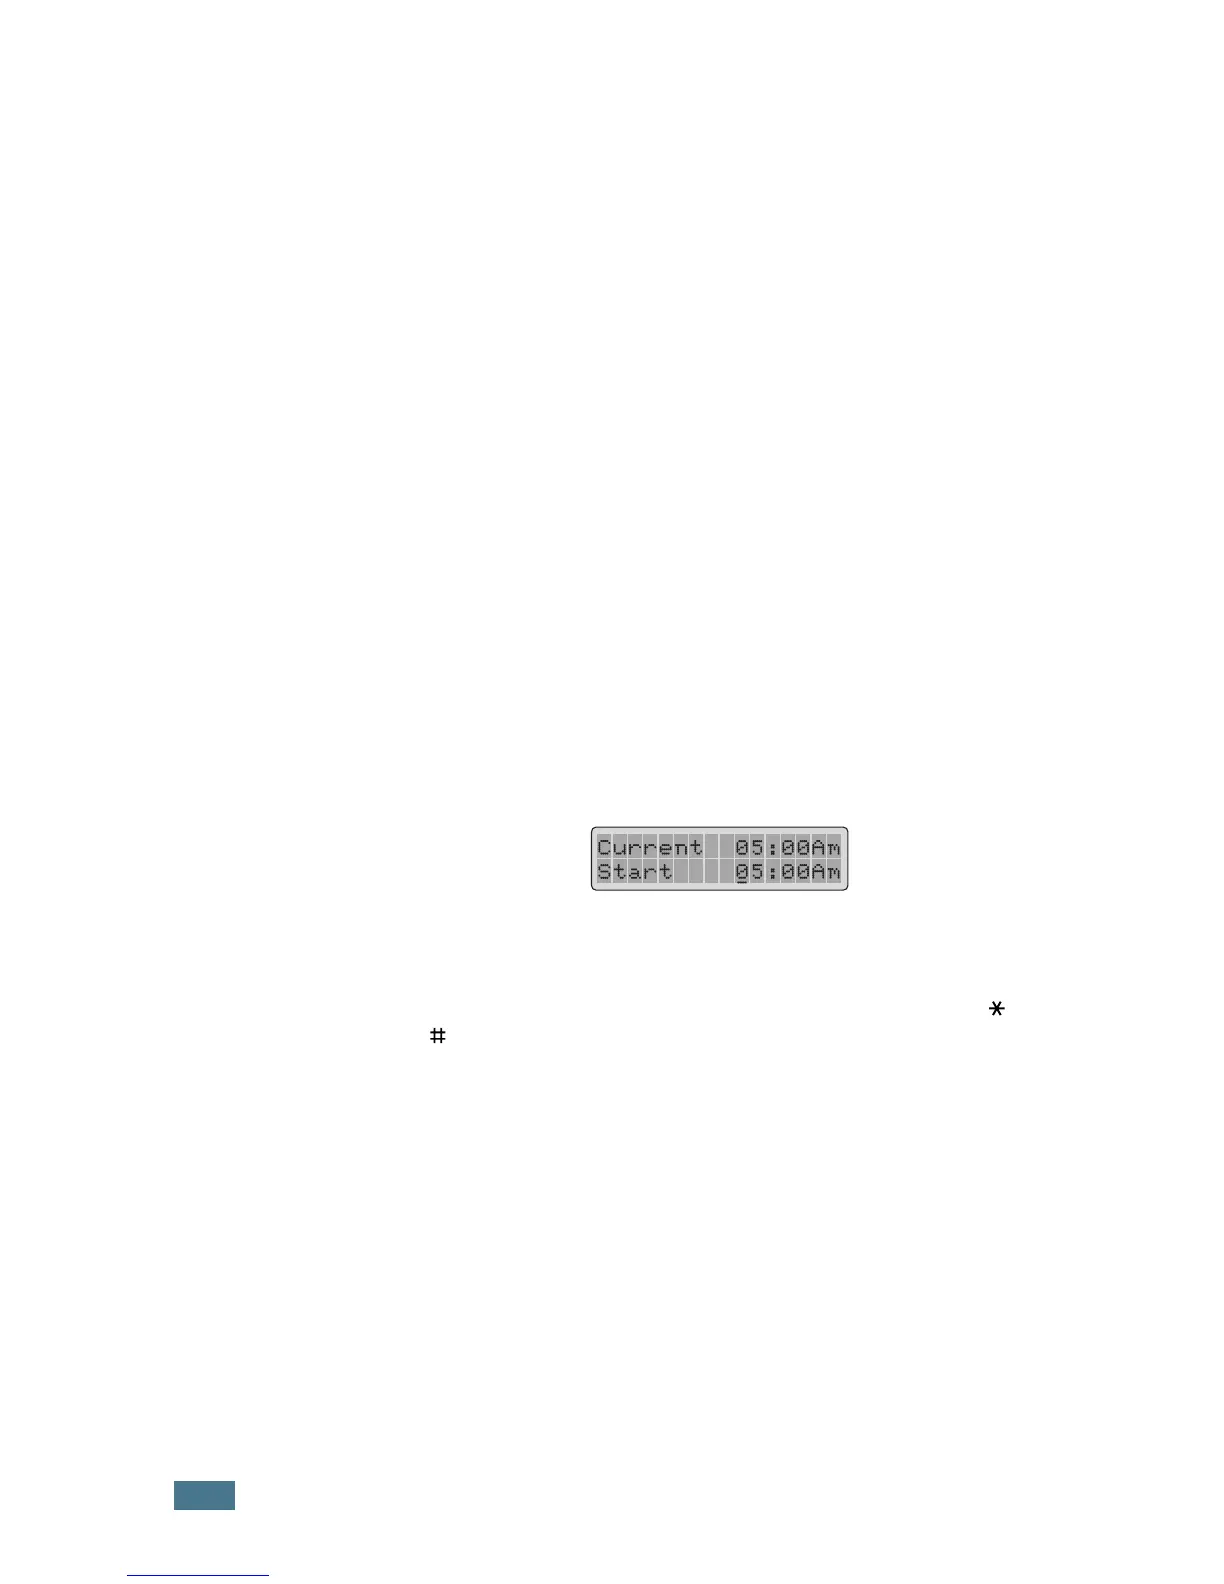
Press Enter. The display shows the current time and asks
you to enter the start time when the fax is to be sent.
9
Enter the time using the number keypad.
To select “Am” or “Pm” for 12-hour format, press the or
button.
If you set a time earlier than the current time, the
document will be sent at that time on the following day.
10
Press Enter when the start time displays correctly.
11
The document is scanned into the memory before
transmission. The display shows the memory capacity and
the number of pages being stored in the memory.
For the document loaded on the document glass, the
display asks if you want to load another page. Select
“1.Yes” to add. Otherwise, select “2.No.”
 Loading...