VC7203 GTX Transceiver Characterization Board www.xilinx.com 15
UG957 (v1.3) October 17, 2014
Detailed Description
Virtex-7 FPGA
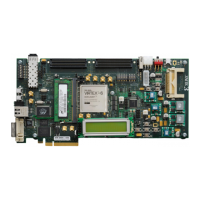
The VC7203 board is populated with the Virtex-7 XC7VX485T-3 FFG1761E FPGA at U1
(callout 1, Figure 1-2). For further information on Virtex-7 FPGAs, see 7 Series FPGAs
Overview (DS180) [Ref 4].
FPGA Configuration
The FPGA is configured through JTAG using one of the following options:
• USB JTAG connector (callout 5, Figure 1-2)
• System ACE tool SD (callout 7, Figure 1-2)
• JTAG cable connector (callout 6, Figure 1-2)
The VC7203 board comes with an embedded USB-to-JTAG configuration module (U8)
which allows a host computer to access the board JTAG chain using a Standard A to
Micro-B USB cable. Alternately, the FPGA can be configured through the System ACE tool
from an SD memory card installed in J211 (see System ACE Tool SD Configuration Address
DIP Switches, page 17). Finally, a JTAG connector (J7) is available to provide access to the
JTAG chain using one of the Xilinx configuration cables—Platform Cable USB, Platform
Cable USB II, or Parallel Cable IV (PCIV).
 Loading...