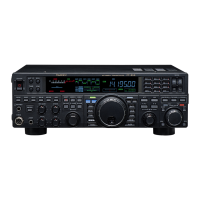
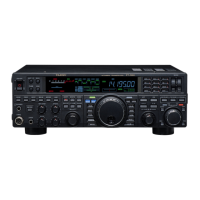
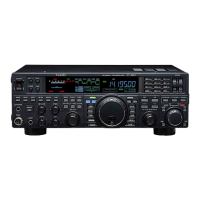
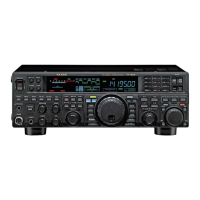
Page 64 FT-950 OPERATING MANUAL
VOICE MEMORY
(
SSB/AM/FM MODES: REQUIRES OPTIONAL DVS-6 VOICE MEMORY UNIT
)
You may utilize the Voice Memory capability of the FT-950 for repetitive messages. The Voice Memory system includes five
memories capable of storing up to 20 seconds of voice audio each. The maximum that any memory can hold is 20 seconds.
Recording Your Own Voice in Memory
1. Select the LSB, USB, AM, or FM mode using the front
panel
[
MODE
]
buttons.
2. Adjust the
[
MIC GAIN
]
knob, as described on page 56.
3. Press and hold the
[
SELECT
]
knob for one second to
activate the Voice Memory Unit. You will see one of
following indications in Multi-Display Window on the
display;
“rEC1“rEC1
“rEC1“rEC1
“rEC1”, “
rEC2rEC2
rEC2rEC2
rEC2”, “
rEC3rEC3
rEC3rEC3
rEC3”, “
rEC4rEC4
rEC4rEC4
rEC4”, “
rEC5rEC5
rEC5rEC5
rEC5”,
“
PLY1PLY1
PLY1PLY1
PLY1”, “
PLY2PLY2
PLY2PLY2
PLY2”, “
PLY3PLY3
PLY3PLY3
PLY3”, “
PLY4PLY4
PLY4PLY4
PLY4”, or “
PLY5PLY5
PLY5PLY5
PLY5”.
4. Rotate the
[
SELECT
]
knob to recall the Voice Memory
Channel (“
rEC1rEC1
rEC1rEC1
rEC1” - “
rEC5rEC5
rEC5rEC5
rEC5”) you
wish to record.
5. Press the
[
SELECT
]
knob momentarily. A blinking
“ ” icon will appear in the display.
6. Press the microphone’s PTT switch momentarily. The
“ ” icon will glow steadily and recording will
begin. If you do not press the PTT switch within five
seconds of pressing the
[
SELECT
]
knob, the memory
storage process will be cancelled.
7. Speak into the microphone in a normal voice level to
record the message (such as “CQ DX, CQ DX, this is
W 6 Delta X-Ray Charlie, W 6 Delta X-Ray Charlie,
Over”). Remember that the time limit for recording
any message is 20 seconds.
8. Press the
[
SELECT
]
knob momentarily to terminate
the message storage process.
Checking Your Recording
1. Be sure that the front panel
[
MOX
]
button is “Off”
(the LED imbedded in the switch must be off.)
2. Press and hold the
[
SELECT
]
knob for one second to
activate the Voice Memory Unit. You will see one of
following indications in Multi-Display Window on the
display;
“rEC1“rEC1
“rEC1“rEC1
“rEC1”, “
rEC2rEC2
rEC2rEC2
rEC2”, “
rEC3rEC3
rEC3rEC3
rEC3”, “
rEC4rEC4
rEC4rEC4
rEC4”, “
rEC5rEC5
rEC5rEC5
rEC5”,
“
PLY1PLY1
PLY1PLY1
PLY1”, “
PLY2PLY2
PLY2PLY2
PLY2”, “
PLY3PLY3
PLY3PLY3
PLY3”, “
PLY4PLY4
PLY4PLY4
PLY4”, or “
PLY5PLY5
PLY5PLY5
PLY5”.
3. Rotate the
[
SELECT
]
knob to recall the Voice Memory
Channel (“
PLY1PLY1
PLY1PLY1
PLY1” - “
PLY5PLY5
PLY5PLY5
PLY5”) which-
ever one you just recorded in.
4. Press the
[
SELECT
]
knob. The “ ” icon will ap-
pear in the display and you will hear the contents of
the Voice Memory you just recorded.
ADVICE:
You may adjust the playback level of the recording via
Menu item “
014 DVS RX LVL014 DVS RX LVL
014 DVS RX LVL014 DVS RX LVL
014 DVS RX LVL”.
TRANSMITTER CONVENIENCE FEATURES
Transmitting the Recorded Message
1. Select the LSB, USB, AM, or FM mode using the front
panel
[
MODE
]
buttons.
2. Press the front panel’s
[
BK-IN
]
button. The “ ”
icon will appear in the display.
3. Press and hold the
[
SELECT
]
knob for one second to
activate the Voice Memory Unit. You will see one of
the following indications in the Multi-Display Window
on the display;
“rEC1“rEC1
“rEC1“rEC1
“rEC1”, “
rEC2rEC2
rEC2rEC2
rEC2”, “
rEC3rEC3
rEC3rEC3
rEC3”, “
rEC4rEC4
rEC4rEC4
rEC4”,
“
rEC5rEC5
rEC5rEC5
rEC5”, “
PLY1PLY1
PLY1PLY1
PLY1”, “
PLY2PLY2
PLY2PLY2
PLY2”, “
PLY3PLY3
PLY3PLY3
PLY3”, “
PLY4PLY4
PLY4PLY4
PLY4”, or
“
PLY5PLY5
PLY5PLY5
PLY5”.
4. Rotate the
[
SELECT
]
knob to recall the Voice Memory
Channel (“
PLY1PLY1
PLY1PLY1
PLY1” - “
PLY5PLY5
PLY5PLY5
PLY5”), depending on which
memory message you wish to trans-
mit.
5. Press the
[
SELECT
]
] knob. A “ ” icon will ap-
pear in the display and the message will be transmit-
ted.
ADVICE:
You may adjust the transmit (audio) level of the recording
via Menu item “
015 DVS TX LVL015 DVS TX LVL
015 DVS TX LVL015 DVS TX LVL
015 DVS TX LVL”.
[
BK-IN
]
Button
[
SELECT
]
Knob
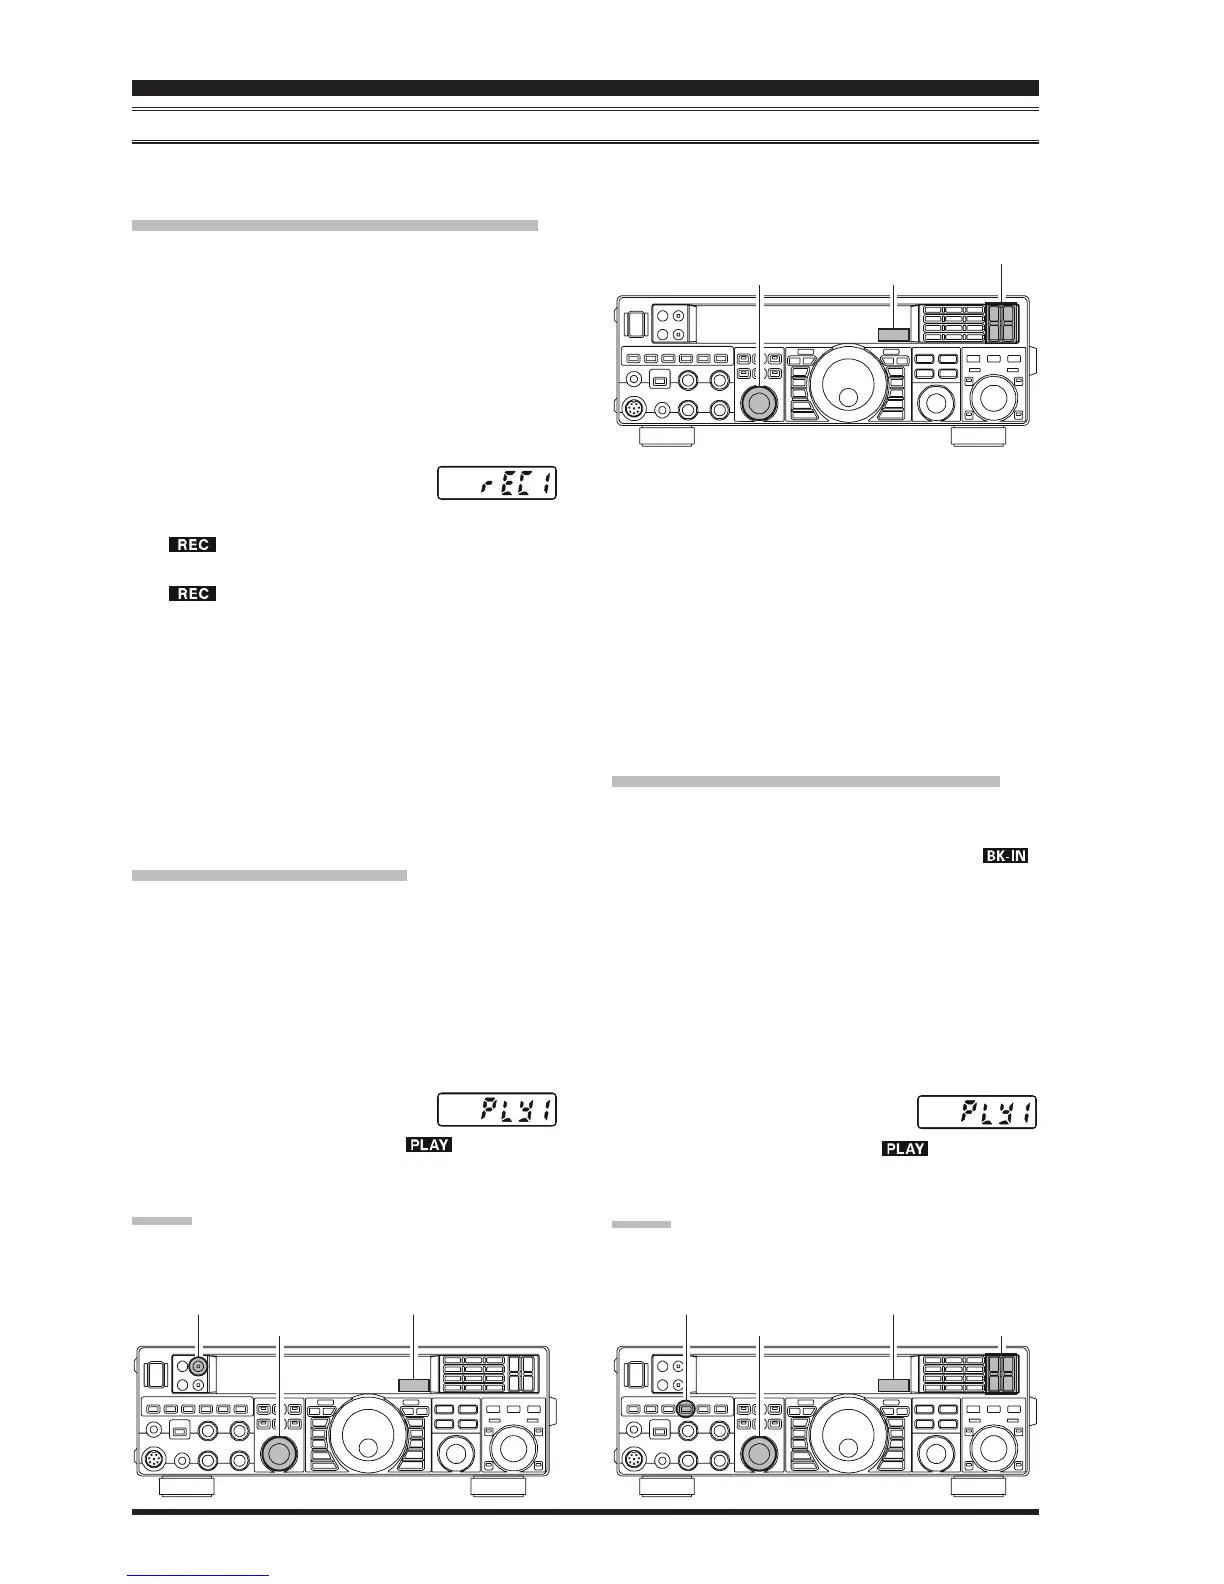
[
MODE
]
Button
[
SELECT
]
Knob
[
MODE
]
Button
[
SELECT
]
Knob
[
MOX
]
Button
Multi-Display WindowMulti-Display Window
Multi-Display Window