Using an external head amp
M7CL Owner’s Manual
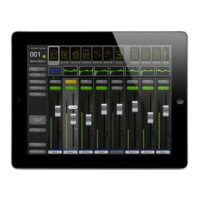
Graphic EQ and effects
16
191
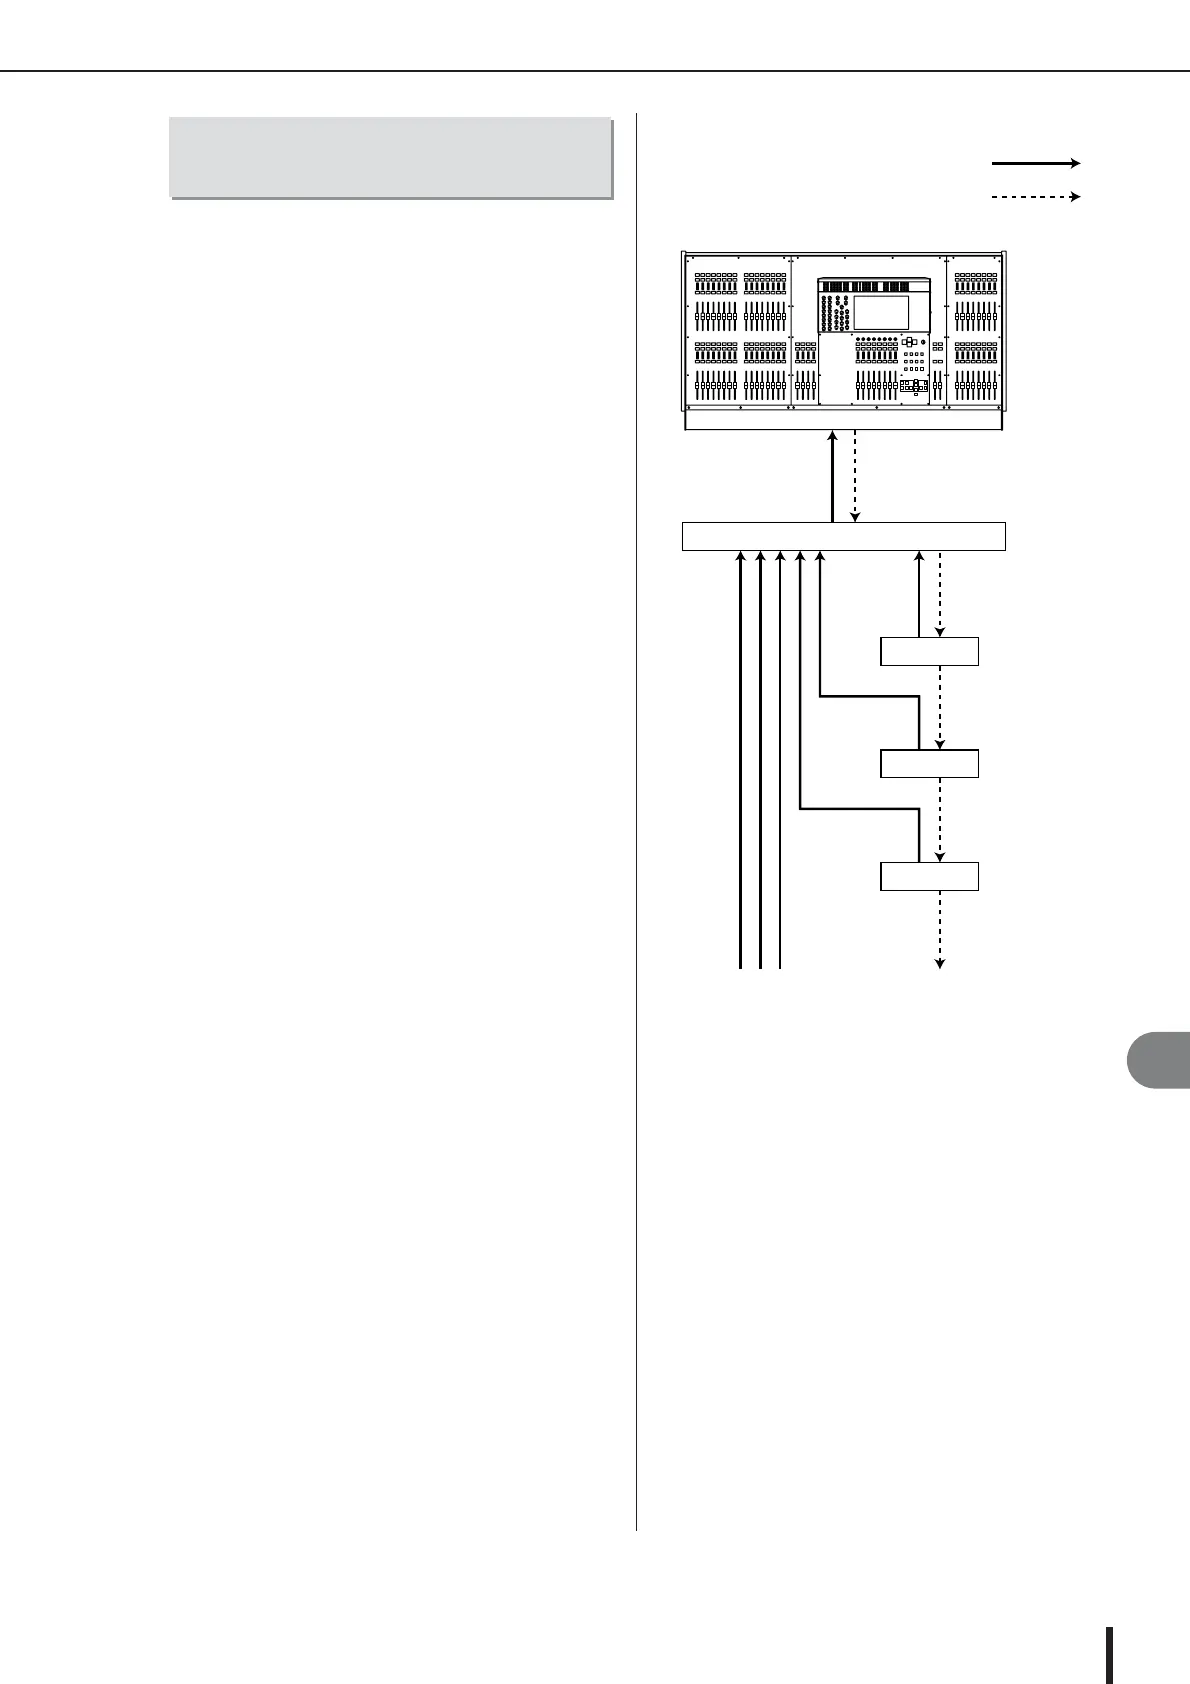
To remotely control the AD8HR from the M7CL-48ES,
use an Ethernet cable to connect the EtherSound [OUT]
connector located on the M7CL-48ES’s rear panel to the
NAI48-ES’s EtherSound [IN] connector, then use an
RS422 D-sub9 pin cable to connect the NAI48-ES’s HA
REMOTE connector to the AD8HR’s HA REMOTE 1
connector. This connection enables you to remotely con-
trol the AD8HR from the M7CL-48ES. To enable signals
input to the AD8HR to be sent to the M7CL-48ES, use a
D-sub25 pin AES/EBU cable to connect the AD8HR’s
DIGITAL OUT A (or B) to the NAI48-ES’s AES/EBU
connector. The signals from the NAI48-ES to the M7CL-
48ES are sent via EtherSound connection.
Alternatively, you can use a “daisy chain” connection to
remotely control multiple AD8HR units simultaneously.
To do this, connect the AD8HR’s HA REMOTE 2 connec-
tor to the second AD8HR’s HA REMOTE 1 connector. If
you use the NAI48-ES, you can connect up to six AD8HR
units.
Connecting the M7CL-48ES to
the AD8HR
M7CL-48ES
AD8HR 1
NAI48-ES
AD8HR 2
AD8HR 3
Audio signals
Remote signals
AES/EBU
connectors
DIGITAL OUT
A connector
DIGITAL OUT
A connector
HA REMOTE connector
HA REMOTE 1 connector
HA REMOTE 2 connector
Up to six units
HA REMOTE 2 connector
HA REMOTE 2 connector
HA REMOTE 1 connector
HA REMOTE 1 connector
EtherSound [OUT] connector
EtherSound [IN] connector
DIGITAL OUT
A connector